
How to repaint a motorcycle tank
Take a look at this video as I show you step by step how to repaint a motorcycle tank on a budget. This video will show how to take care of rust, minor dents, sanding the old paint, and all the preparation steps there in. Painting a motorcycle tank is really not all that hard, however it is time consuming. Allocate plenty of time between steps for a proper, professional looking job. The keys to a professional paint job at home is spending a lot of time on the prep. Do not rush or it will show in the final product. If you have any specific questions leave a comment below and I will respond. No need to register.
click here to see how to apply graphics
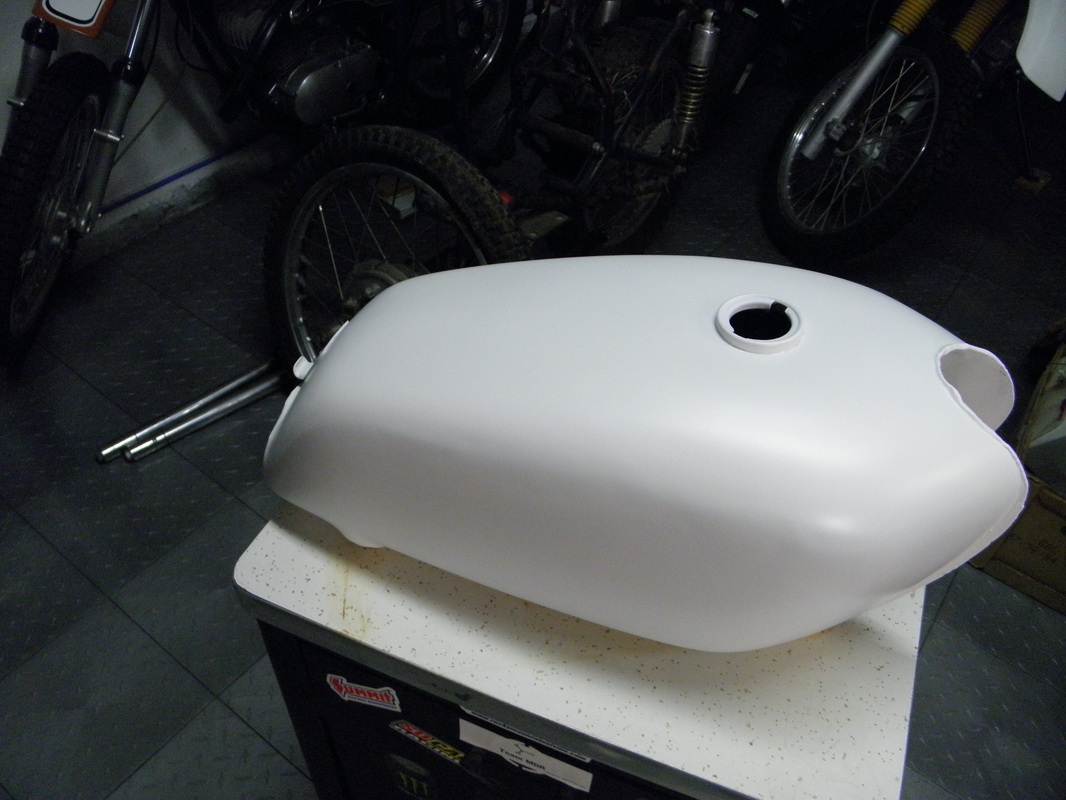
Midway through the process with one primer coat on
|
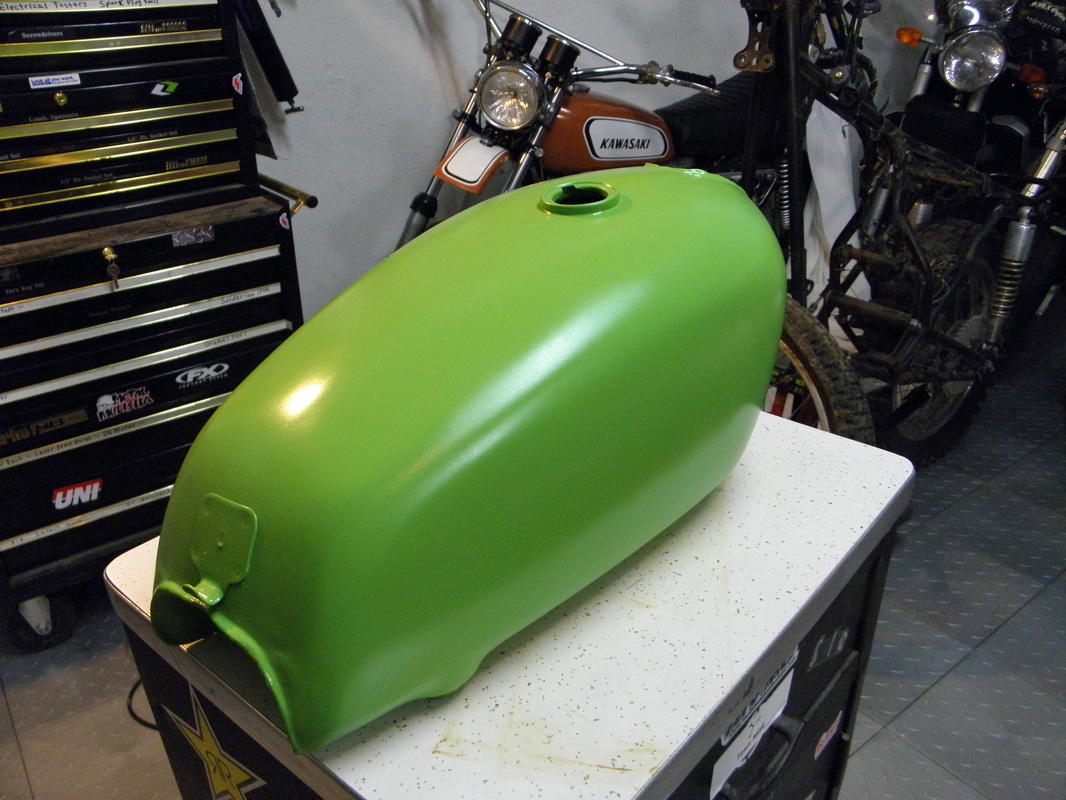
First base coat applied
|
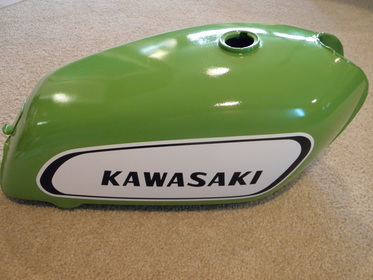
Clear coat applied, and graphics applied
|
|
Here is what the tank looked like when I started
Pulling the dents, light coats of filler and various grit sequences to smooth and straighten the lines of the tank
Picture 1 is just the base color, Picture 2 is with 2 coats of the candy topcoat
|
Using a clean and strip disc (roloc attachment) to remove the graphics
After 2 coats of high build primer, sanding in between coats, the tank is ready for primer sealer just before the base coat
Ta-Da! The finished tank with graphics and clear. See a professional looking paint job can be done at home. All it takes is patience.
|