

GM Ignition Switch Replacement
If you have read about the GM Ignition switch recall 14350. Then you know that it does nothing with replacing the switch itself. In this post I will walk you through the steps needed to access and replace the faulty ignition switch that commonly wears out due to age and use.
The worn out switch can cause a few problems, most notably a no start or intermittent start condition. The intermittent start condition is when sometimes it takes a few turns of the key for the switch to make good enough contact to then activate the starter. The no start condition usually is a result of the worn contacts in the switch causing an interruption of the communication between the BCM (body control module) and the PCM (power-train control module). This communication check is part of the Pass Lock system that controls the Anit-Theft system in which it disables the fuel pump relay and the starter relay to prevent theft. However sometimes a faulty ignition switch can cause a false positive for the Pass Lock anti theft system. For a details on how to reset the Pass Lock see the end of this post. However if you came here to replace your ignition switch on your GM vehicle, watch the video below as well as the pictures on how to remove the dash components to access the switch mechanism. This ignition switch replacement applies to the following vehicles as they use the same switch part number. CHEVROLETIMPALA 2000-2005 CHEVROLETMALIBU 1997-2001 CHEVROLETMONTE CARLO 2000-2005 OLDSMOBILEALERO 1999-2001 OLDSMOBILECUTLASS 1997-1999 OLDSMOBILEINTRIGUE 1998-2002 PONTIACGRAND AM 1999-2001
Affiliate Link that supports the site
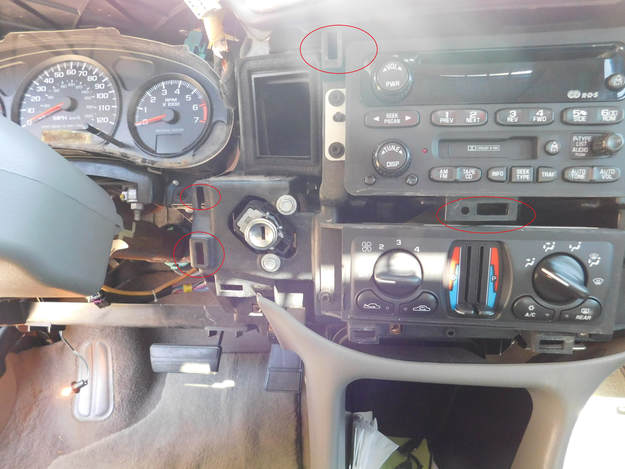
Step: 1 Remove the ignition switch bezel using a hook shaped pick or right angle screw driver. The plastic bezel just clips in to the outside of the lock cylinder. Be sure to pull a little bit going back and forth on opposing sides. With age the plastic could be brittle.
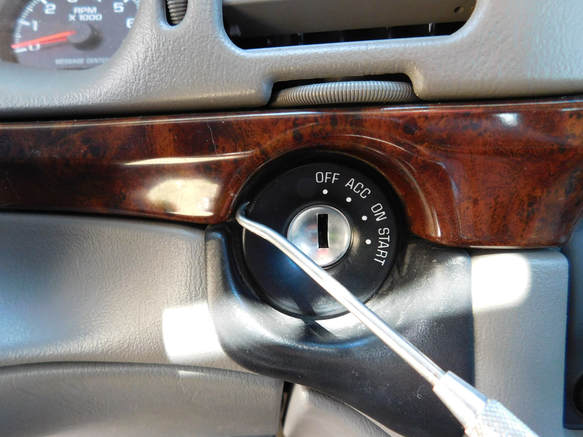
First remove the trim bezel from the ignition switch
Step 2: Remove both the driver and passenger side fuse panel covers, There are bolts hiding behind each one that will be remove in the next steps. The fuse panel doors are held in by clips shown, pry gently with your fingers from the top and bottom.
Remove fuse panel doors, both sides
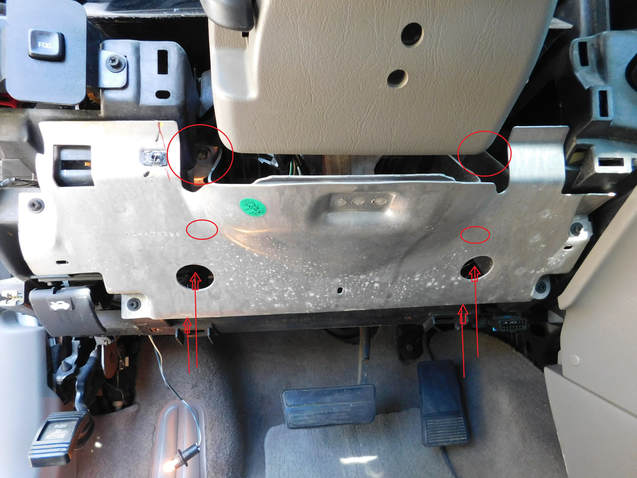
Step 3: Remove this panel by pushing on these tabs indicated by the vertical arrows. As you pull down also pull out to pull the plastic mount off the stud indicated by the horizontal arrow. You may need to pull the carpet back just a little bit.
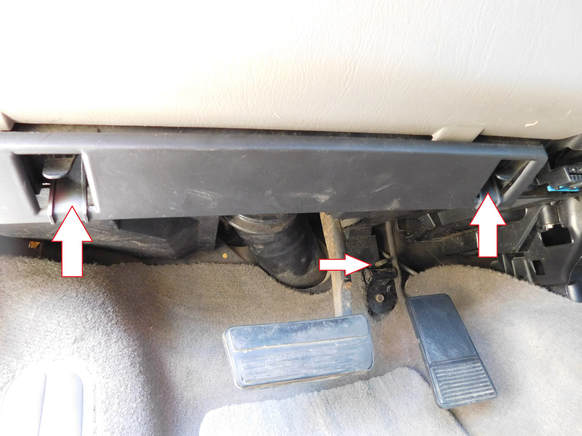
Remove by pulling these tabs
Step 4: Remove the courtesy light by twisting the socket 1/4 turn counter clockwise. This will release it from the panel. Set panel aside.

Remove foot well light
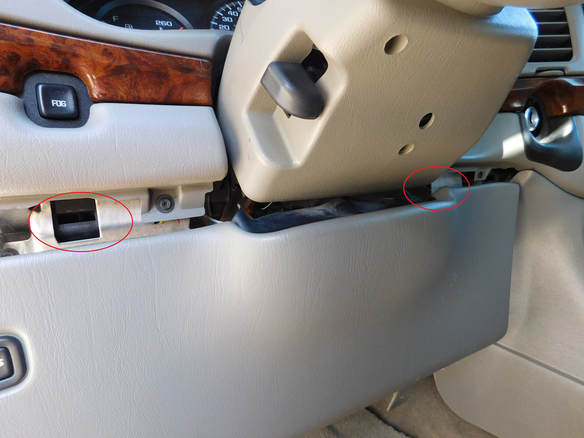
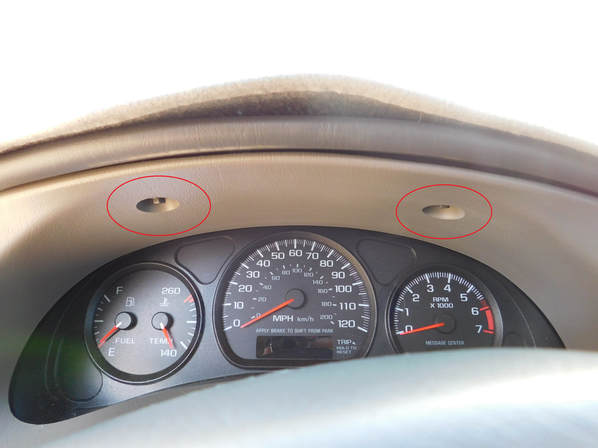
Step 5: Remove the panel screws circled in red.
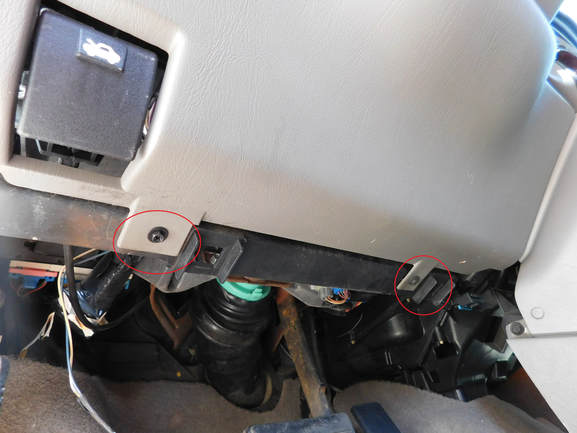
Remove the panel screws circled in red
Step 6: Remove panel by pulling out the two tabs indicated here.
Step 7: Remove the electrical connector from the trunk switch. Lightly pry the retaining tab up and pull the connector out.

Step 8: Remove all the panel screws holding on the main fascia. Remember their is a screw on the passenger side as well behind the fuse door removed earlier.
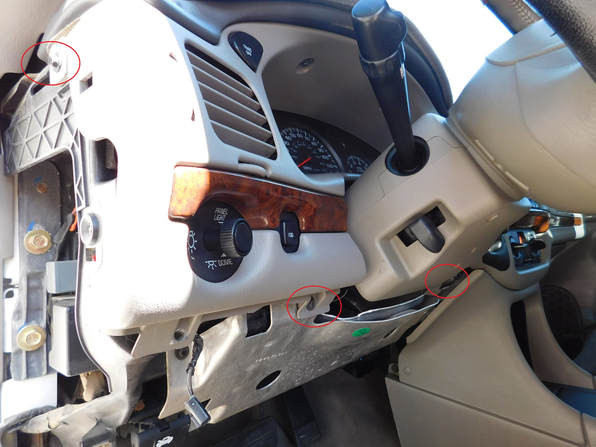
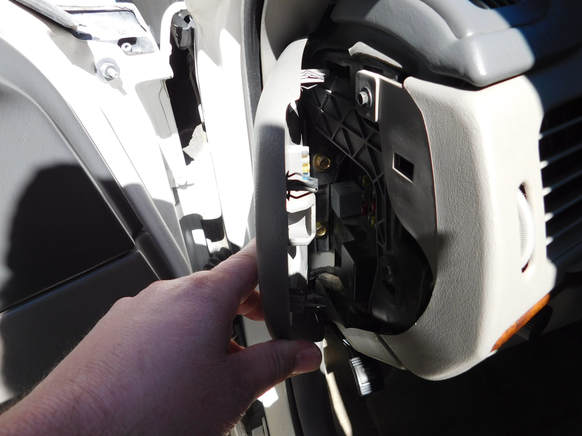
Step 9: Pull dash fascia outwards. The dash is now just held by several clips. Pull gently and they should release. Pull the dash out working back and forth across the dash to prevent excessive bending. Tilting the wheel all the way down will help get the gauge pod bezel around the column itself.
These next set of pictures show all the locations of the clip retainers.


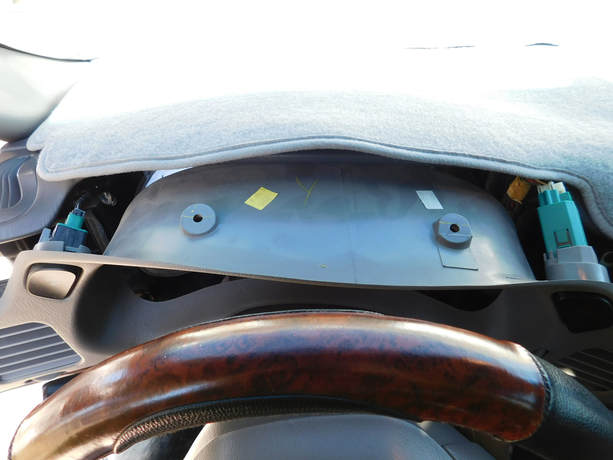
Step 10: Remove this metal plate. There are 4 (7mm) black panel screws and 4 (10mm) bolts that are slightly hidden that hold this part on.
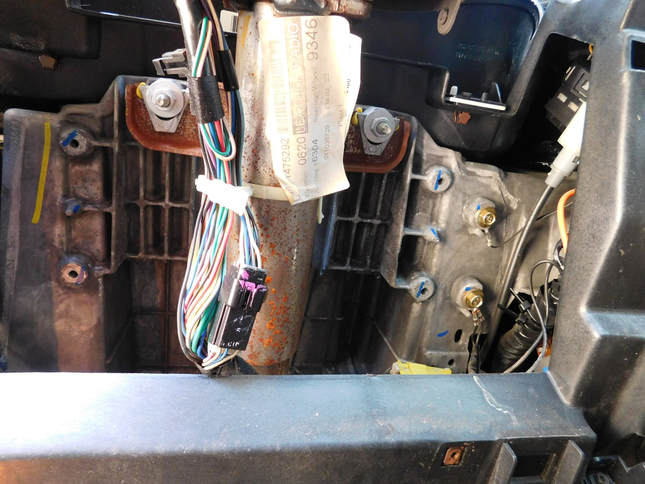
Step 11: Now your finally ready to remove the two bolts that hold the switch in.
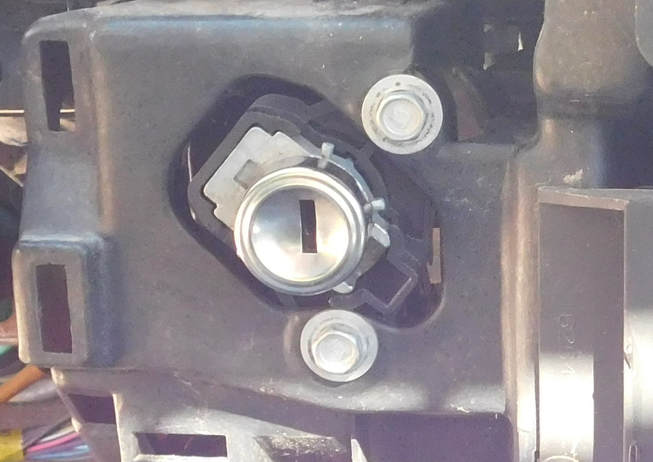
Now carefully push the switch in and around the plastic that the switch mounts to. Watch the video for how to remove the lock cylinder and the connectors.
Re-install the reverse of how you took this apart!.
Resetting the Pass Lock system procedure:
1. Insert ignition key and turn to the “ON” position. Do not attempt to start the engine. Leave the key in the “ON” position for approximately 11 minutes. The security light will be steady on or flashing for the 11-minute period. Do not proceed to Step 2 until the security light turns off or stops flashing. 2. Turn the ignition switch to the “OFF” position for 30 seconds. 3. Turn the ignition switch to the “ON” position as in Step 1 for 11 minutes. 4. Turn the ignition switch to the “OFF” position for 30 seconds. 5. Turn the ignition switch to the “ON” position as in Step 1 for 11 minutes for a third time. 6. Turn the ignition switch to the “OFF” position for 30 seconds for a third time. 7. Turn the ignition switch to the “ON” position for 30 seconds. 8. Turn the ignition switch to the “OFF” position. 9. Attempt to start the engine. If the engine starts and runs, the relearn is complete.
Affiliate Link
Comments
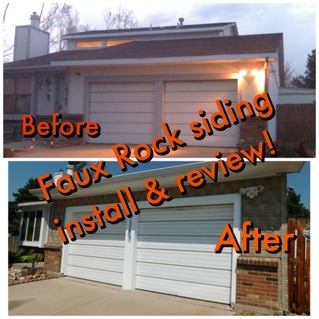
Quick, inexpensive and easy to install siding for instant curb appeal! This Faux rock PVC siding looks like real stacked stone rock!
I got this vinyl siding from Faux Panels.com shipped to my door. I chose this particular line and style of siding mostly on price, the bonus is this is MADE IN U.S.A! This is not a sponsored post, I am just very happy with the product and the service all the way around. Side note: I had one box of "J" channel damaged in transit and the company promptly sent out replacements. I did provide pictures of the shipping damage. The exact product I used is Faux Panel's York PVC siding, in the Random Rock pattern, Mesa is the color. However there are several other styles and colors just in this particular line alone. The company has other, more expensive, product lines for various other looks and applications. This is just what I chose. Now to be honest up close and touching this will reveal it is a typical vinyl/pvc siding, also the "J" channel gives it away if you are one that looks for those details. That is not the point here though, I was in a situation where it was paint the house or side it with a low (no?) maintenance siding product to spruce up the looks of the house. Watch the video below for a complete installation of the siding.  My Atari 2600 game collection display (needs work) My Atari 2600 game collection display (needs work) Most people know me and my site for vintage motorcycles, but I have another closet hobby, retro video games. Specifically the Atari 2600. My collection stemmed, like a lot of peoples collections, from things from my childhood. The one difference here is I was collecting for this particular system while they were still making some games for it. To give you a time frame, the Nintendo Entertainment System was out in full force, Atari (as people knew it) was spiraling down with failed system after failed system. I bought brand new games in the clearance bins for little more than a dollar. Then the Super Nintendo came out, and Atari 2600 games found their second life at garage sales and flea markets. I remember seeing boxes and boxes of Atari 2600 games littered across many flea market stands. I would comb for hours sometimes through hundreds of cartridges and accessories that I didn't have. The going rate for games in the early 90's... $0.25 to $1.00, yep. I would pass on a stand if they were selling them for over $2, they just weren't worth it. And this is well before even knowledgeable Atari 2600 players or the Atari Age website even started. I shudder to think the rare, or even prototype games I might have passed on because they were asking $3 or more for a game. Hell loose NES games were going for $10 and that system was still relevant at the time. I don't have too many boxes for the games as the games I bought new off the shelf, well at the time when the system was still relevant, why would you keep the boxes? It was the game and the manual that had any sort of value. Boxes just took up room. Hind sight is always 20/20. I doubt I saw a T-handle Air Raid cartridge in those years, but it could be possible that I passed it over thinking it was for another system, doh! Since the "internet age" began my collecting became more casual. I only buy or collect a game or peripheral that I really intend to play with. I never had the intention (even back then) to be a completionist or collect a "super rare" game just because it is "super rare". I also own a Panasonic 3DO, now there is a flop.  Typical Atari 2600 gaming setup More close ups from my Atari collection. Below are some "Kids Stuff" 33 1/3 rpm 12in vinyl records that have a story and some songs centered around the Atari games Asteroids and Missile Command, not pictured but there is also a Yar's Revenge record as well. I bought these on clearance in the late 80's brand new for $0.99 one still has the price tag on it. 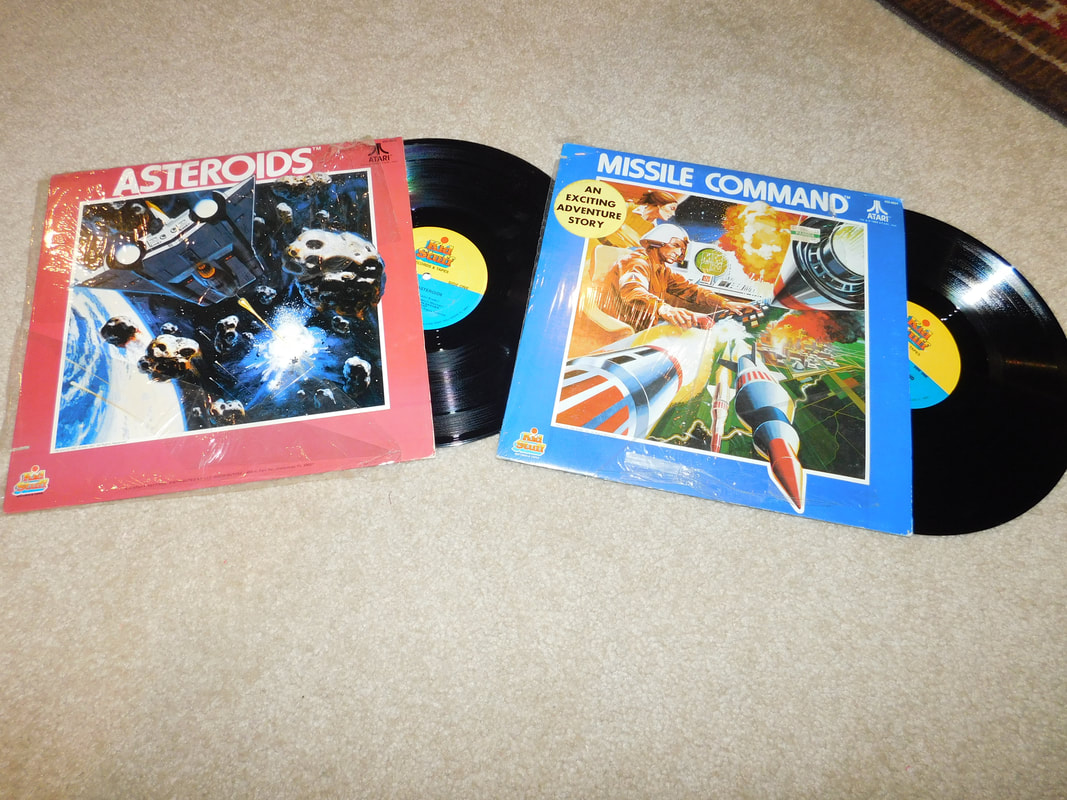  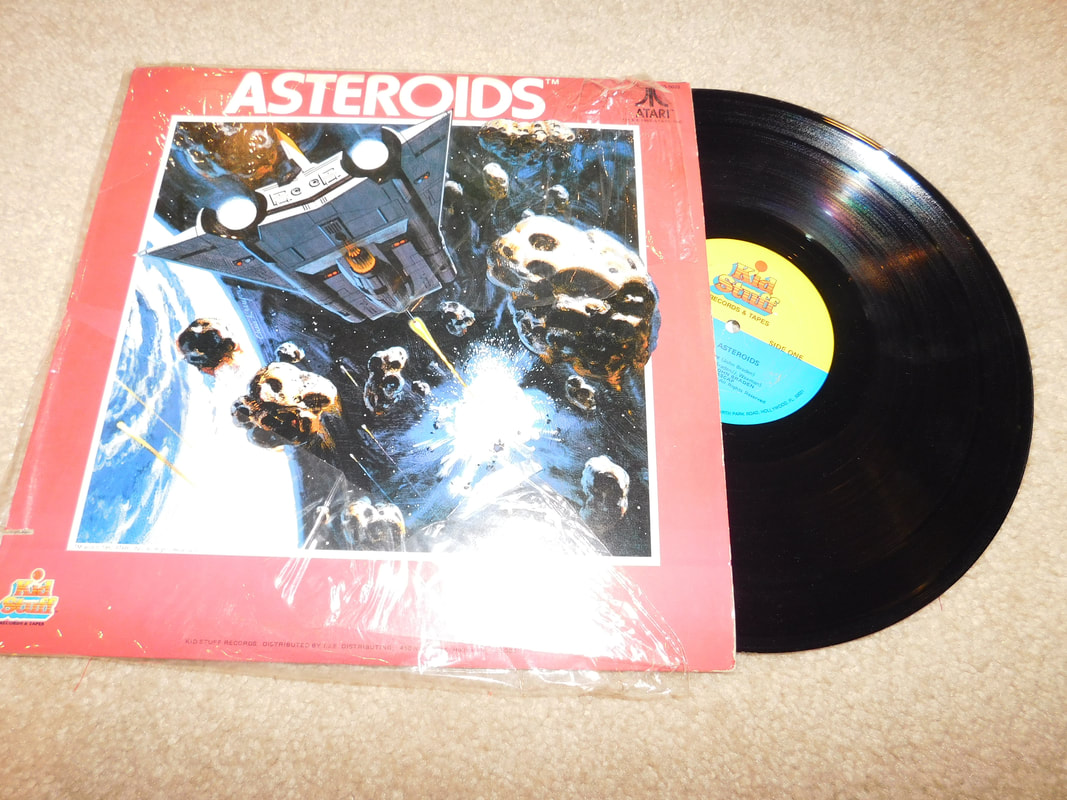 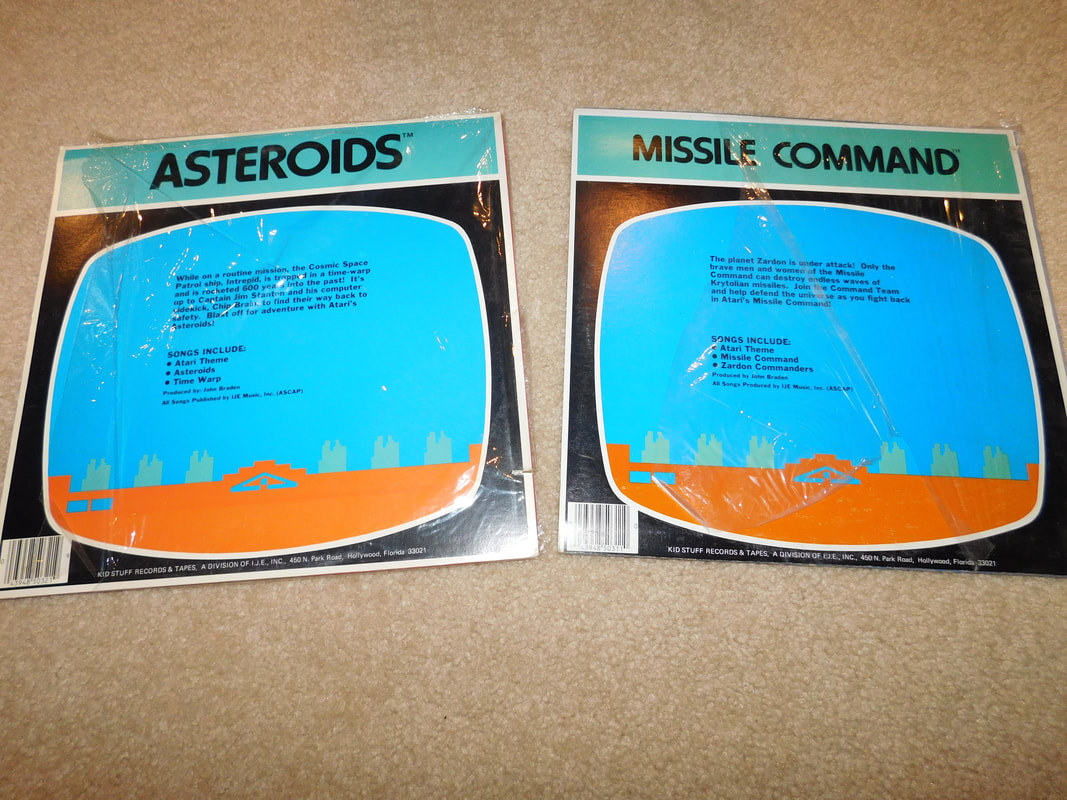 Below is some paper work I saved for a reason. Atari customer order forms, game lists, and contact numbers for parts and service. My have times changed. Check it out Nintendo of America, Coleco? Yes I called these numbers for either game help or ordering information. 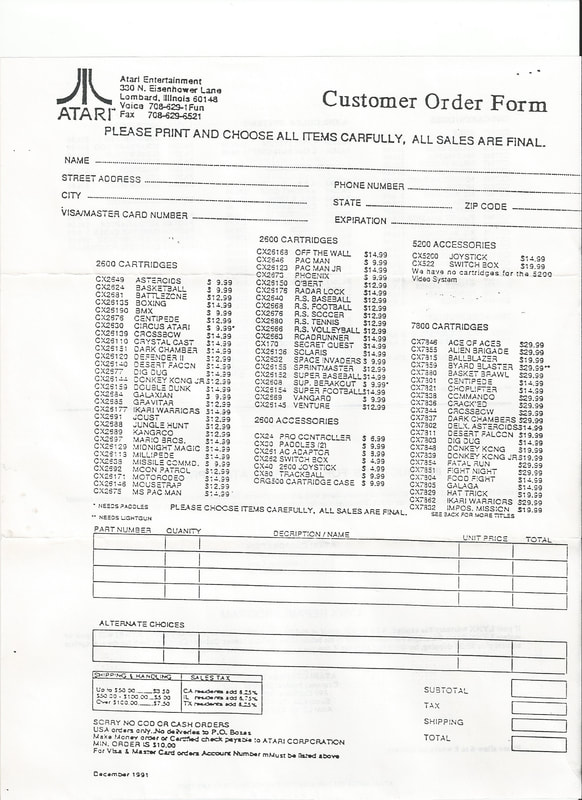 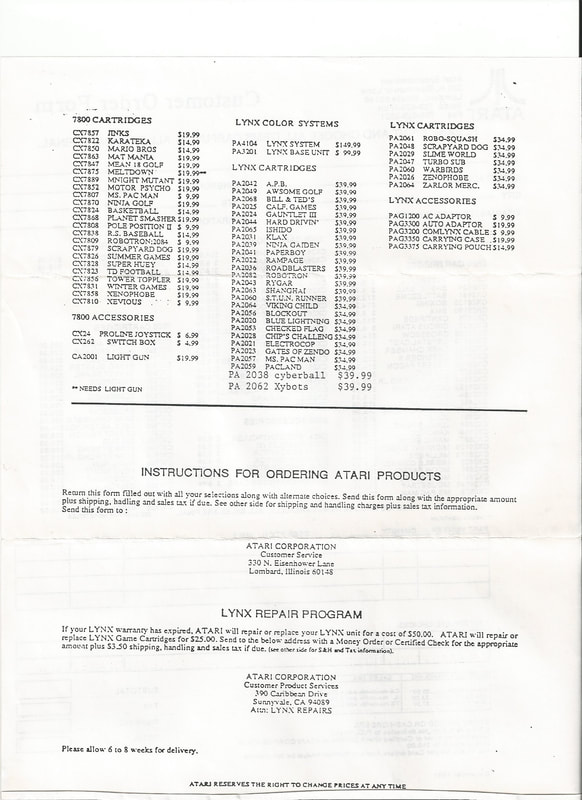 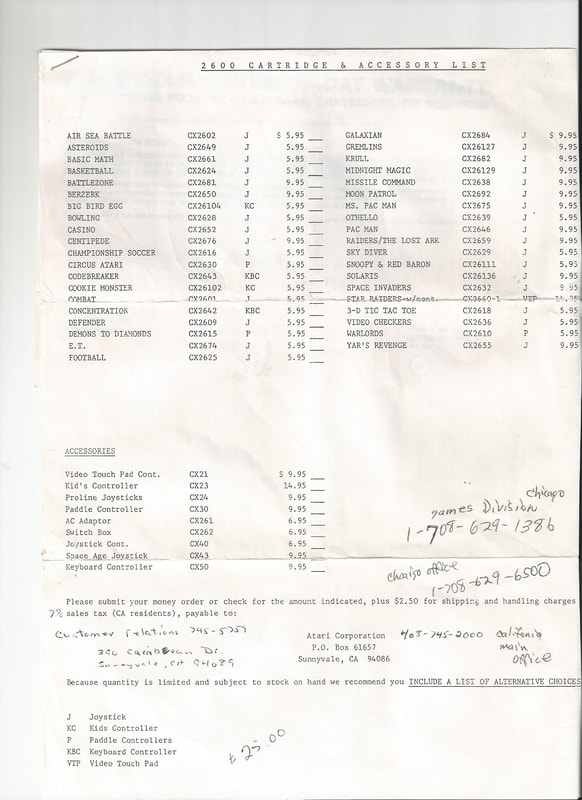  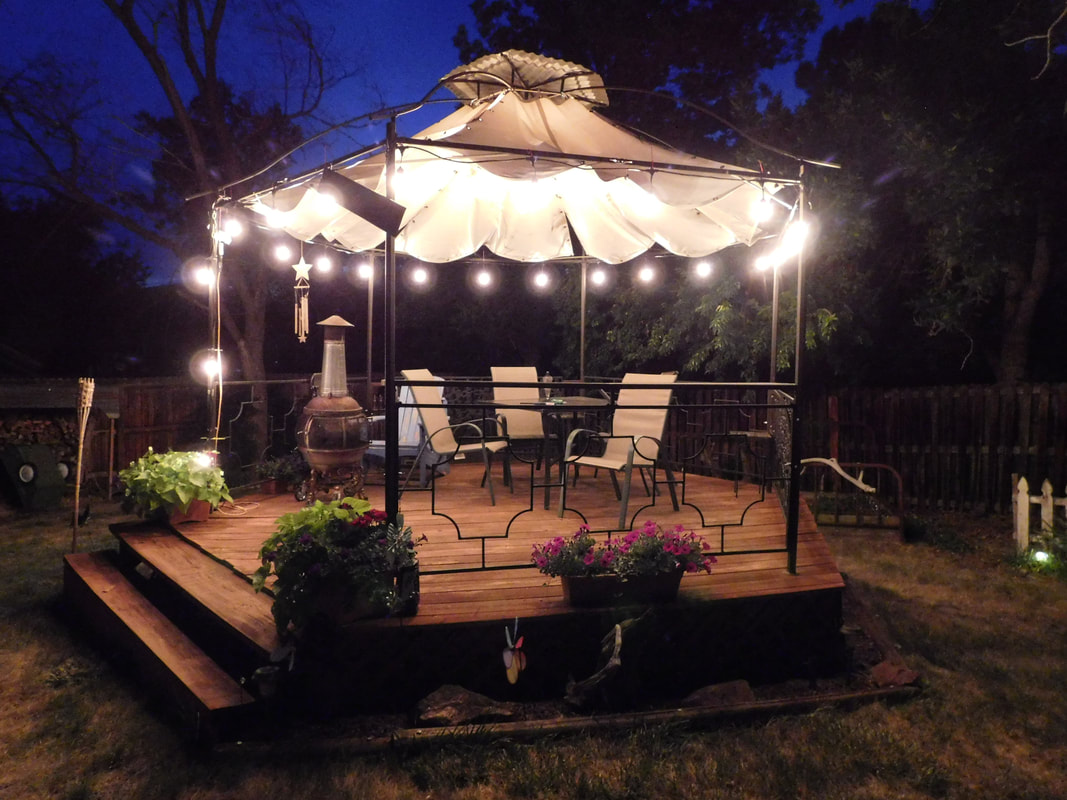
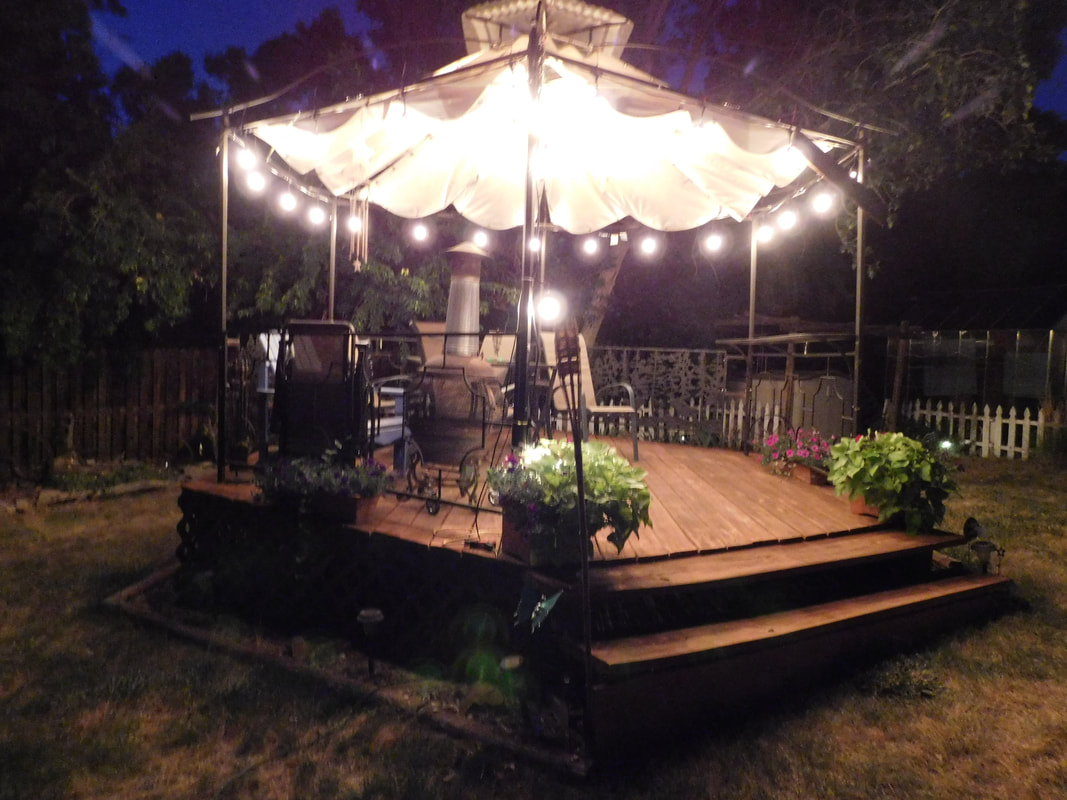
Still standing after 5 years
What happens when you want to build something great, but you don't totally have a clear picture of what you want in your head? Well you jump in and start building and make it up as you go along.
Now read through and check out the pictures. Be sure to comment and tell me everything I did wrong ;)
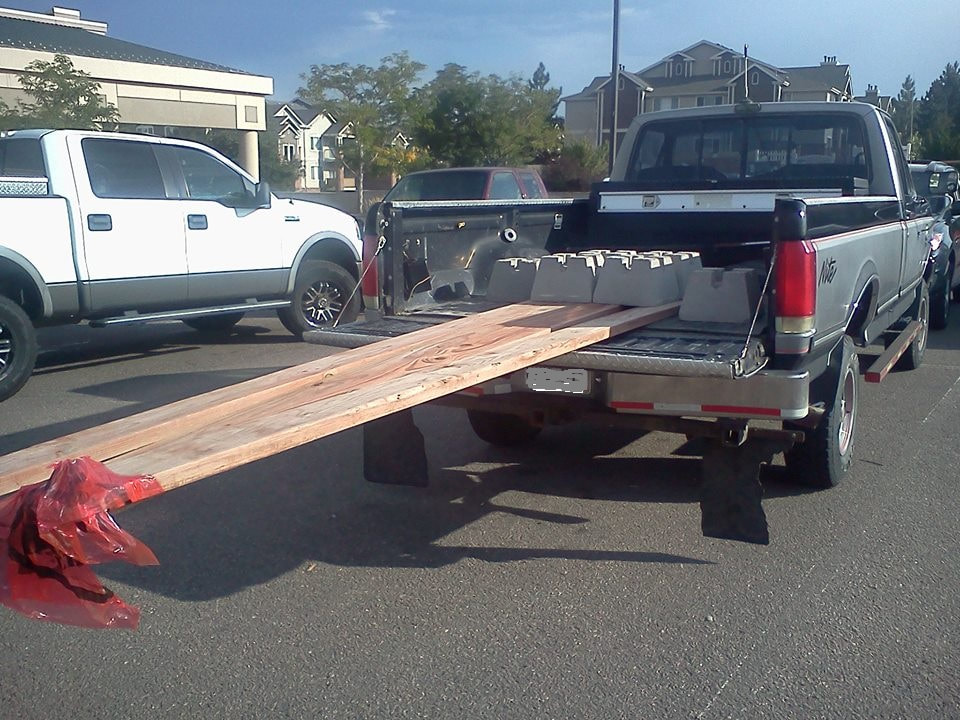
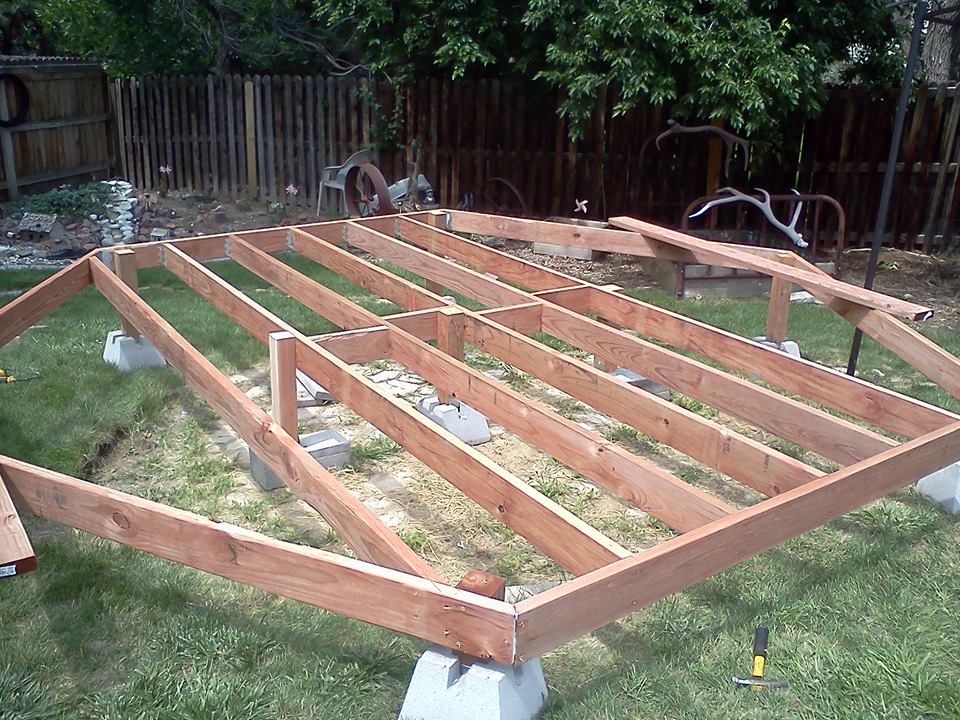
First I knew I was going to need some sort of base and structure for a hexagon shaped platform. I got some treated 2x12's and some concrete deck blocks as well as some 4x4 posts.
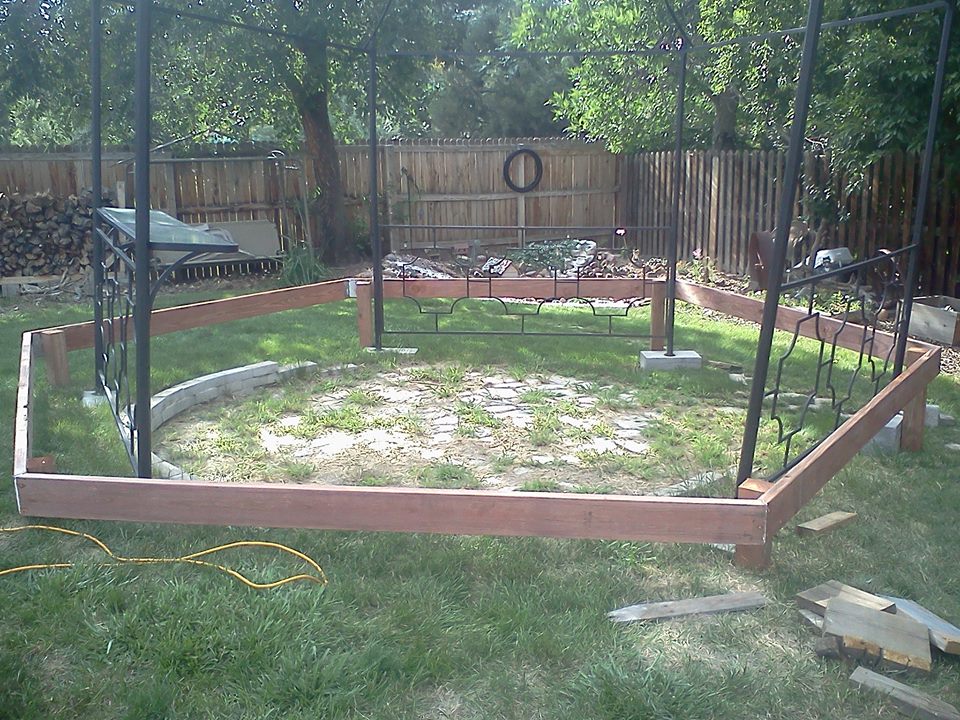
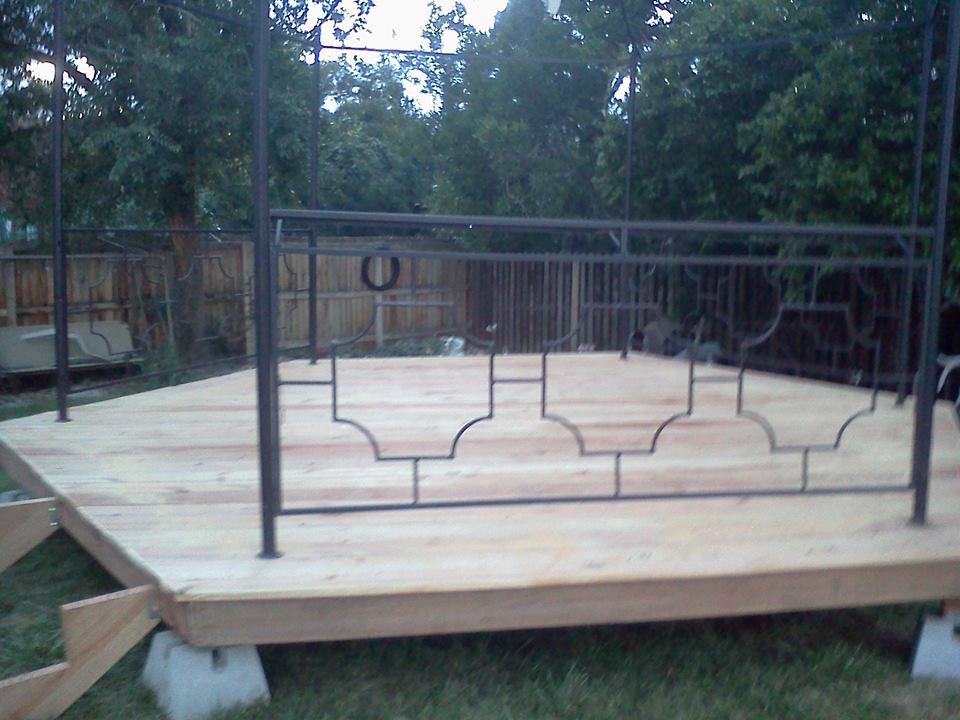
The basic perimeter and location in the yard. Basically to cover up this section that was laid in by the previous home owner. The steel frame pictured is a unit I bought on clearance for about $100. This is the basis for the size and structure of the Gazebo. As you notice I have a slope to the yard. I used blocks to find level for the perimeter and then cut the legs to length accounting for the height of the deck blocks.
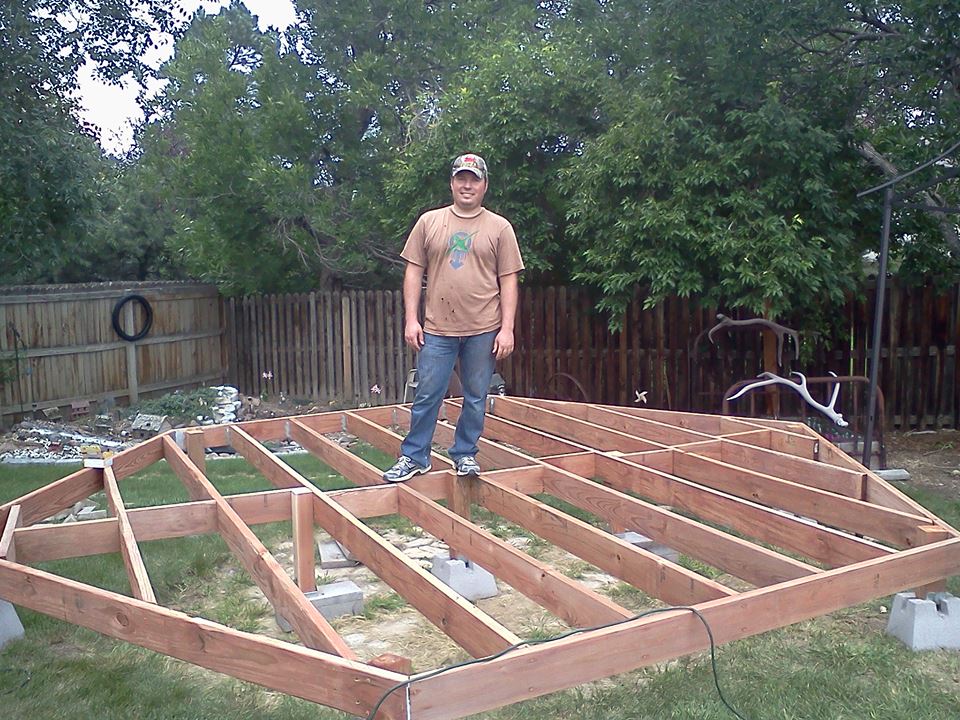
I found the center-line and measured for the cut of the first joist. Basically measure and cut for each successive joist. Attached using joist hangers. Carriage bolts for the 4x4 posts to support the center.
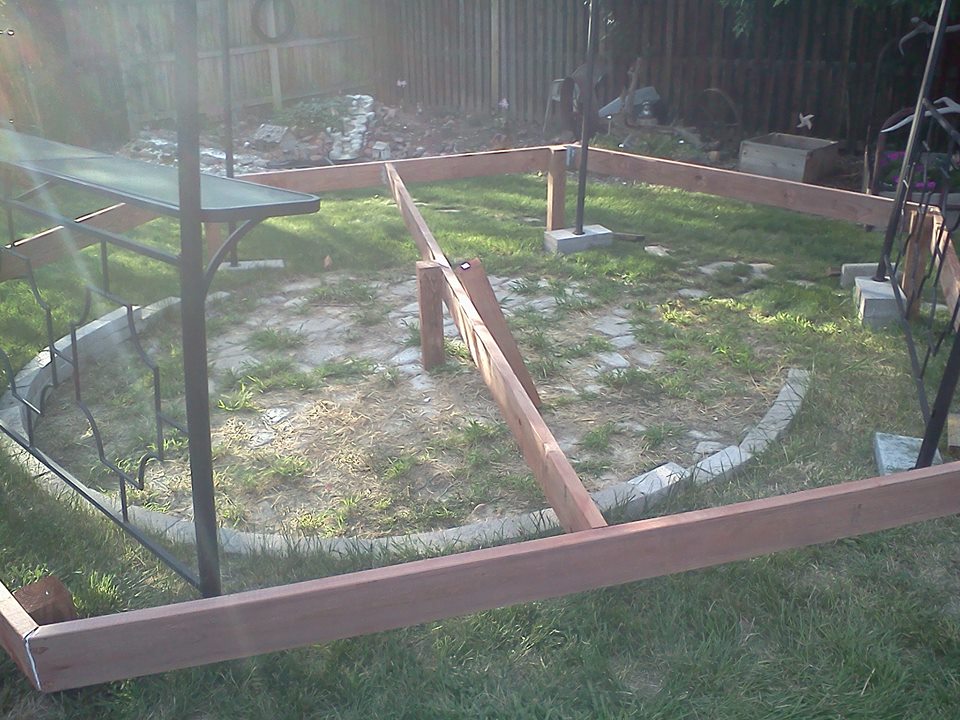
16 inch on center is what I used for the spacing of the joists.

Laying the redwood deck boards. I am not skilled enough to do any fancy pattern so I choose a direction and laid them out leaving an appropriate space between for water/snow to flow through. I used deck screws to fasten them.
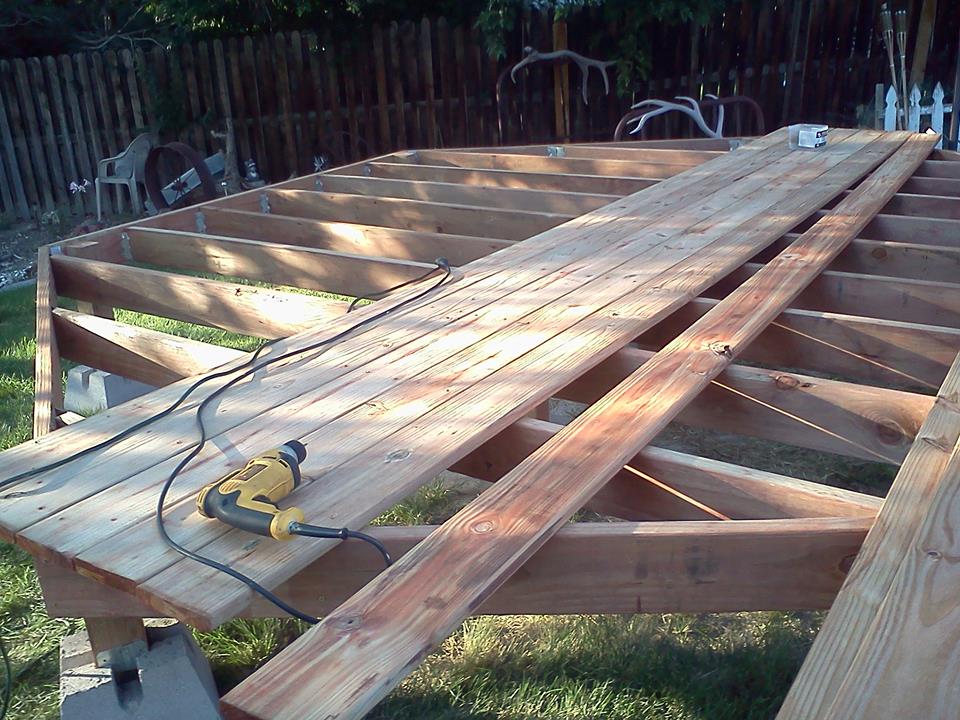
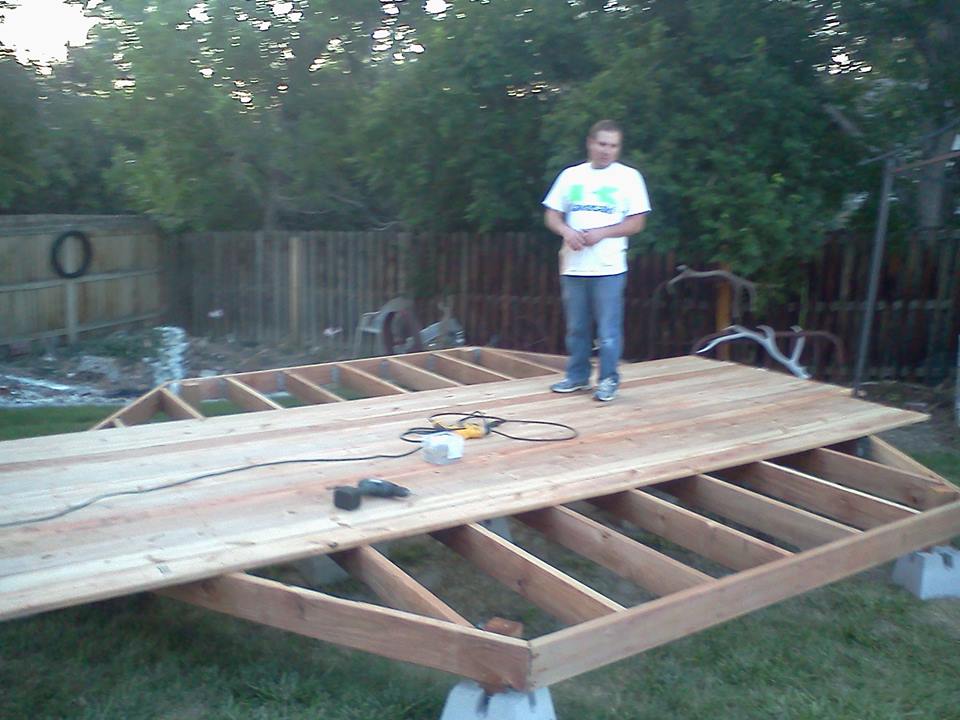
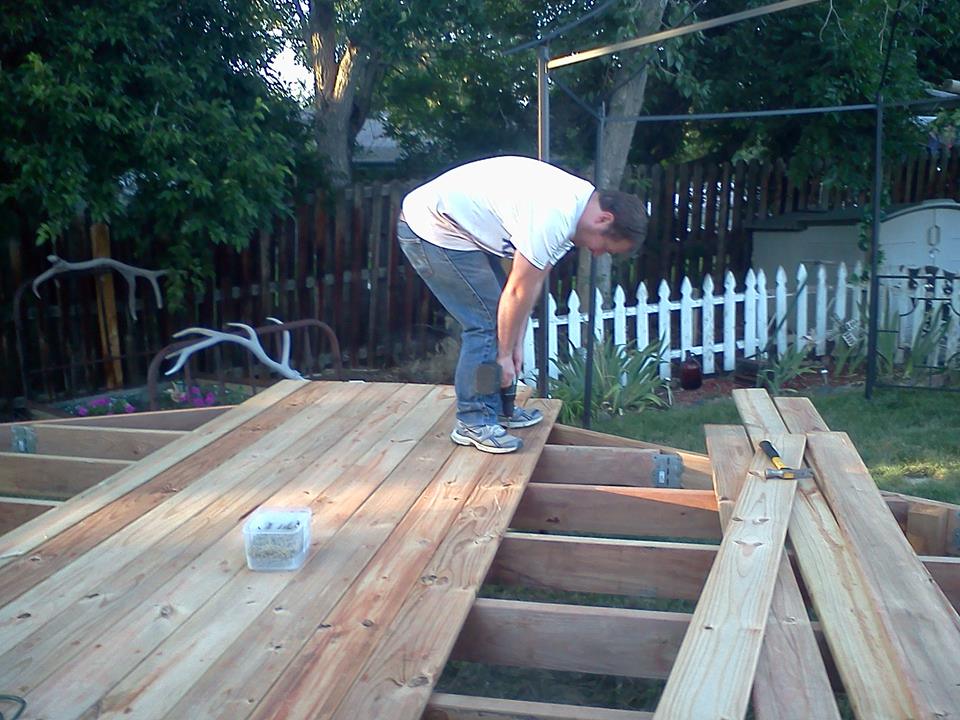
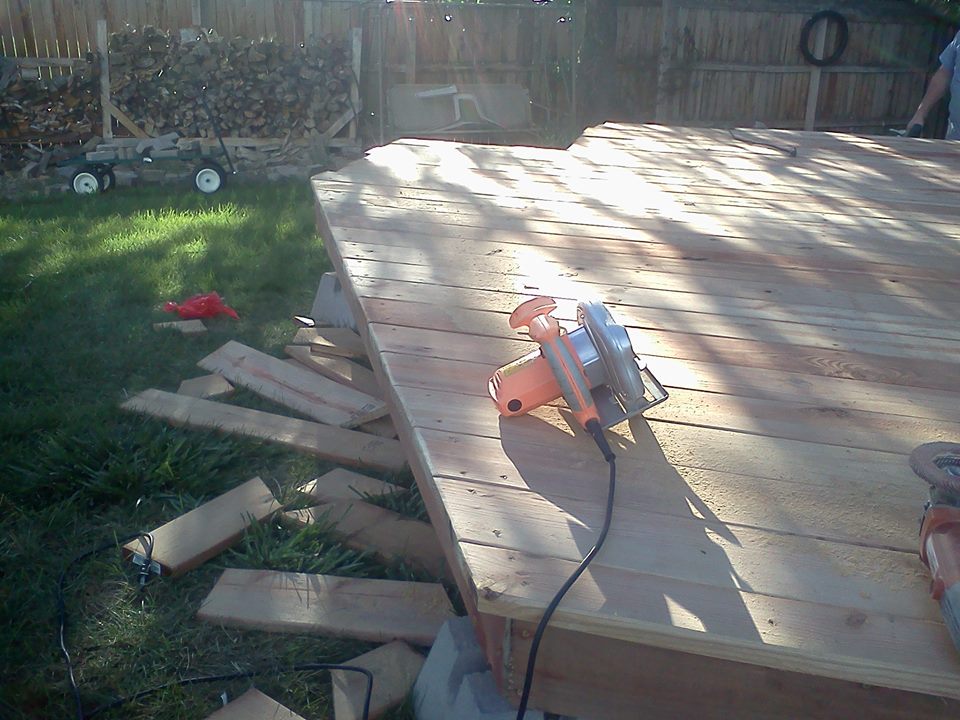
I snapped a chalk line and used my circular saw to cut off the excess.
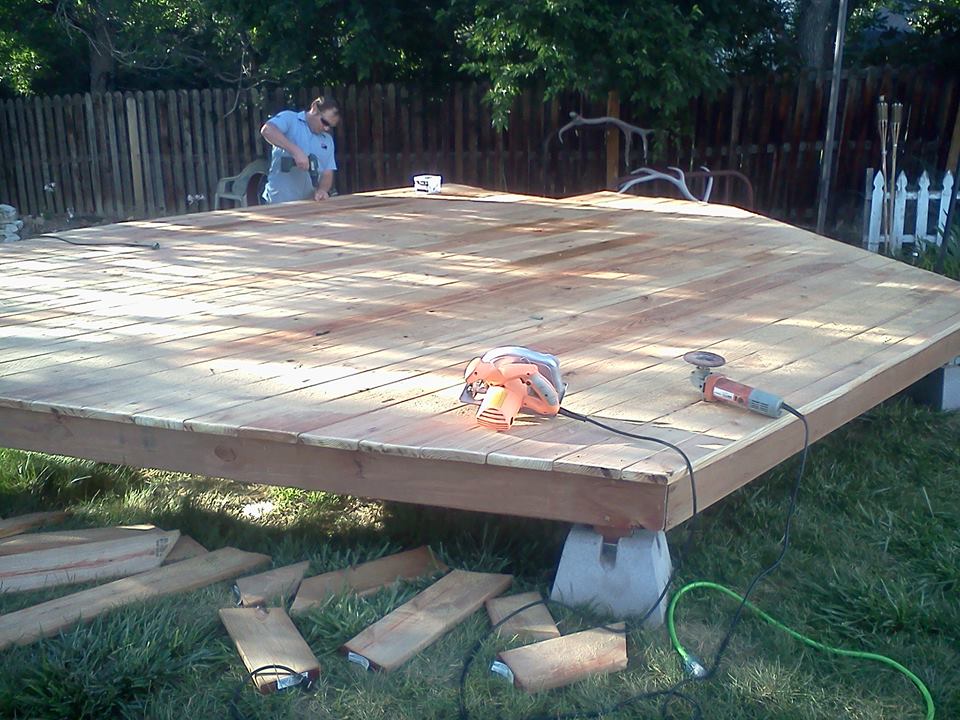
I used a 40 grit flap disc to just hand bevel the ends after the cut just to take off the sharp edge. I suppose I could have used my router and put a specific round over profile, but this was quick.
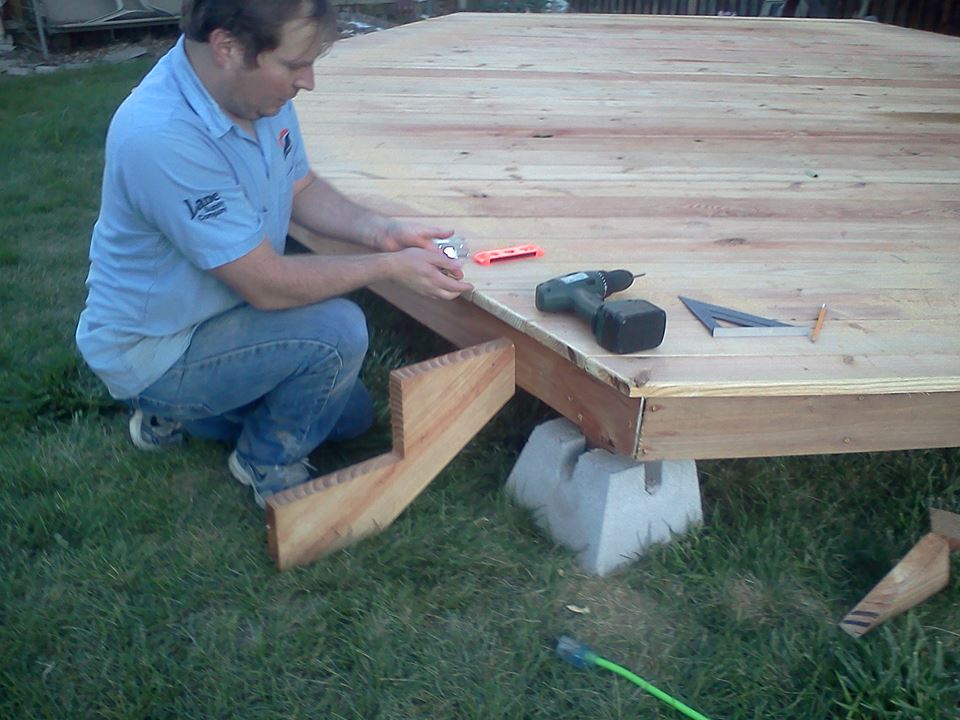
Installing the stairs. I just bought pre-cut stair stringers and used joist hangers (not shown) to attache them.
Gazebo frame positioned on the deck.
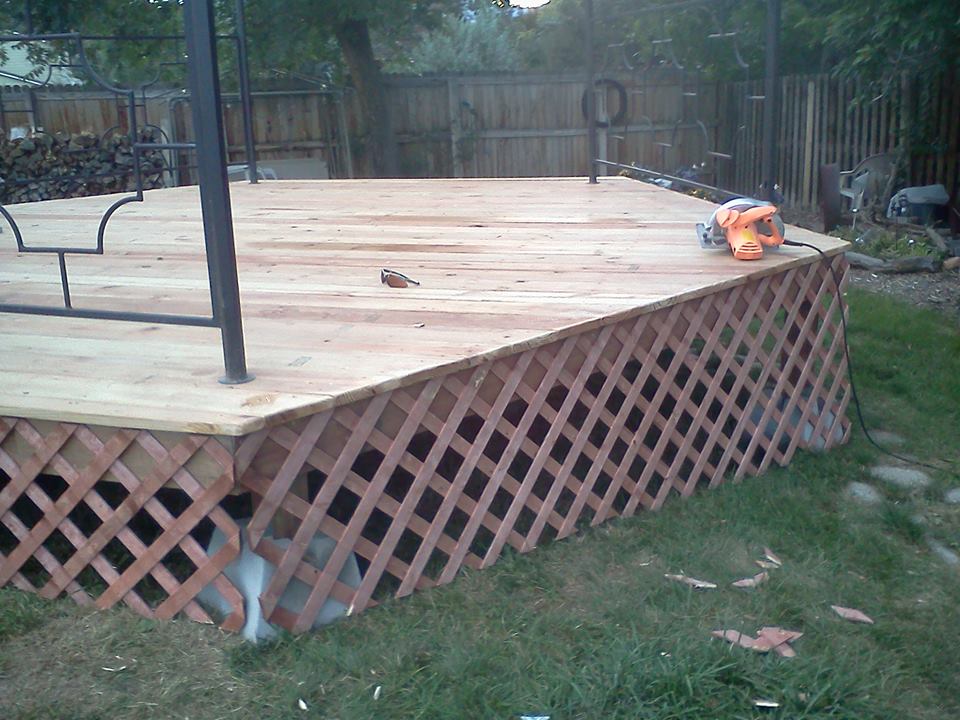
Nailing up the lattice for skirting. So far it has lasted quite well with stain. I may replace it with something else in the future when it breaks down.
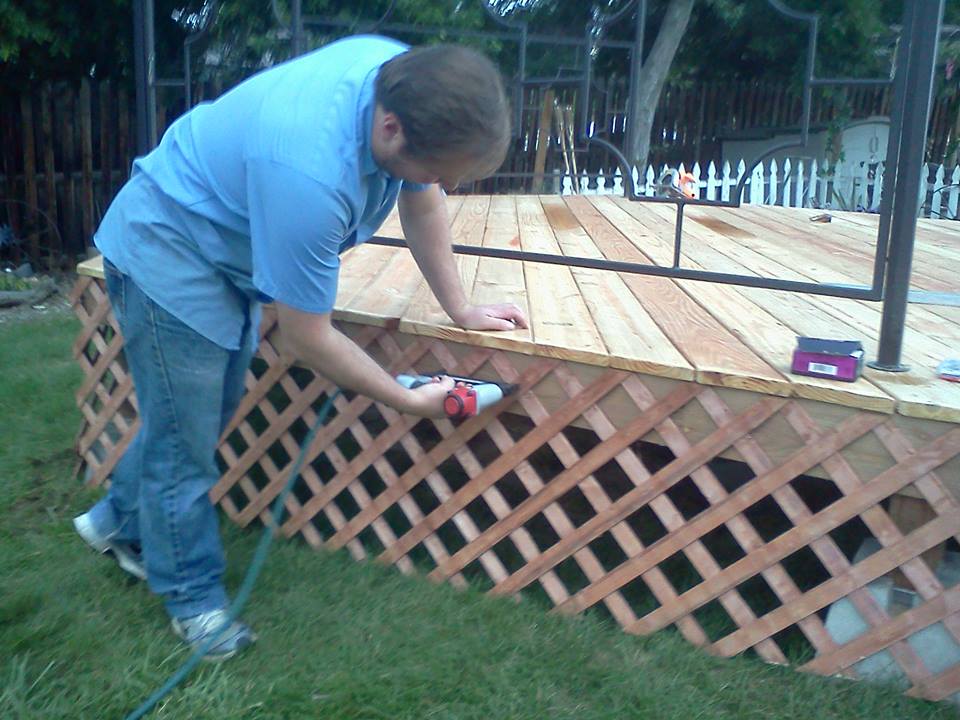
Obviously I had to cut it to fit the contour of the yard.
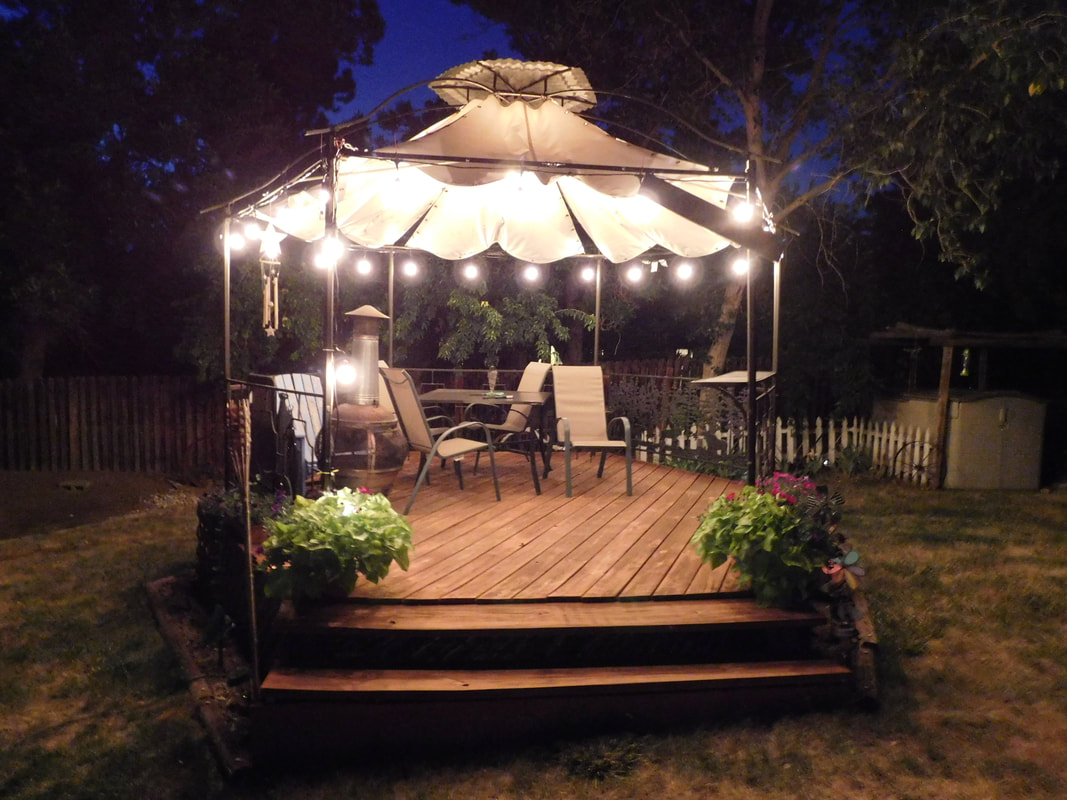
Almost finished. After the appropriate time I sprayed a stain and water protection. The metal frame is screwed and bolted to the deck. Still need to figure out a roofing system. I added bracing and gussets to the metal frame where needed just to increase the rigidity for the roofing system. The metal frame is also weighted pretty heavy as in the next picture you will notice I added some cast iron decorative panels to fill in the bare spaces around the rear of the frame.
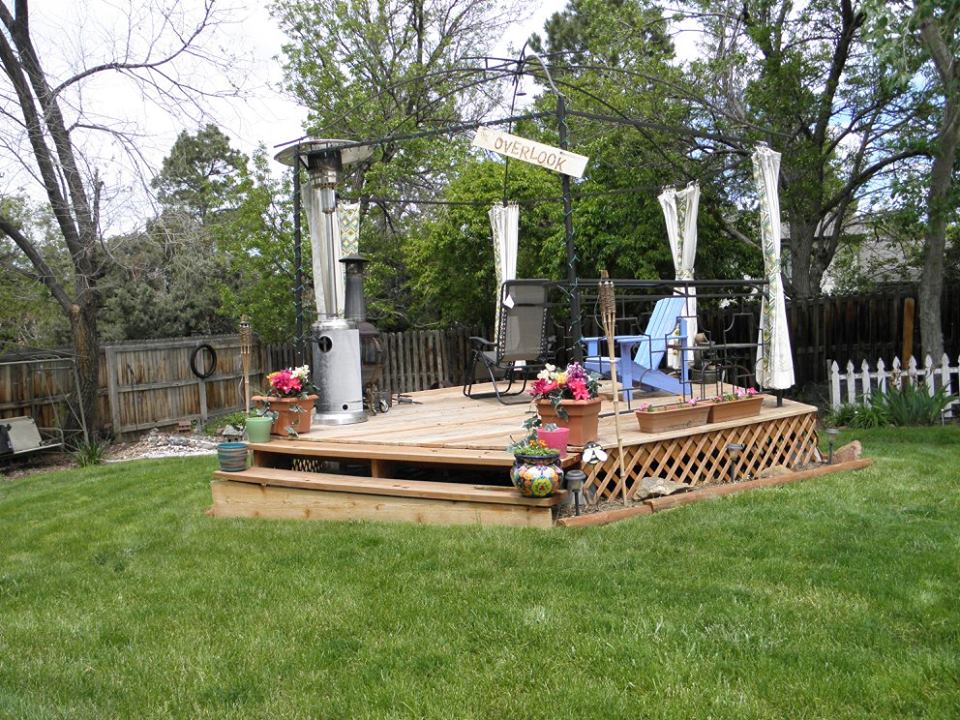
Pretty much finished. I made a top out of used corrugated sheet tin cut in triangles and sheet metal screwed to the existing frame. The large panels are custom sewn semi-trailer tarp material, very heavy and durable. Grommets installed and at the top and the bottom. Tarp panels attached via carabiner clamps at the top and ball stretch cords for the bottom. The elasticity of the ball cords allow for enough movement when things get windy. It has taken high winds like a champ.
|
 AuthorJon "the junk man" helping to promote responsible riding and recreation whether it be at the track or at the trail. Your source for motorcycle how to videos and much more! 
Archives
February 2023
 |

 RSS Feed