
 The mysterious "electro-tester" The mysterious "electro-tester"
Preservation of Knowledge:
If you are new to working on vintage motorcycles, or even if you are not, chances are you have encountered suspect ignition components. Lets face it these early electronic components, ignition coil, magneto, CDI boxes, ect... are only getting older and older as time marches on. Off to the internet you might say, right? Well sure, that is probably what brought you here, however a lot of responses on the internet will say read your service manual and sure that IS the best starting point. The service manual, especially the one published by the factory, is in fact the bible for your particular bike. That is until you get to sections in that bible that reference certain factory tools for testing, tools that were not (then) and are not (now) readily available. I am talking about certain specialty electronic component testers that were purpose built for factory dealership mechanics to use for servicing these old bikes when they were new. I am talking specifically about a tool colloquially known as Electro-Testers. Multi-function test equipment is nothing new. In fact automotive OEM and aftermarket companies have been making all types of all-in-one type test equipment going all the way back to the early days of the automobile. The problem with these specialty purpose tools is they can fall out-of-date as the years roll on and engine management technology changes and evolves. 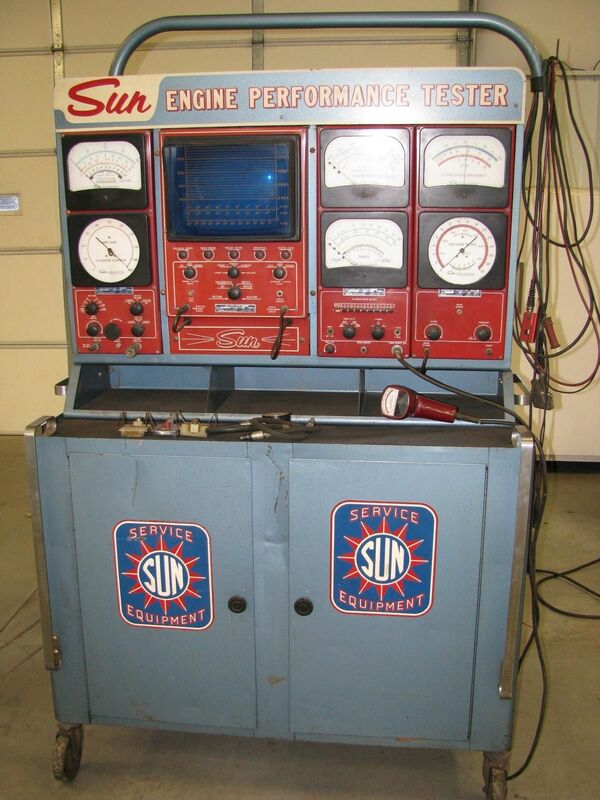 Automotive Engine performance tester Automotive Engine performance tester
And here lies the problem with a hobbyist that is trying to keep a motorcycle on the road some 50+ years later. These tools become as hard to find as the knowledge that goes with them. I thought it would be fun to take a look at a few of these specialty tools from a by-gone era and demystify what some of them do.
What is an Electro-Tester?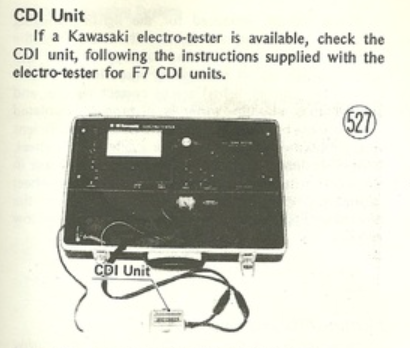 Kawasaki CDI unit test outlined in the service manual Kawasaki CDI unit test outlined in the service manual
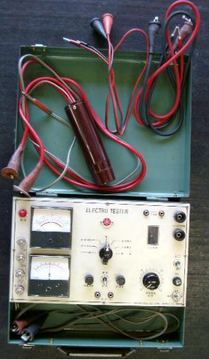
In the context of vintage motorcycles, an electro tester is a device that combines many diagnostic testers into one conveniently packaged unit. Most of these units encompass all the necessary tester functions related to ignition & sometimes lighting/charging into a box with specific test leads or connectors for each specific component that may need testing. This was done to make quick work of determining if a motorcycle electrical component, for example an ignition coil, was "good" or not.
Why not just use a multi-meter? True, this is a viable option and most service manuals will reference procedures and values for using an off the shelf multi-meter, which is how most at home DIY'ers will have to diagnose specific electrical components. The benefit of these (previously) dealer only tools is that they were compact, contained all the tests in one box and were a, quick plug it in and read the dial, to determine a GO or NO-GO component. The goal was speed, repeatability and reliability. What was really appealing about these devices is some of them could test CDI boxes for certain models. In some Kawasaki manuals it even stated if an Electro-Tester was available (see inset) use the instructions that came with the tester to determine if the CDI unit was good. Sometimes an alternative method with a multi-meter was either not presented or very complex and subjective. Using one of these test boxes would have been a quick task for a mechanic that is on the clock. SO what can some of these all-in-one electro testers do?
Below are some common functions and tests these testers in a box can do, regardless of the manufacturer.
 Spark test (Ignition coil test) Spark test (Ignition coil test)
Spark Test Gap/Ignition Coil Test
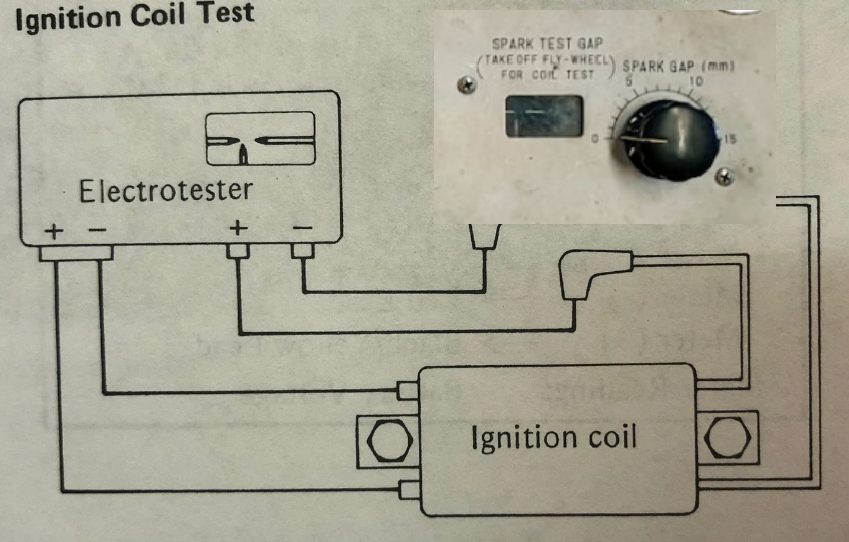
One of the most useful tests is the ignition coil test. Test leads are attached to the high tension (spark plug) coil. A voltage generated from the tester is used to jump the gap between the two pointed electrodes. A dial is used to vary the gap as the coil is tested as viewed through an observation window. Quality of the spark can be viewed and depending on the maximum gap the spark can jump will determine the quality of the coil. Note: The 3rd electrode is not connected to anything. Its function is to help propagate the initial spark to the opposing electrode when starting the test. 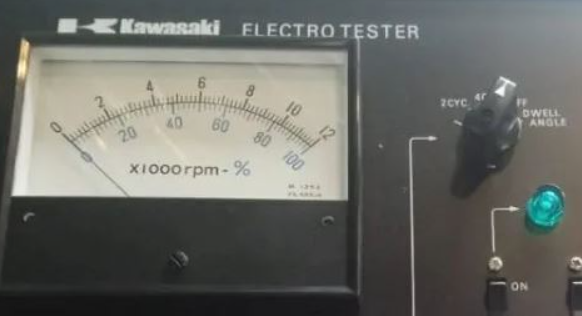 Tachometer & Dwell angle combination gauge Tachometer & Dwell angle combination gauge
Tachometer/RPM
A tachometer to read engine RPM's was sometimes included on these testers. While not really a test in of itself, the tachometer hooked leads to the spark plug wire and used the ignition firing pulses to then calculate the engines RPM via a sweeping needle indicator. A selector dial to selector between 2 and 4 stroke. The tachometer would have been a useful tool for mechanics working on motocross bikes that didn't have a cable operated tachometer to set things like the idle speed, carburetor tuning at specific RPM's, and testing charging voltage/amps during night time operation. Also this would have been a bit more accurate than a cable operated gauge as those get progressively inaccurate the faster they spin due to frictional losses in the gear train that make them work. 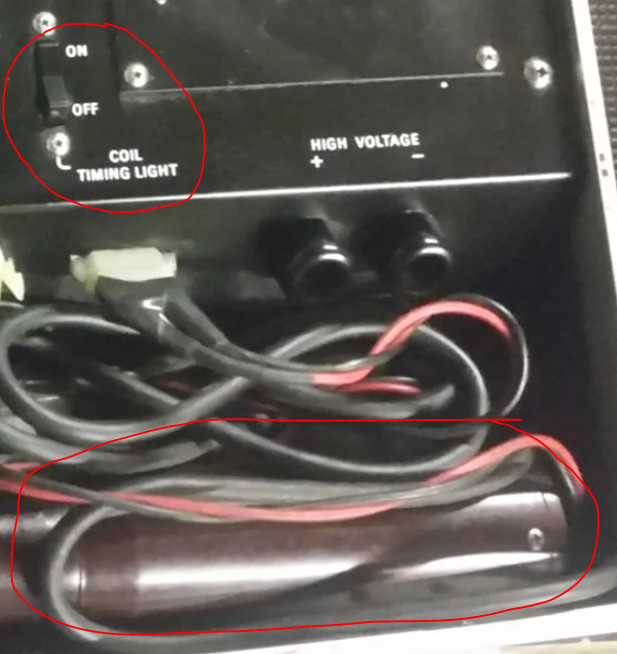 Ignition timing light function Ignition timing light function
Timing Light
Again, not a specific test but a tool to be used in conjunction with other features of the tester. A timing light can help on bikes that have adjustable timing by flashing a light when the spark plug fires. Using the service manual a mechanic can quickly set timing advance on bikes that require it. 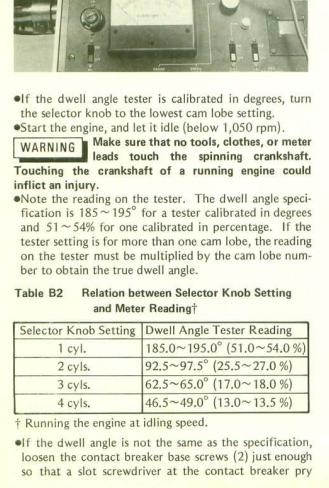 Dwell angle adjustment procedure for up to a 4 cylinder engine Dwell angle adjustment procedure for up to a 4 cylinder engine
Dwell angle test (see previous tachometer picture)
A test that is specifically for setting accurate timing for contact breaker point type ignitions. The tester can give a readout of the rotational angle (or percentage) of the time the contact breaker points are closing. The service manual will give a value for this and the mechanic can use this mode to slowly open or close the point gap to achieve the correct ignition timing. 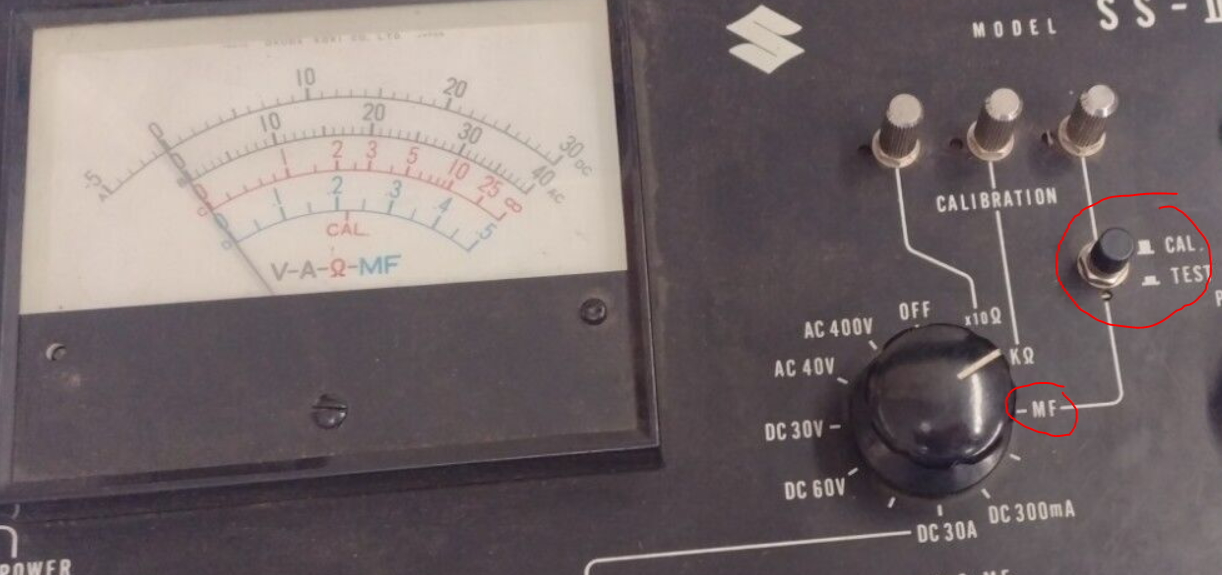 Condenser test Condenser test
Condenser capacity test
Related to contact breaker point type ignitions are the capacitors that store up energy that is released through the points and then is stepped up by the high tension (spark plug) coil. Some testers have a mode to test the capacity, displayed as MF (microfarad). When in this mode the capacitor will be charged and its capacity can be measured. The service manual will give a specific value that the capacitor should read. This can make quick work of ruling out a faulty condenser when diagnosing ignition problems. 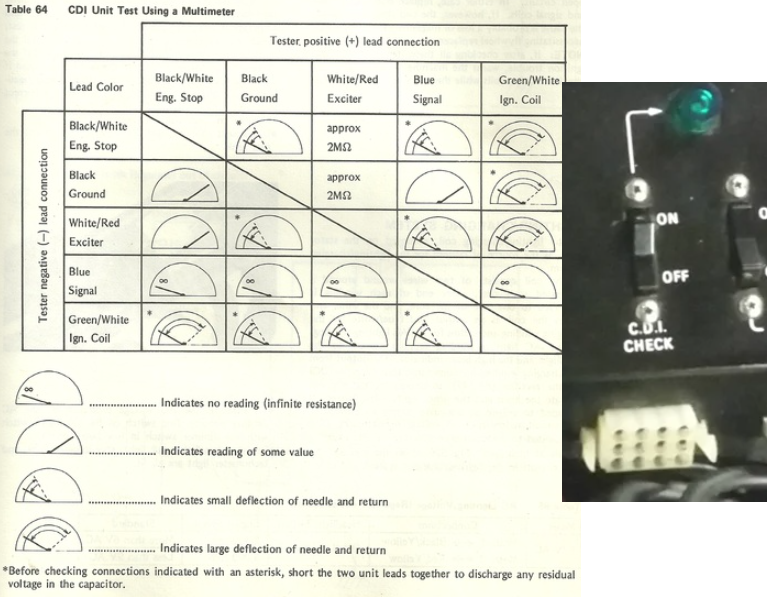 "CDI Check" consolidates these multi-meter tests into a single opperation "CDI Check" consolidates these multi-meter tests into a single opperation
CDI, PEI, Ignition box test
A simple GO/NO GO test using some internal circuitry to determine a functioning or non functioning ignition box. The actual way the tester determines this is a bit of a mystery at this time. However anecdotal experience is that this test could result in false positives/negatives. More research would need to be done, however back in the day when the electronics were not degraded it was probably fairly accurate at determining faulty CDI boxes on used bikes. Examples of electro-testers from various motorcycle brands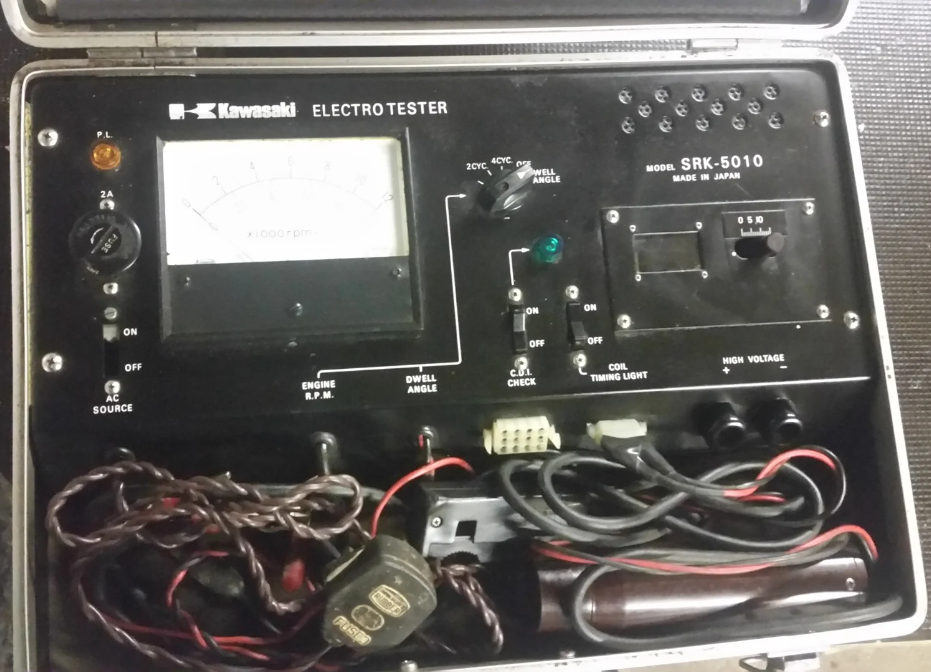
Kawasaki Electro Tester
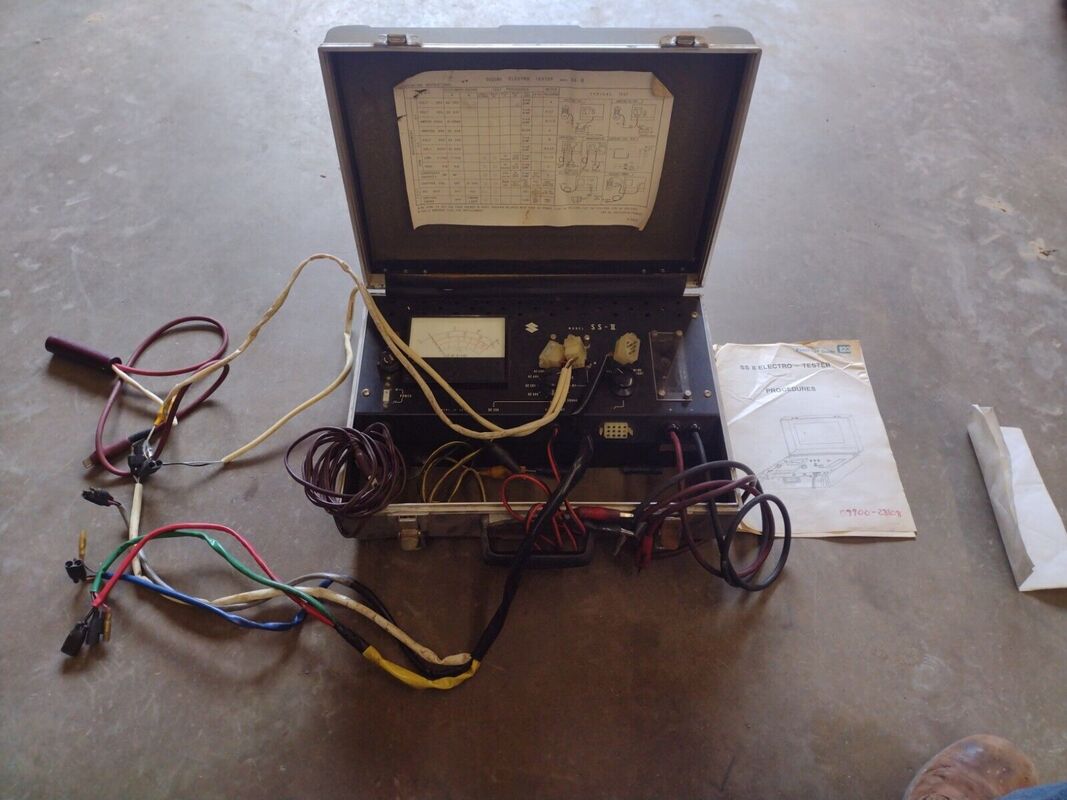
Suzuki Electro Tester
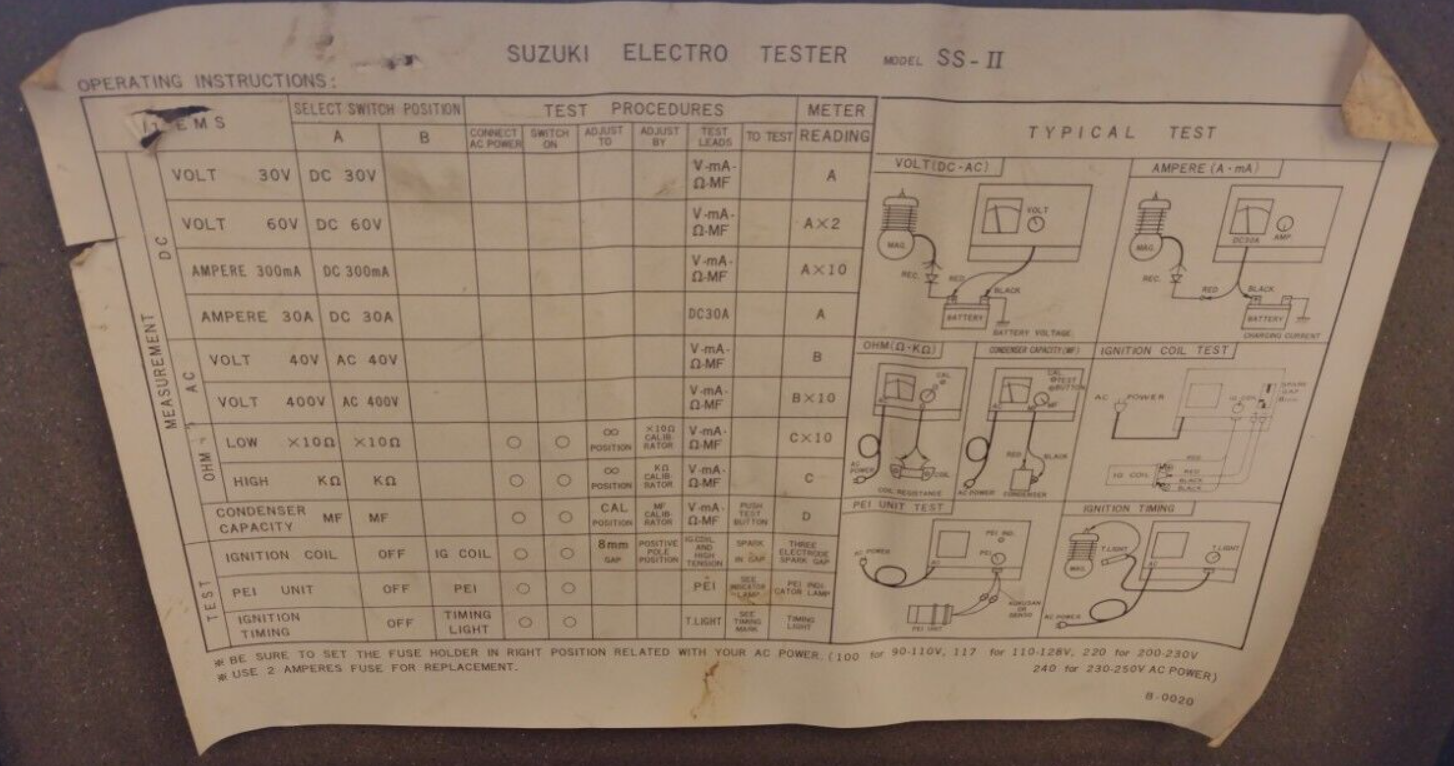
Suzuki Electro Tester quick guide
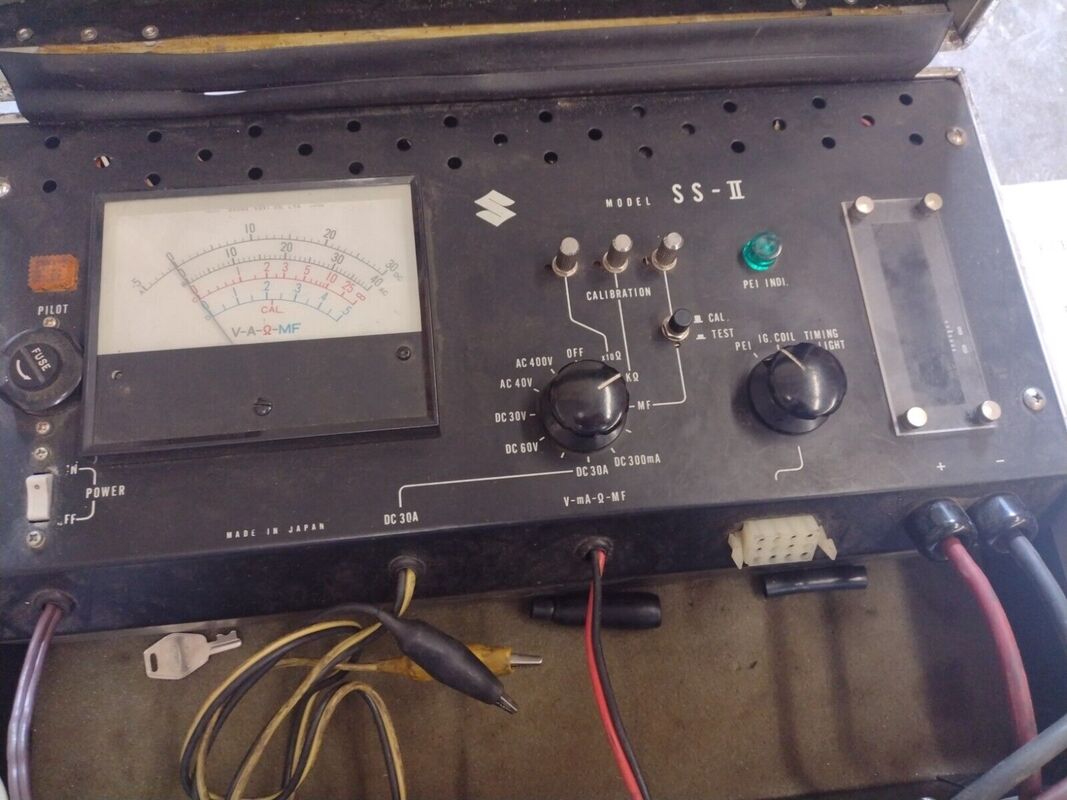
Suzuki Electro Tester close up
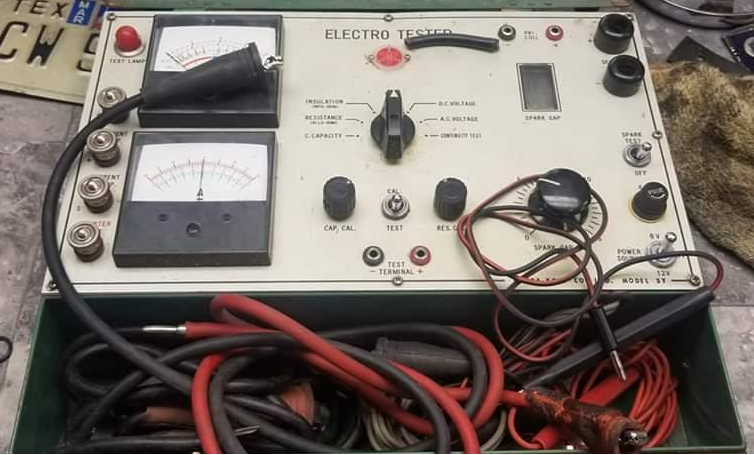
Yamaha Electro Tester
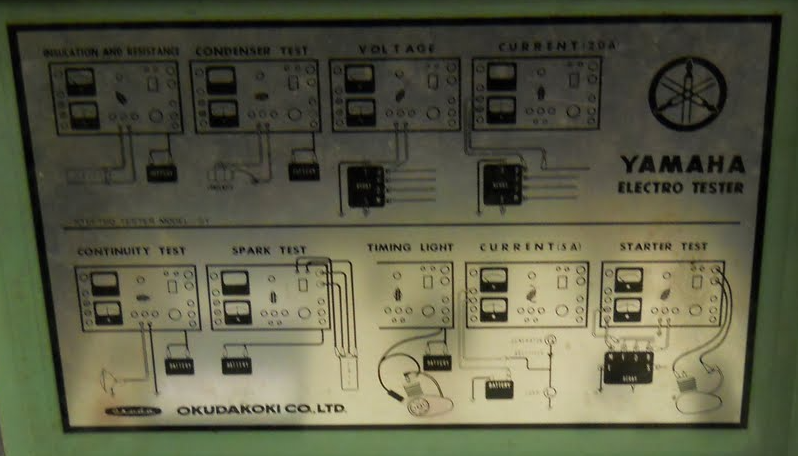
Yamaha tester instructions
Honda had something similar, but simply called it a SERVICE TESTER, however the functions were pretty much the same as Suzuki and Kawasaki's version in function.
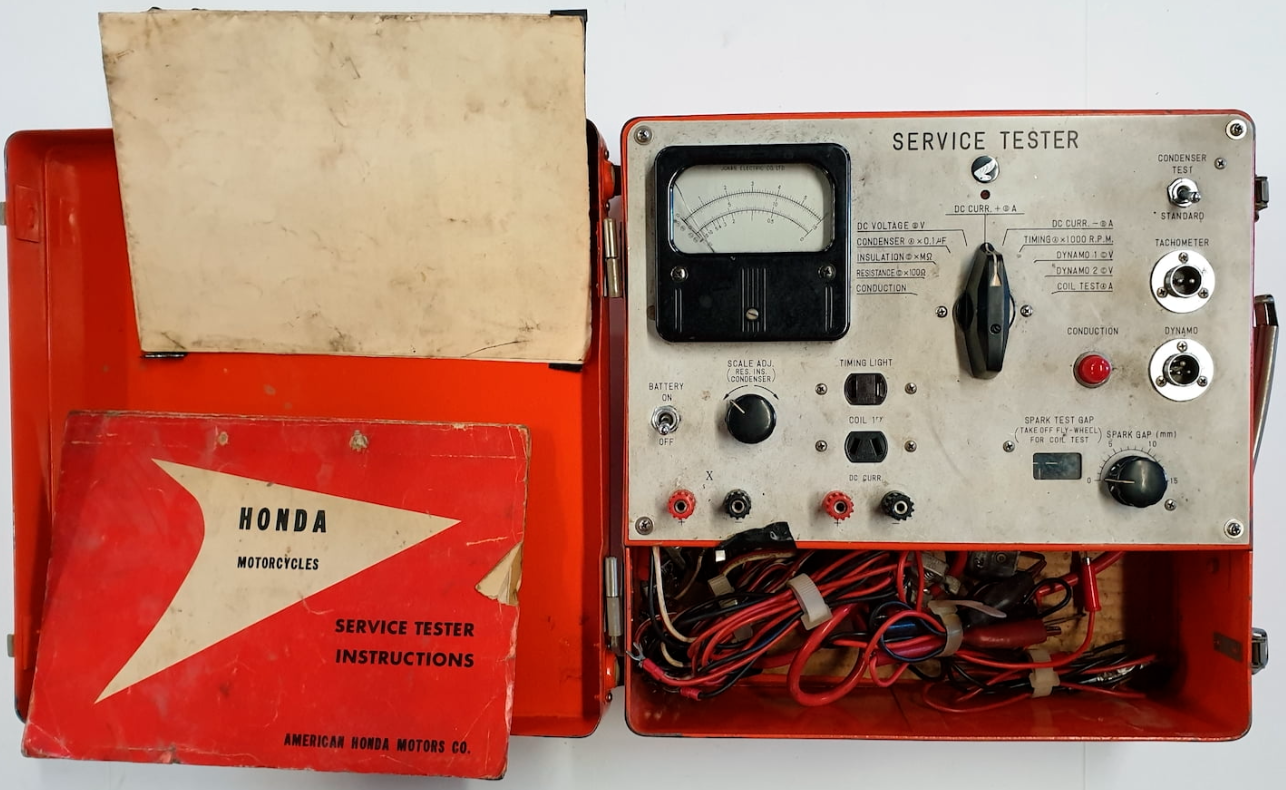
Honda Service Tester
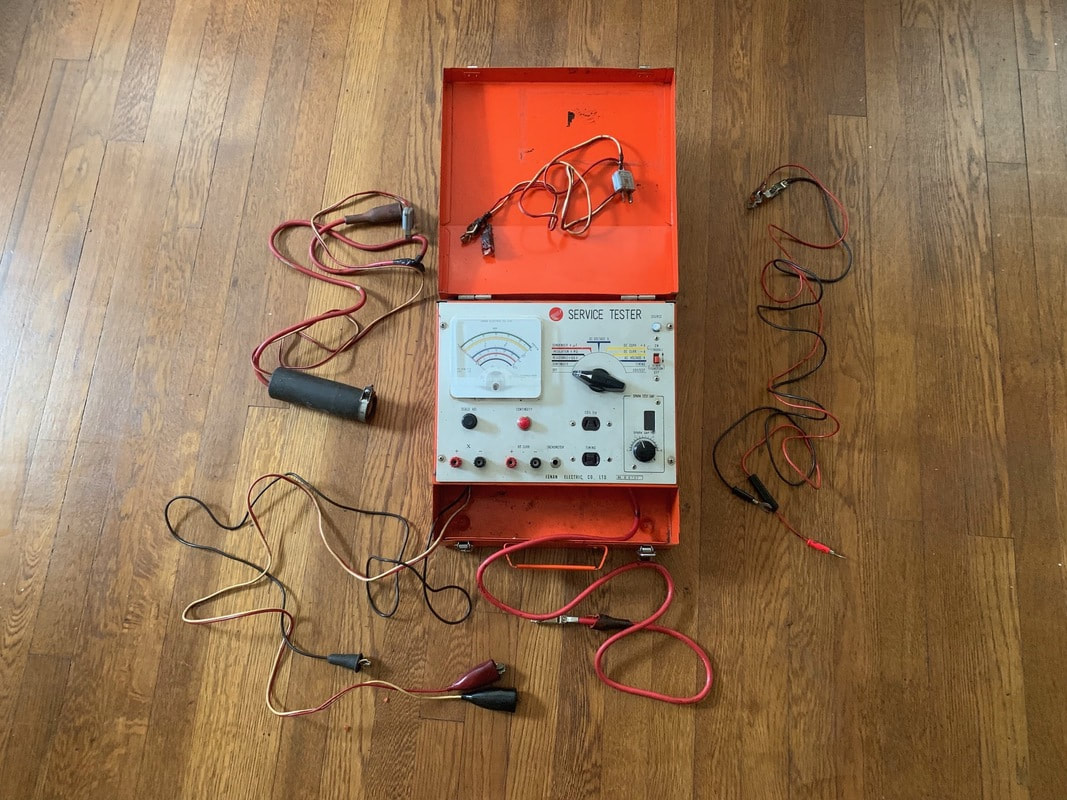
Honda Service Tester accessories
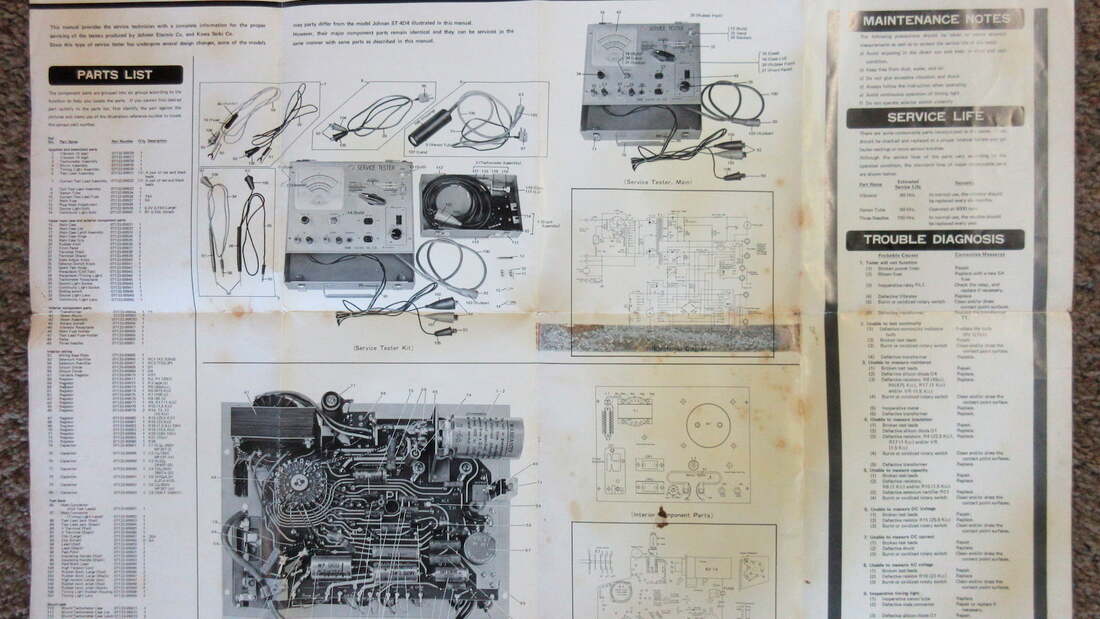
Honda Service Tester instructions
And just in case you thought these tools were just for motorcycles they were pretty common for gasoline automotive applications as well. Here is an example that has bundled connectors for various applications of CDI units that would have come on early cars that had electronic ignition.

A typical ignition tester designed for automotive use
Comments
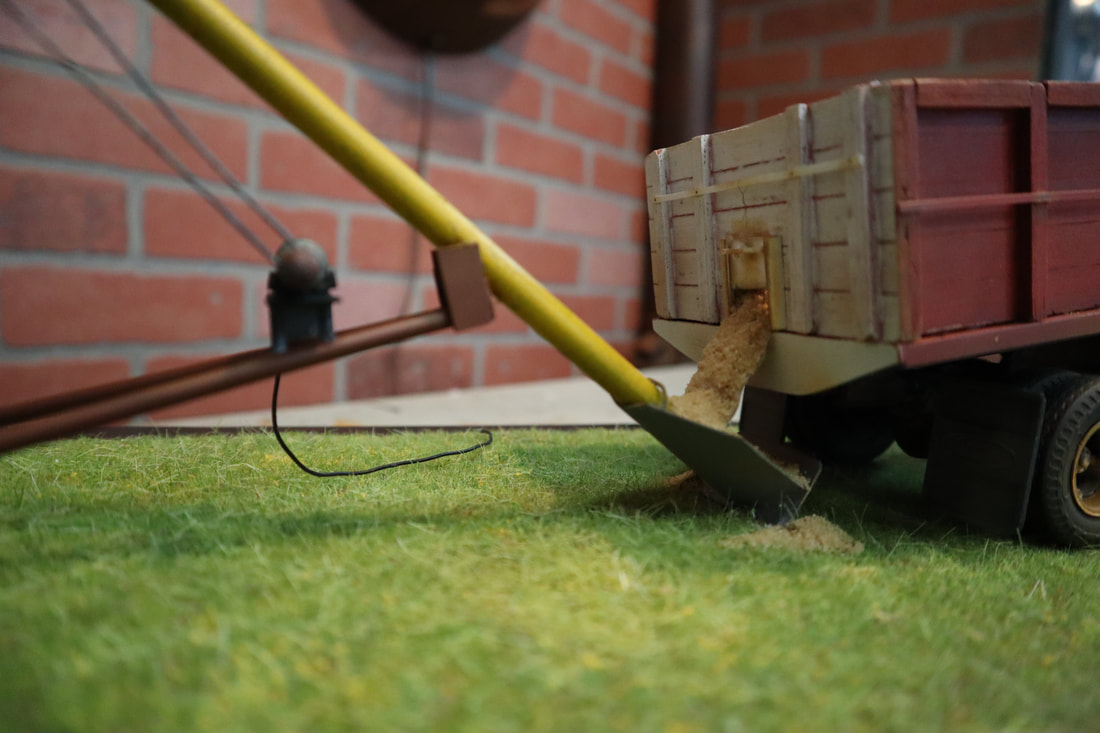
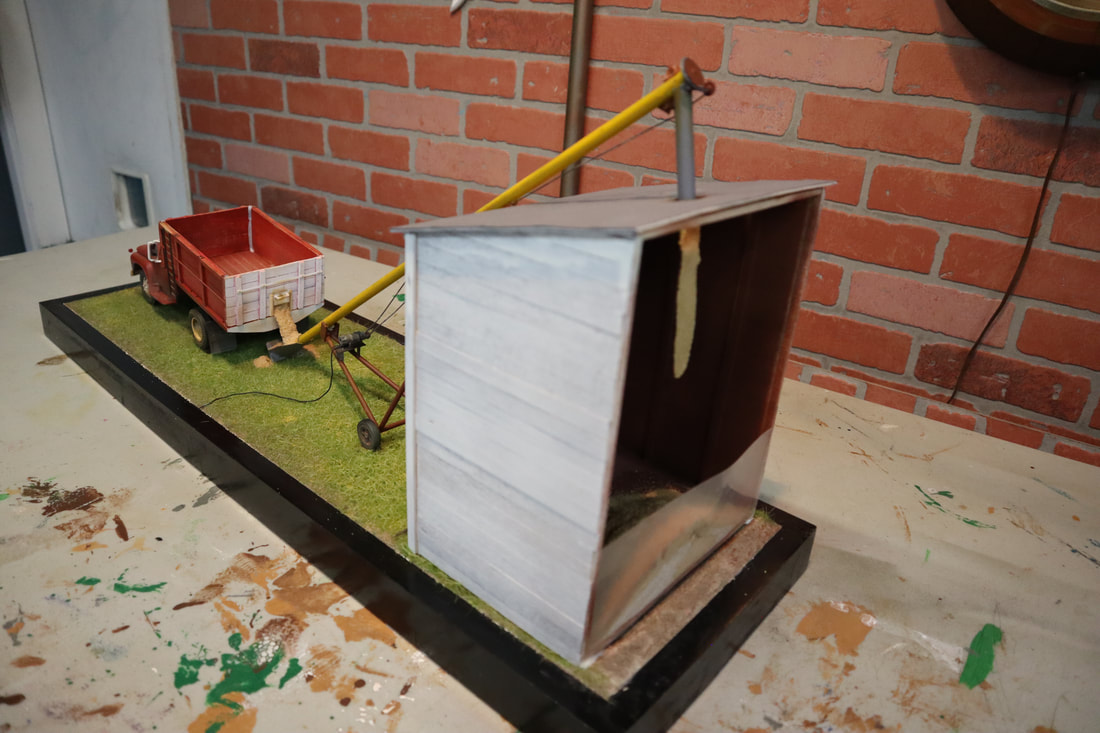
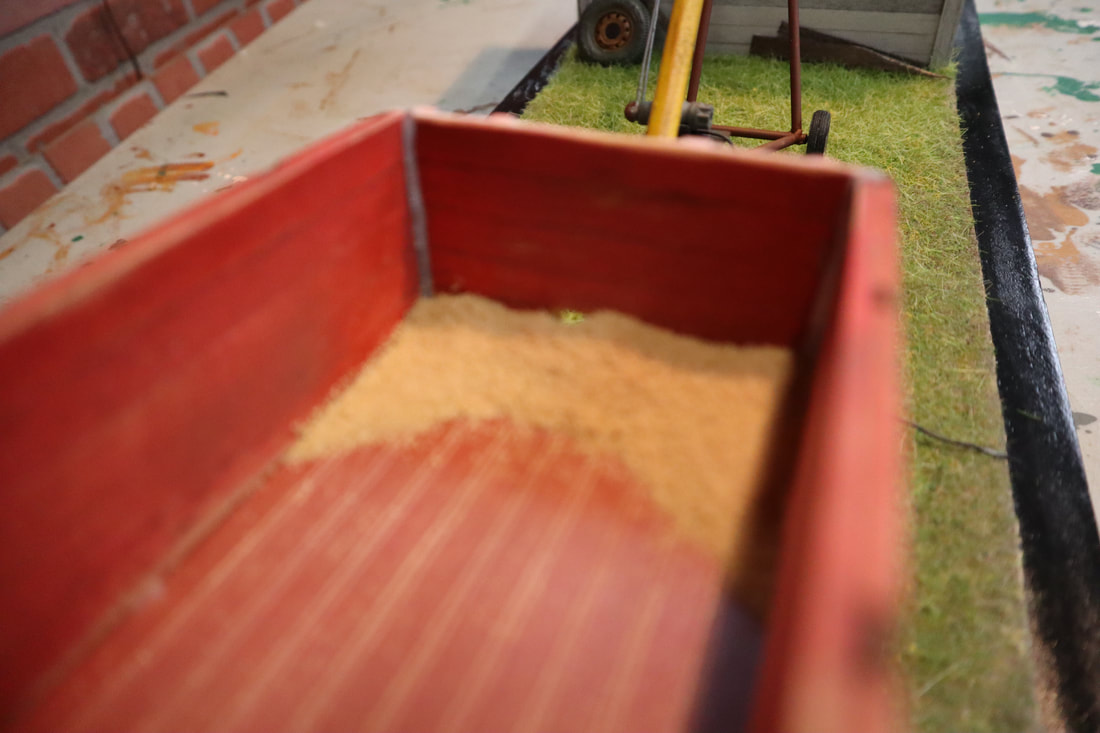
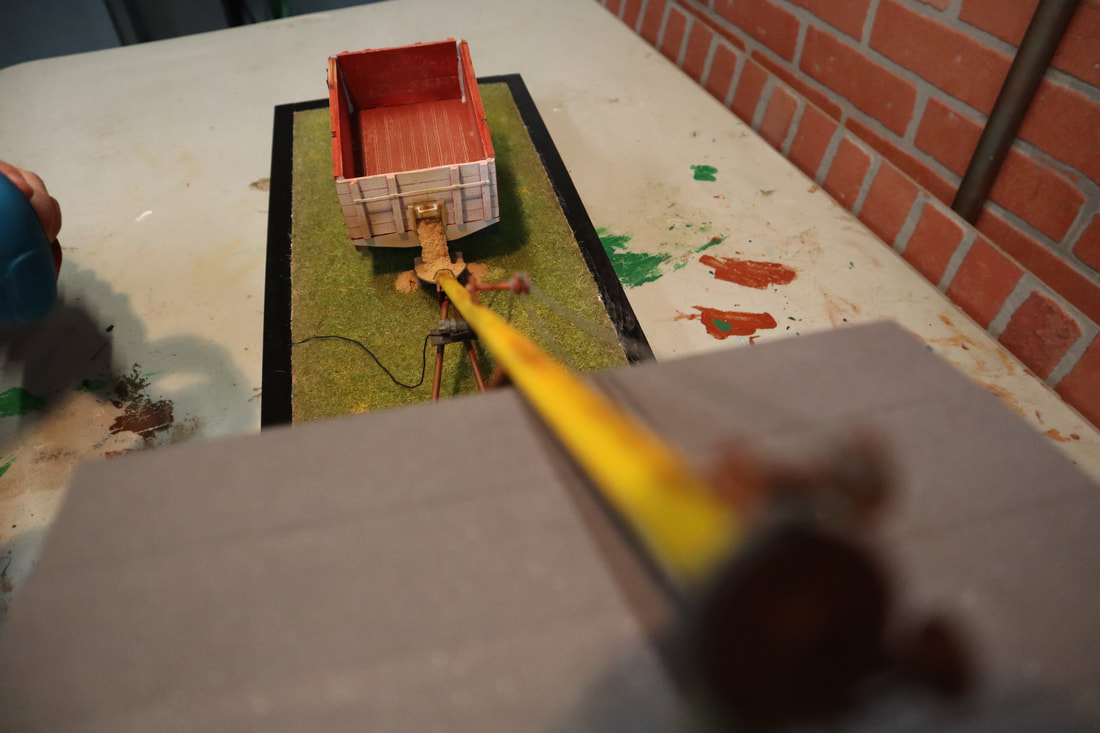
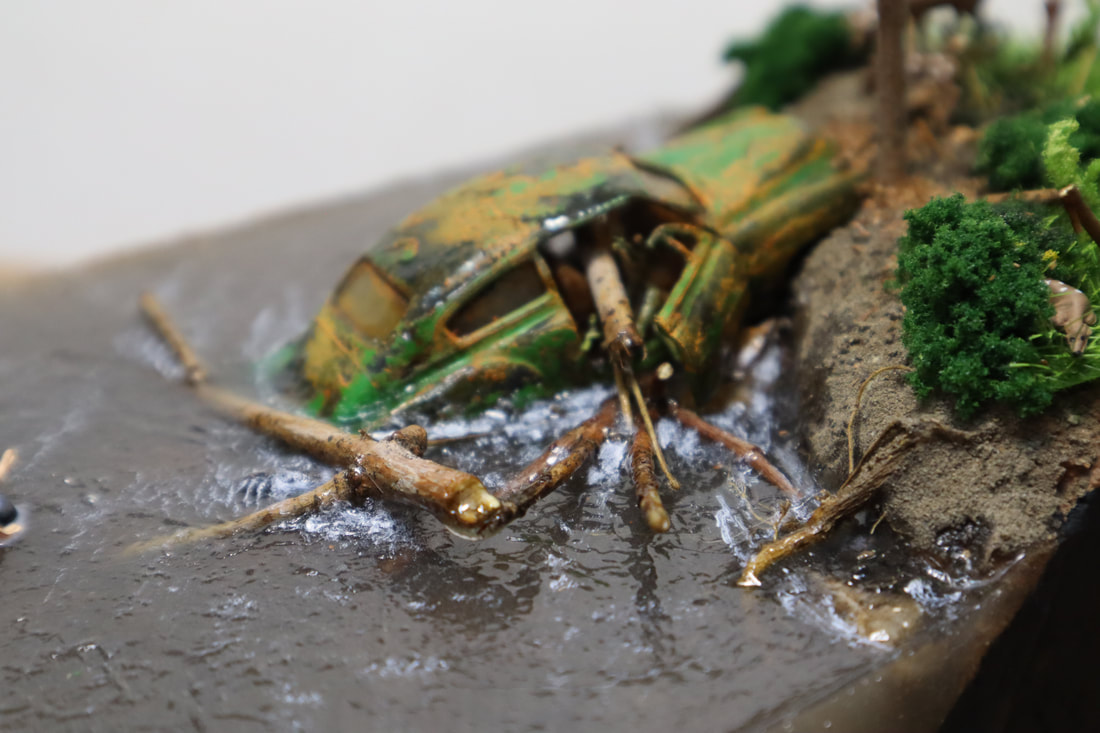
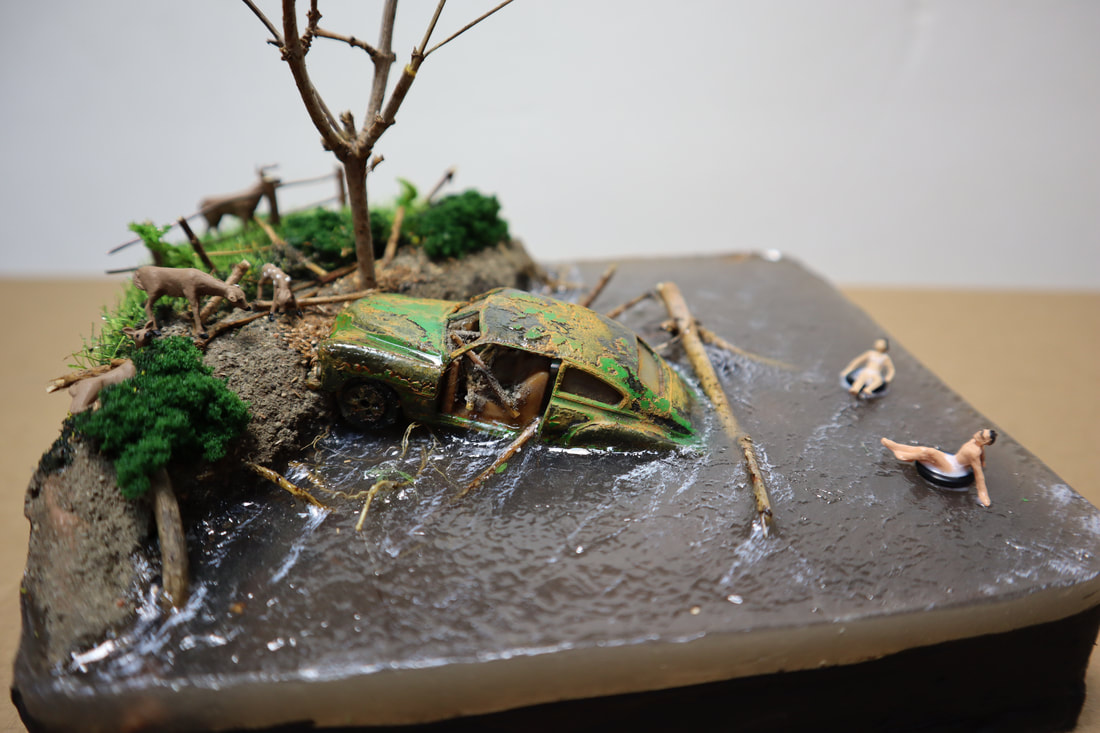
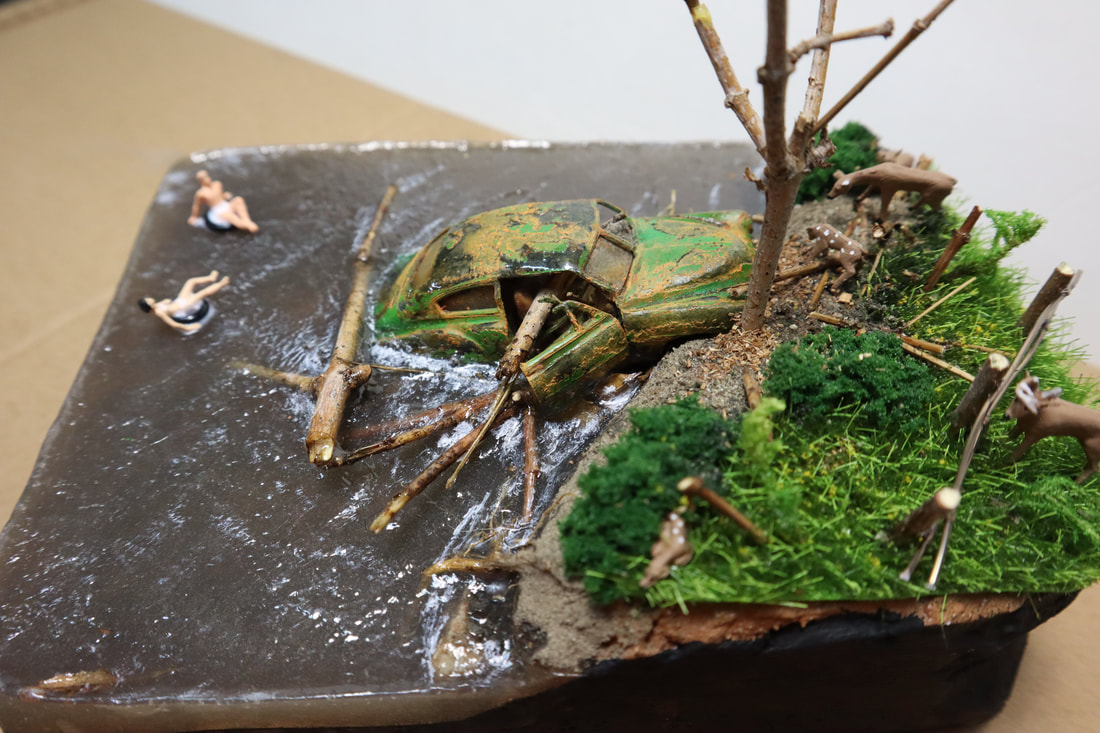
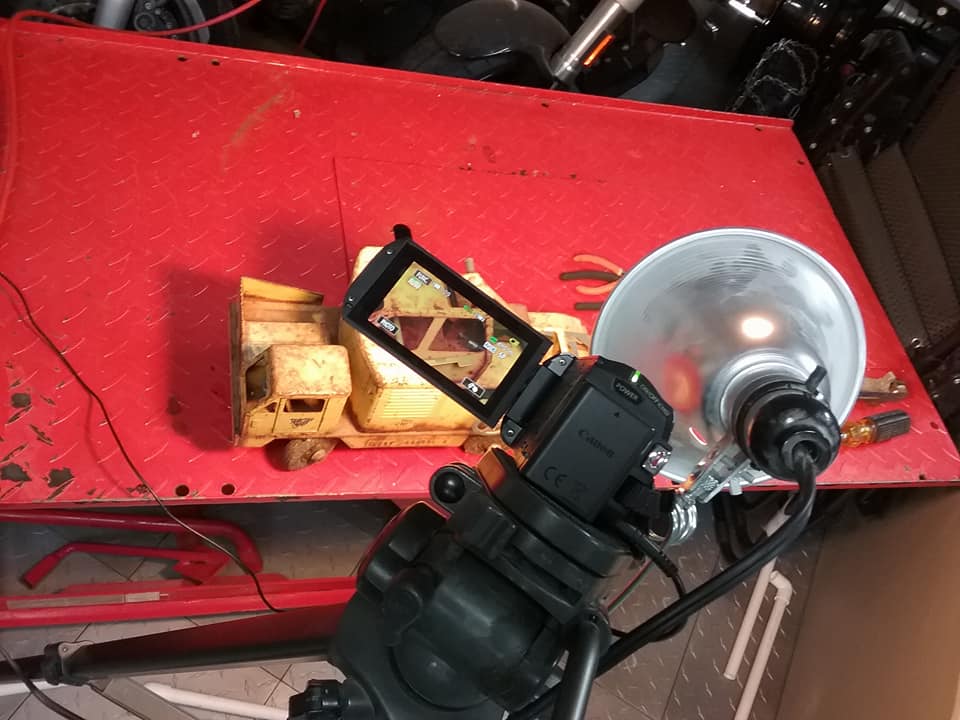
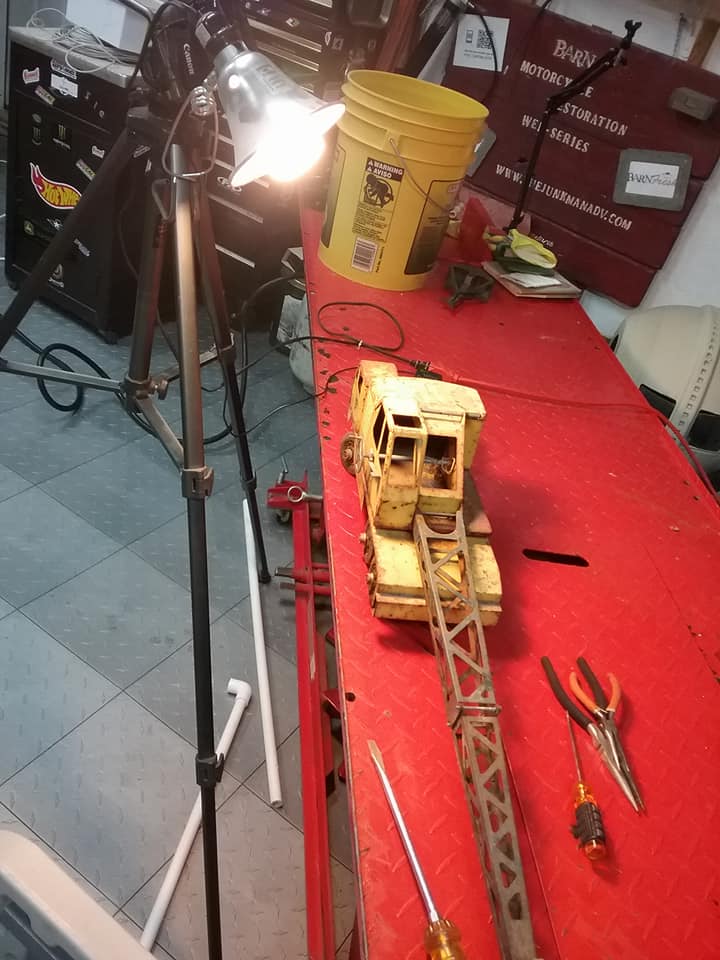
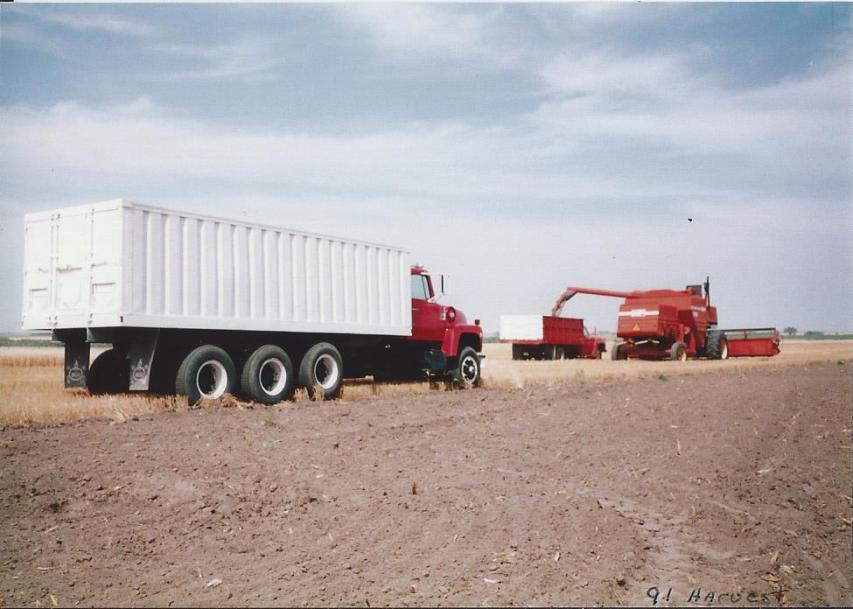
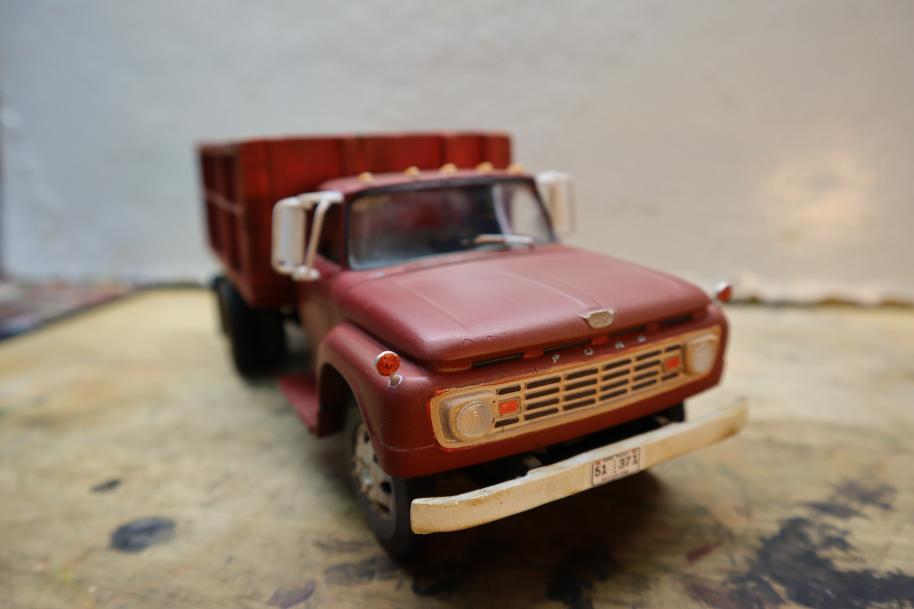
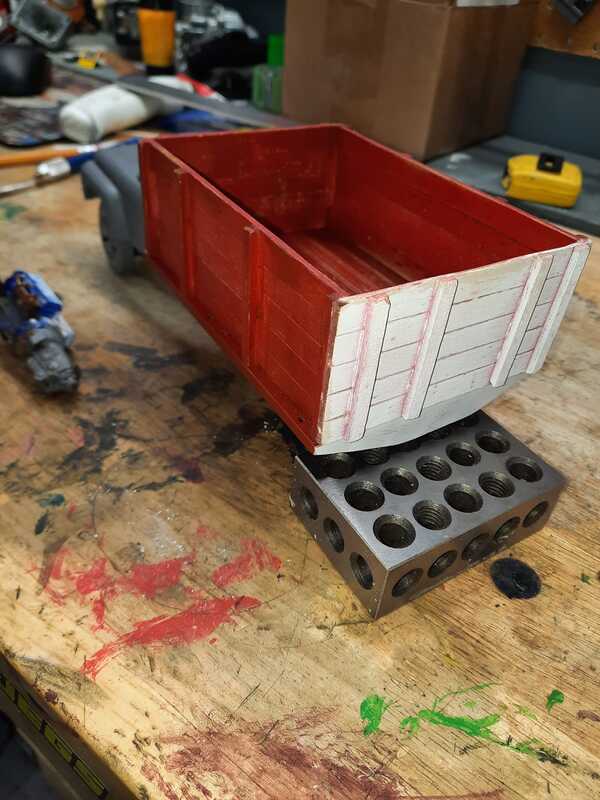
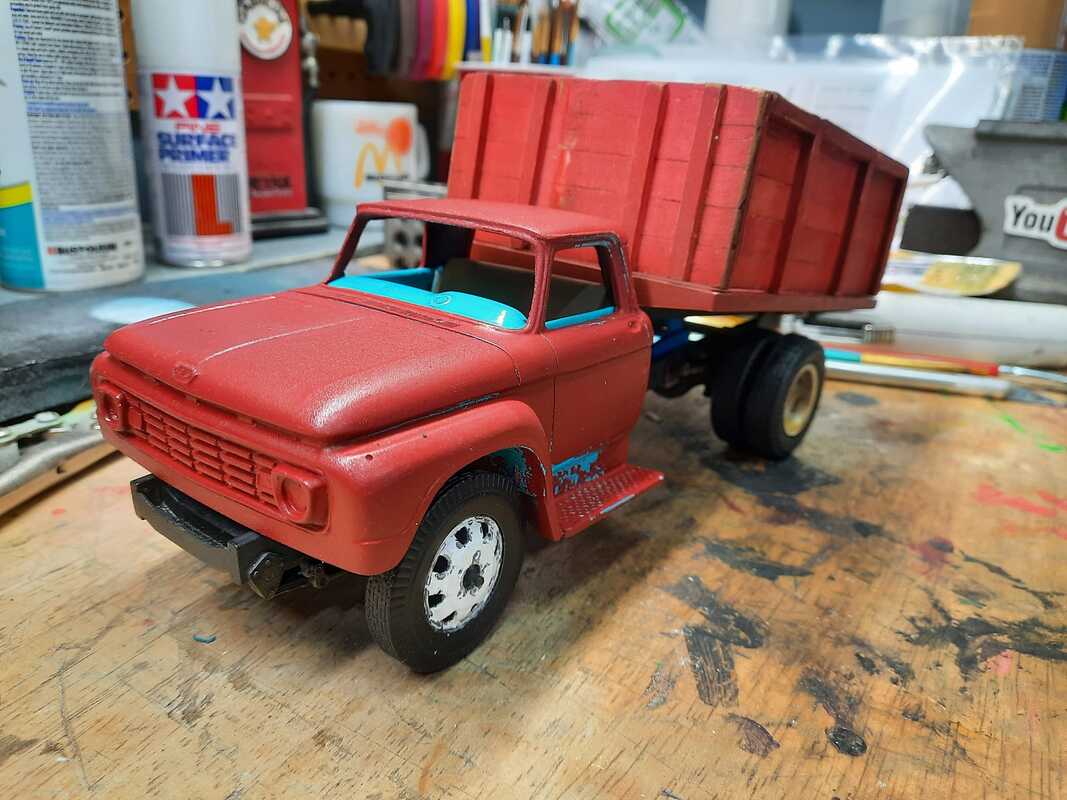
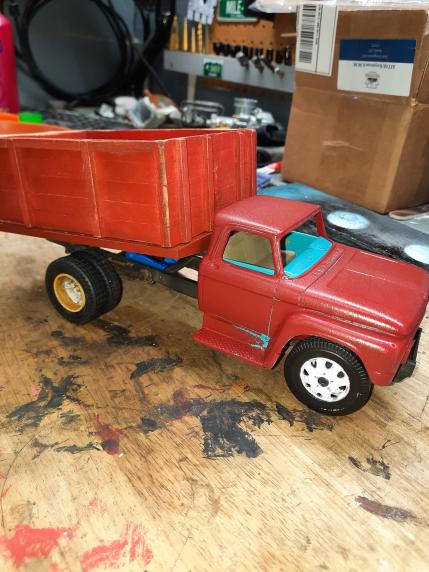
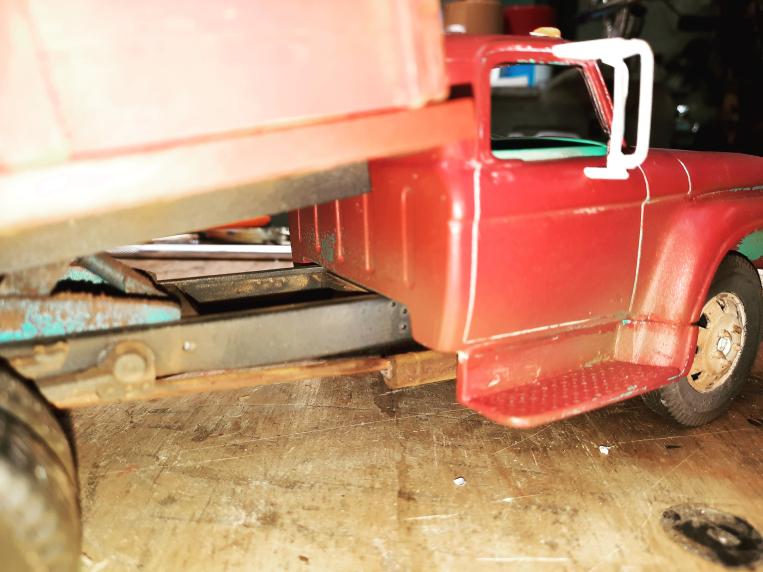
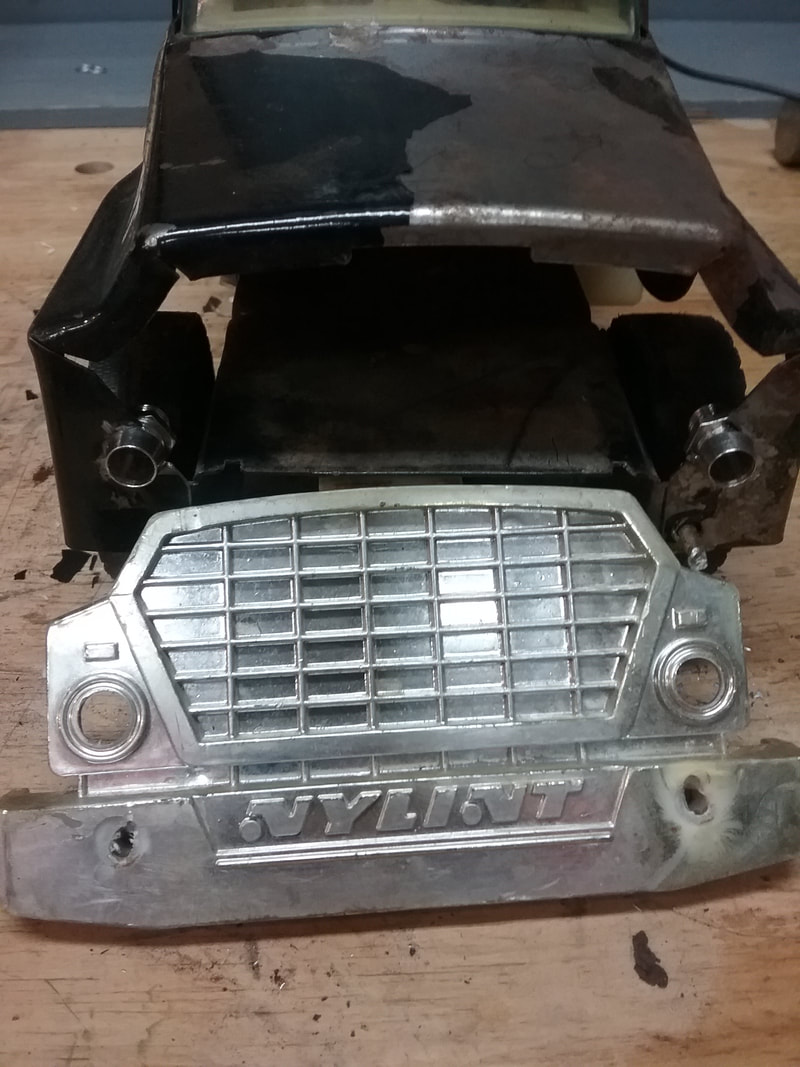
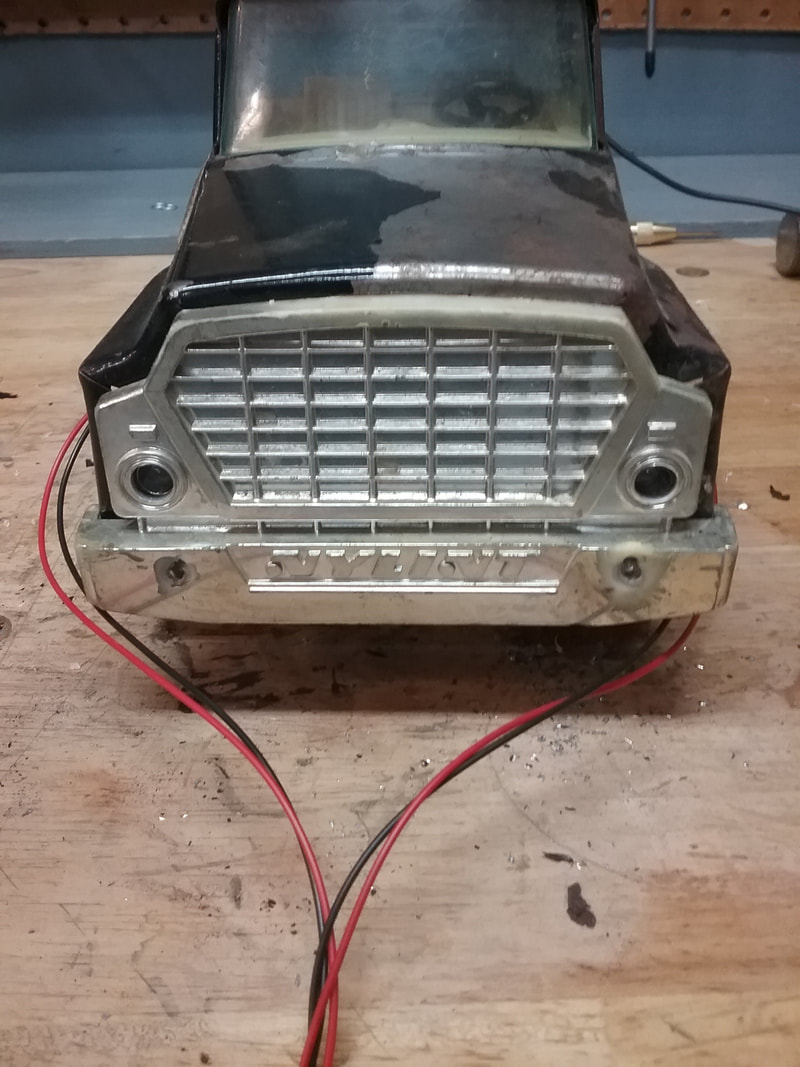
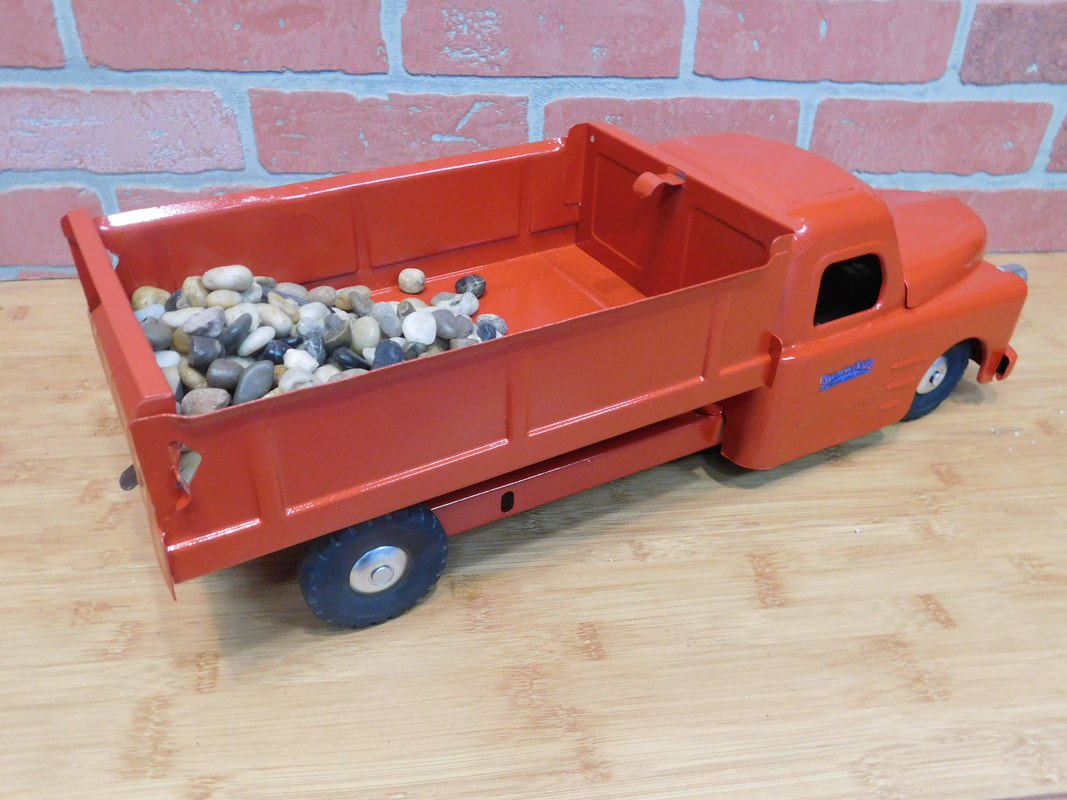
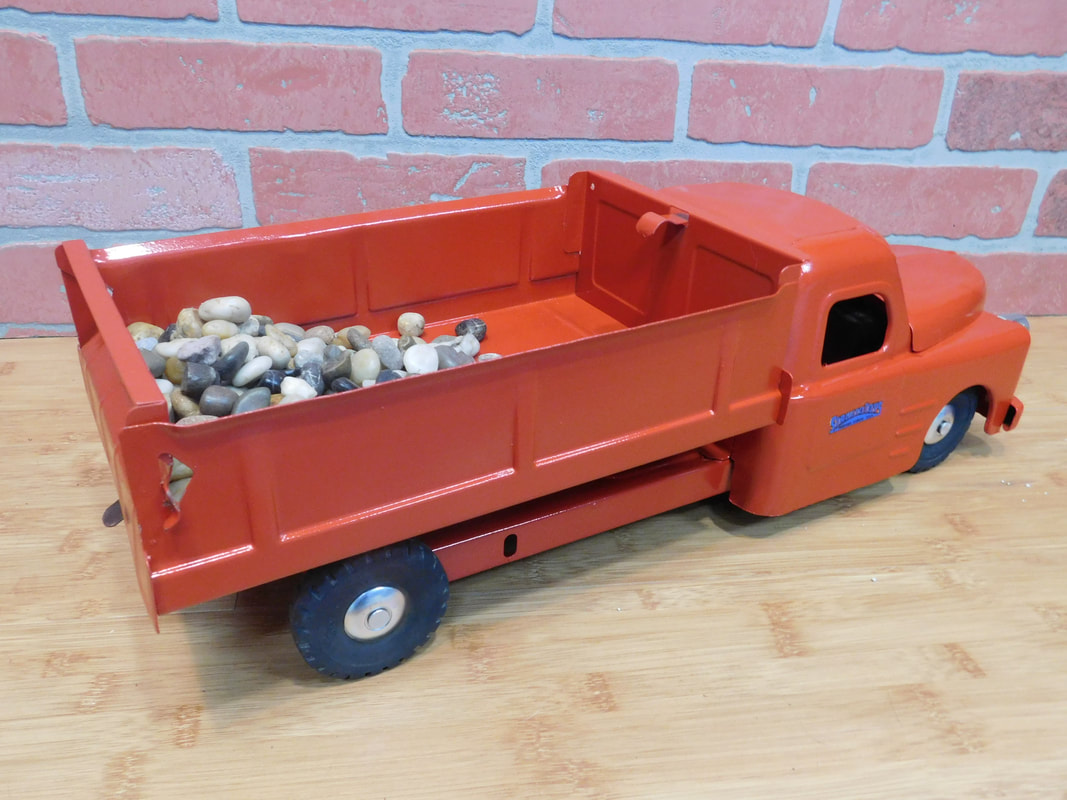
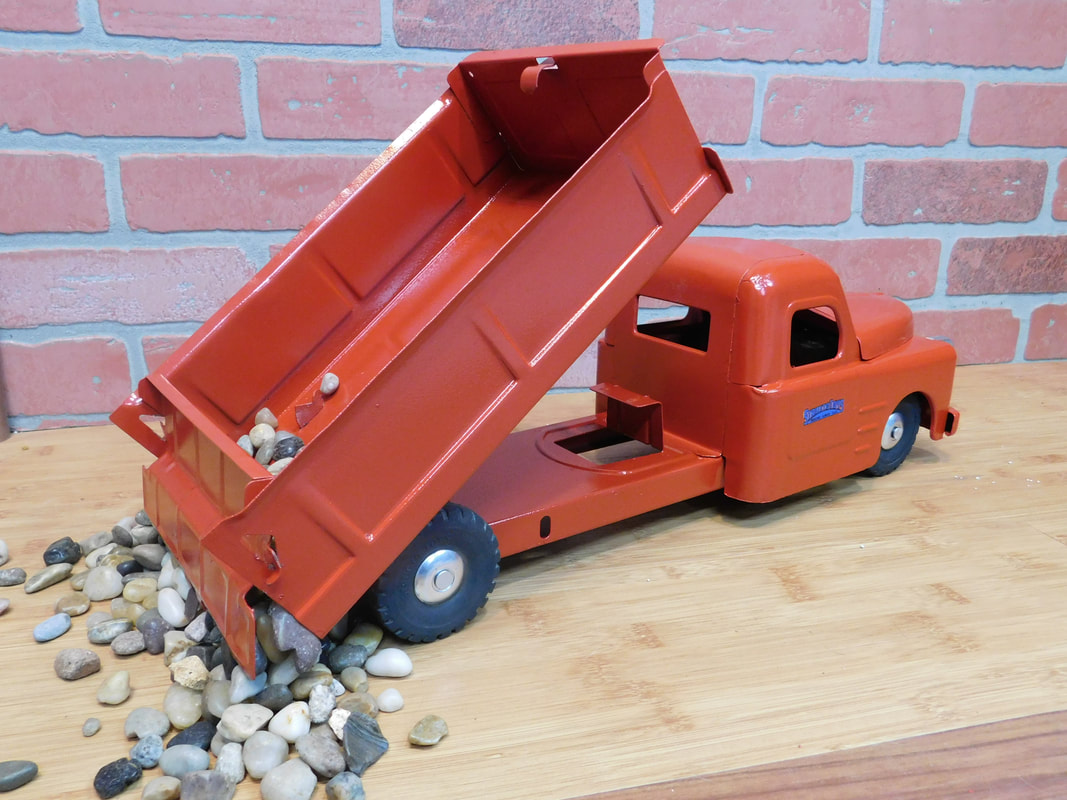
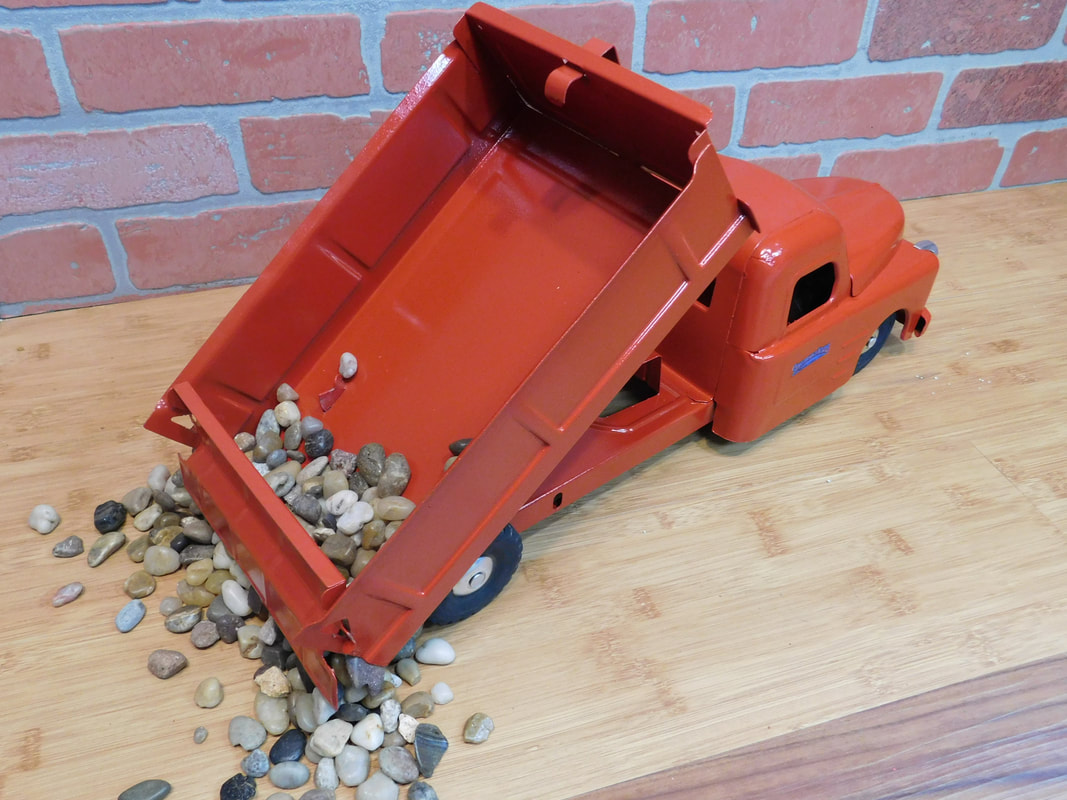
 Ford F600 & grain auger Ford F600 & grain auger
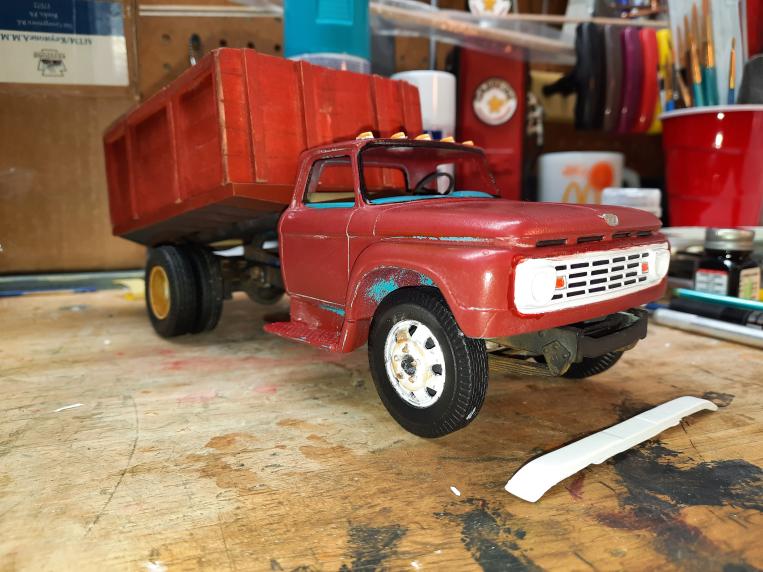
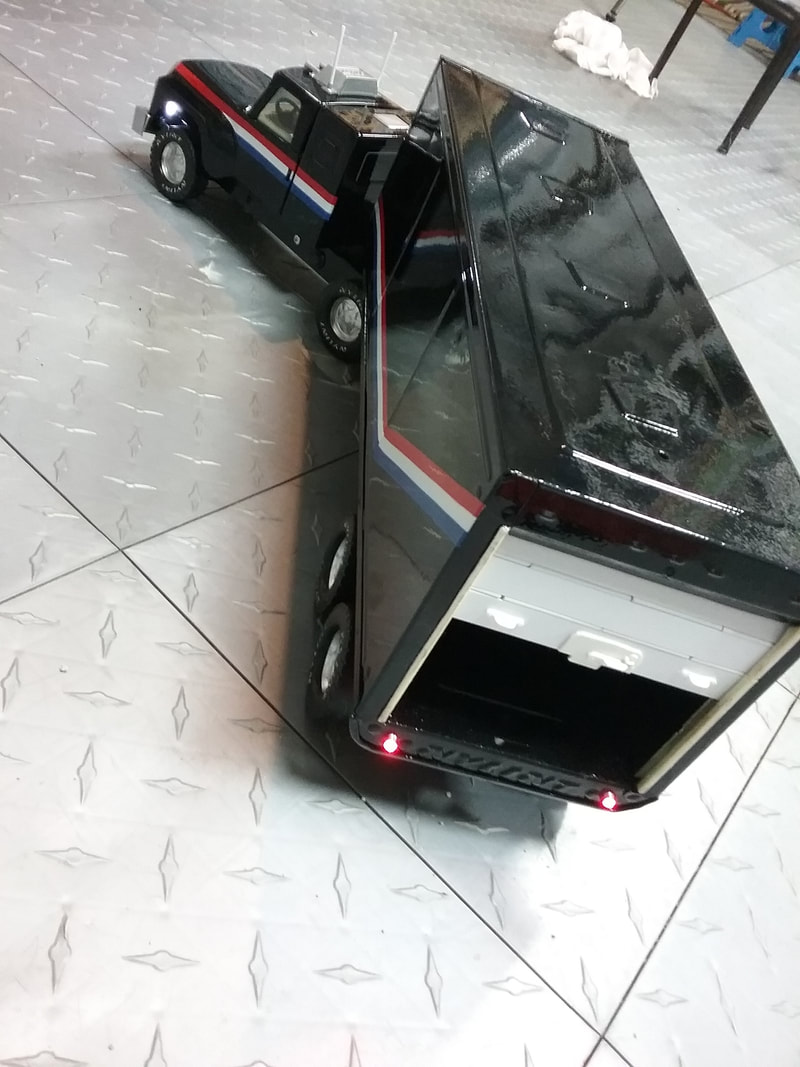
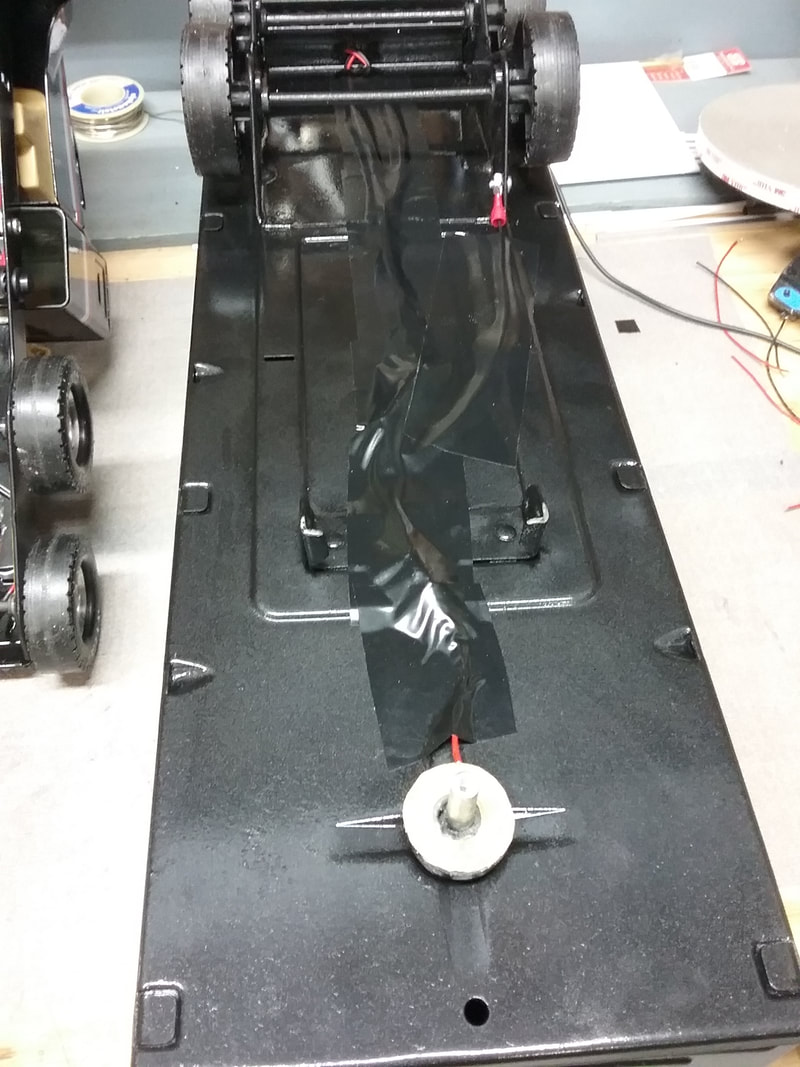
Here is my diorama of a replica of a memory of using a 1965 Ford F600 grain truck (with wood box) putting up seed wheat into a wooden grain bin. This model is a combination of scratch building and kit bashing to create this scene. To see how just the truck was built click here for pictures and full build video!
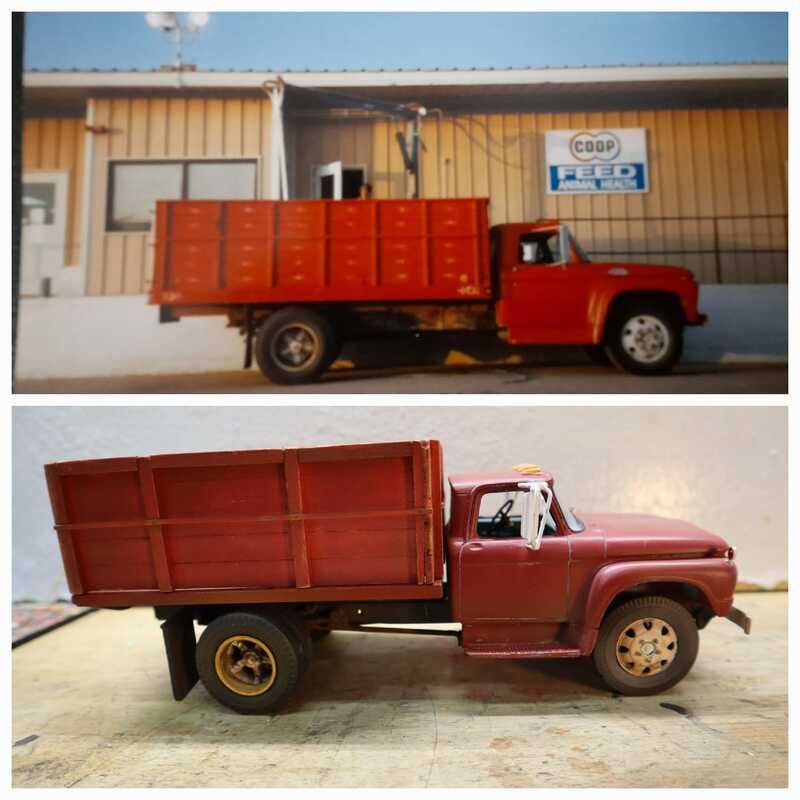
The real truck and the model
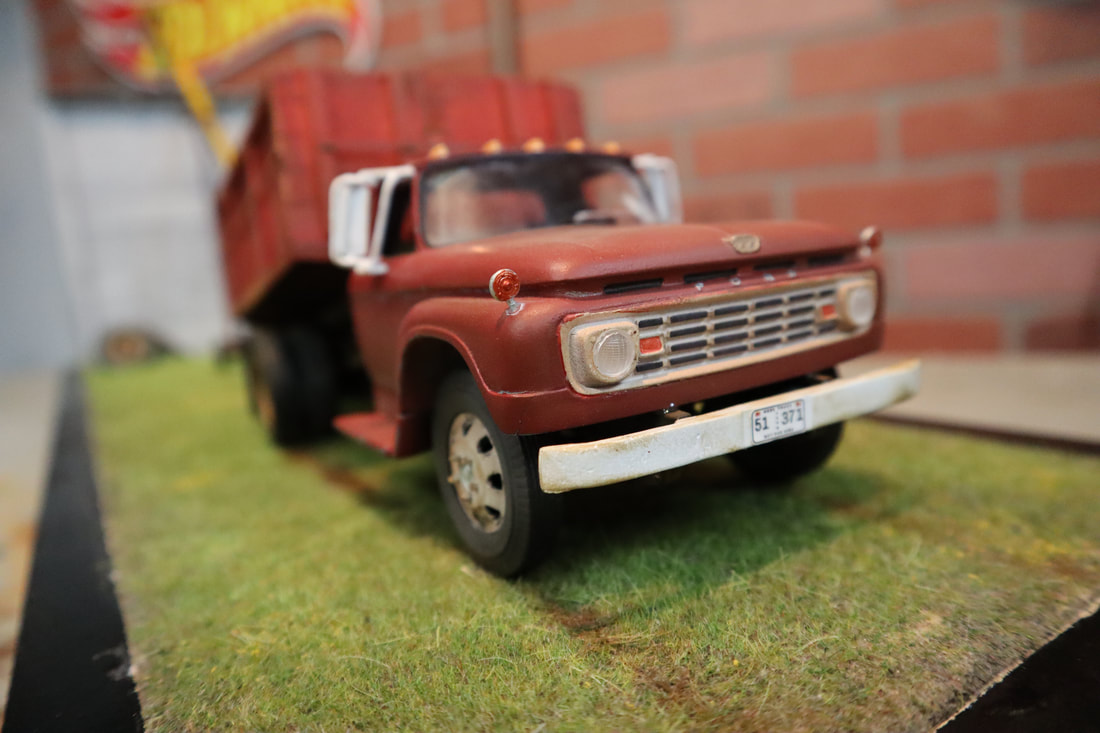
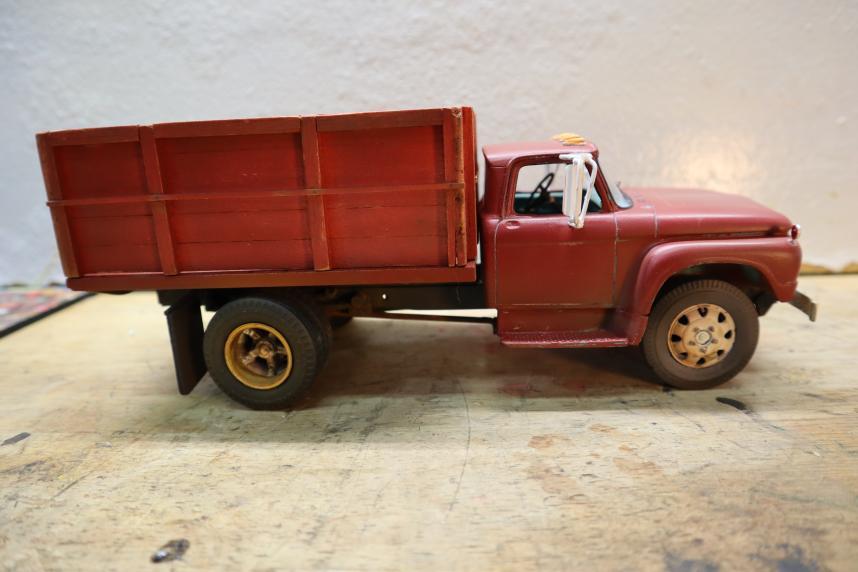
1965 Ford F600 grain truck
Check out the gallery for a TON of pictures and close ups

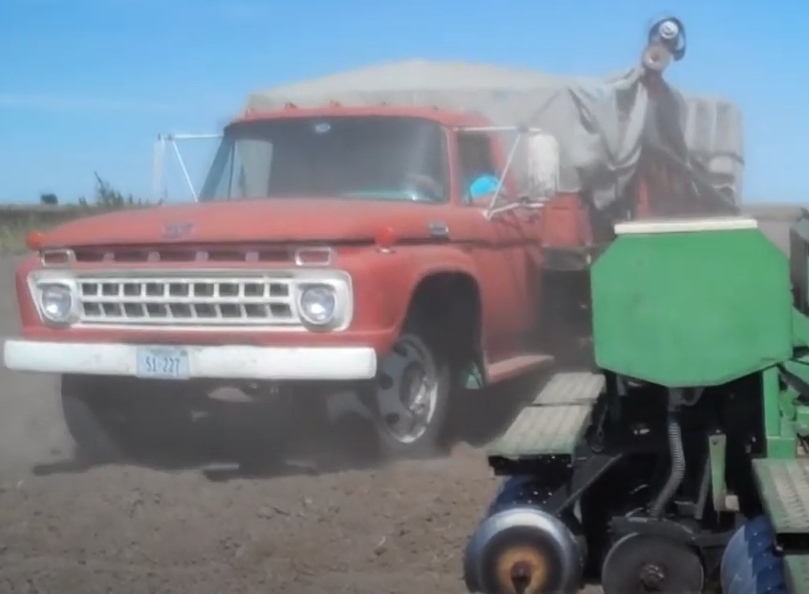
 The real Ford F600 on the farm (wooden box) The real Ford F600 on the farm (wooden box)
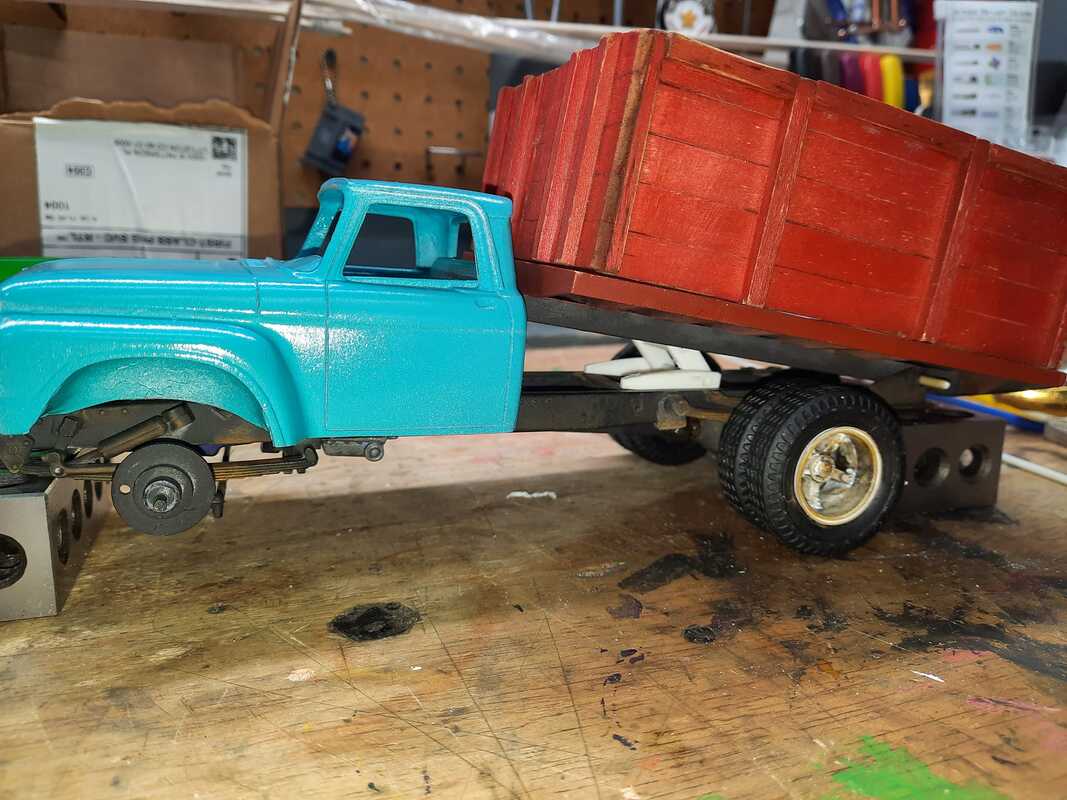
When I turn my attention to model building, a lot of my inspiration comes from the desire to replicate memories. I like to try my best to put these memories into some tangible form. In this case I wanted to replicate a truck that I have a lot of fond memories driving on the farm back when I was a young man. The vehicle is a 1965 Ford F600 with a wooden grain box.
Watch this exciting build replicating a 1965 Ford F600 grain truck that was used on our farm. Below is the videos in order starting with a brief introduction to the scope of the project. Enjoy!
Below is a short video showing the REAL truck in use
Episode 1 The beginning - Explanation of the scope of the project
Episode 2 Cutting & Fitting the frame
Episode 3 Building the wooden box
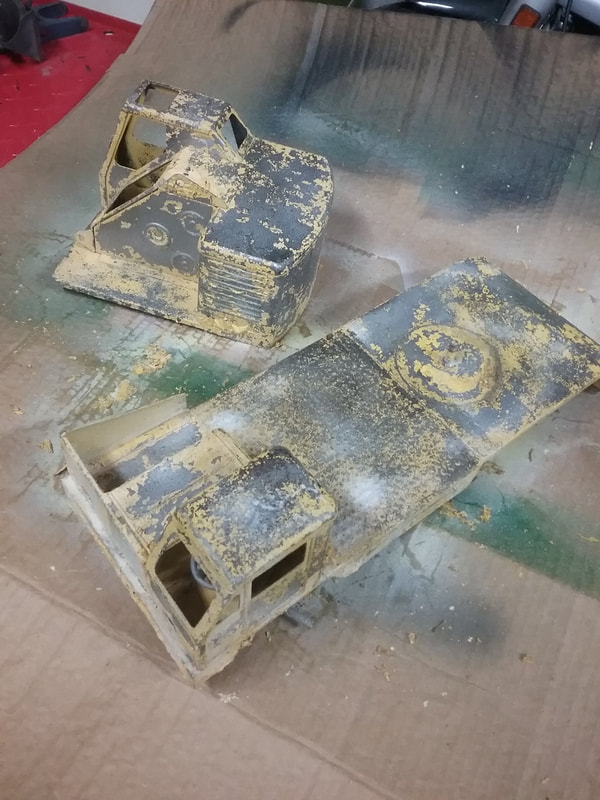
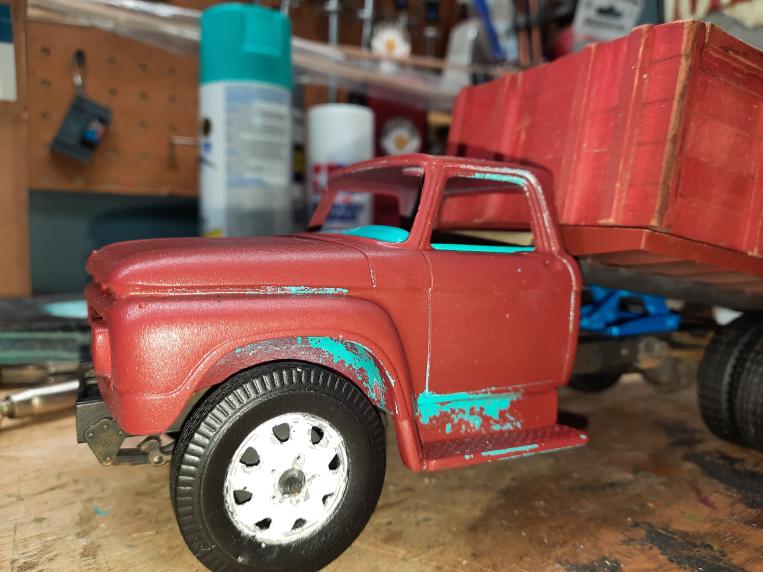
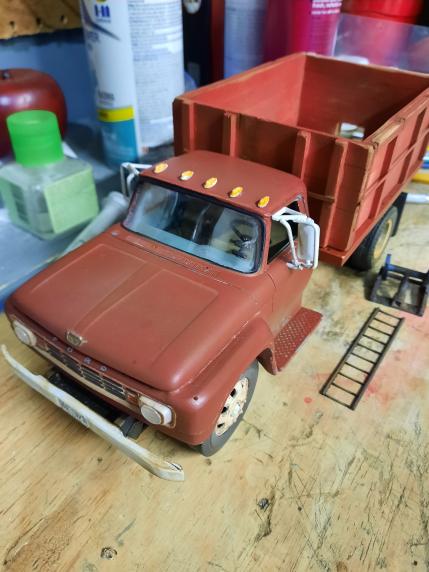
Episode 4 Heavy weathering techniques
Episode 5 Completed truck
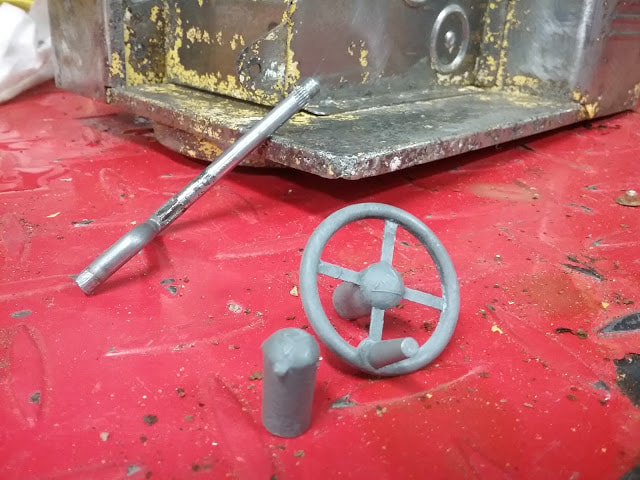
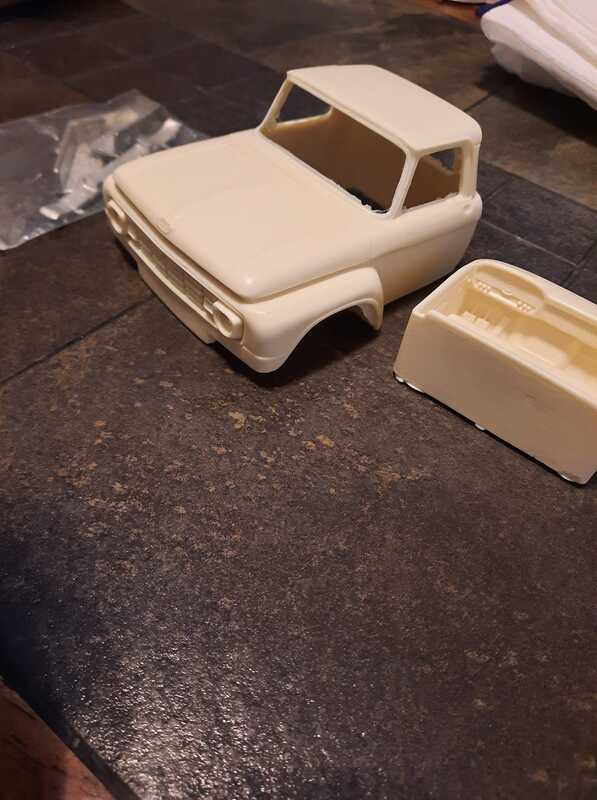
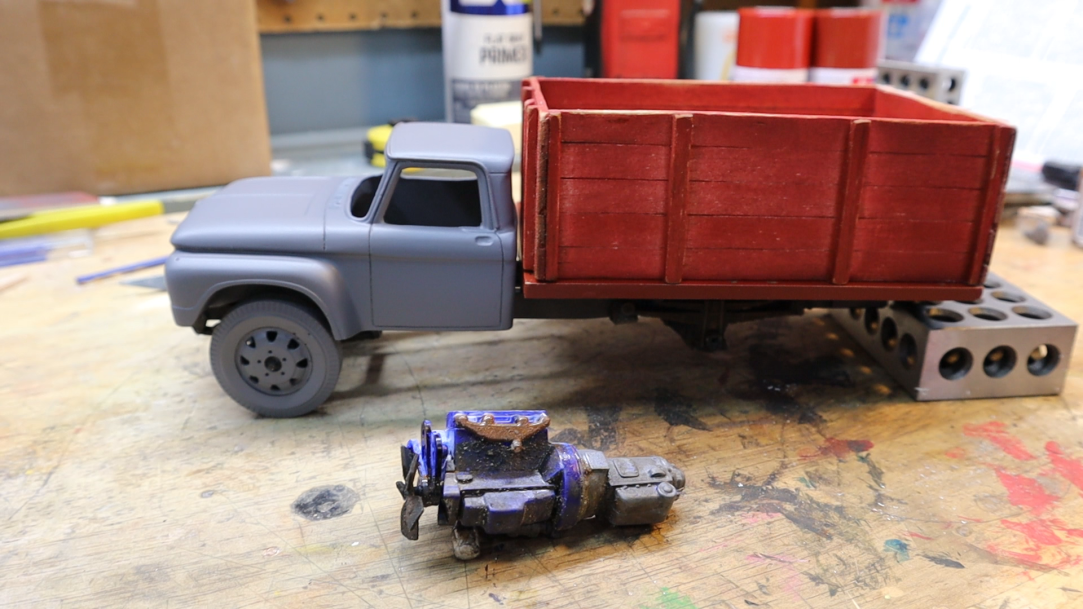
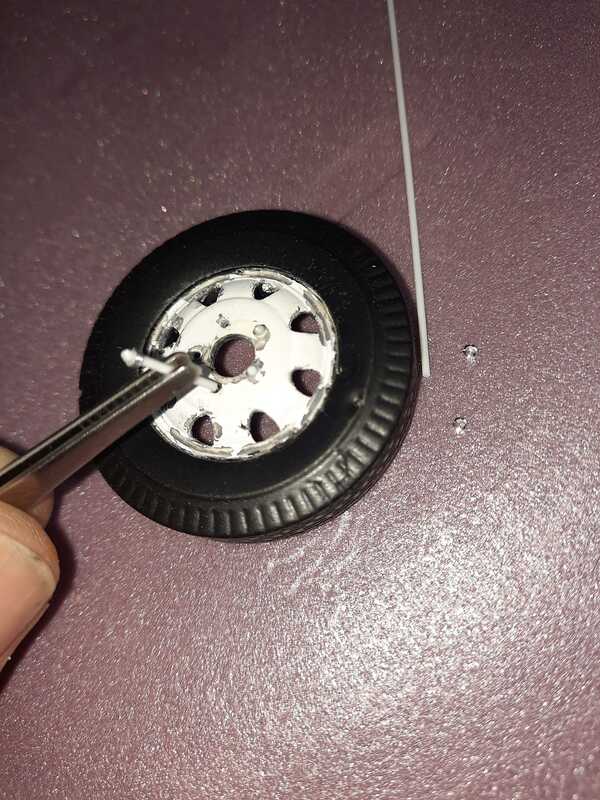
Below are some in progress pictures of building this 1965 Ford F600 grain truck 1/25 scale model.

This is the kits and parts I started with
See the box making video below
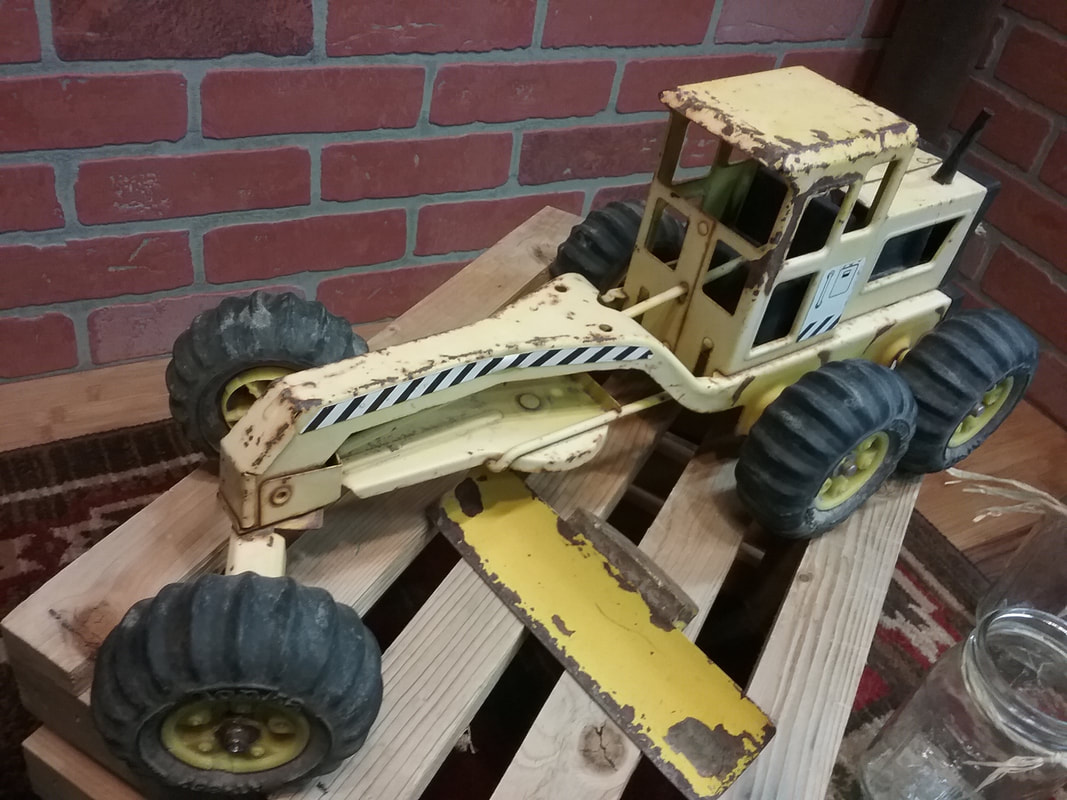
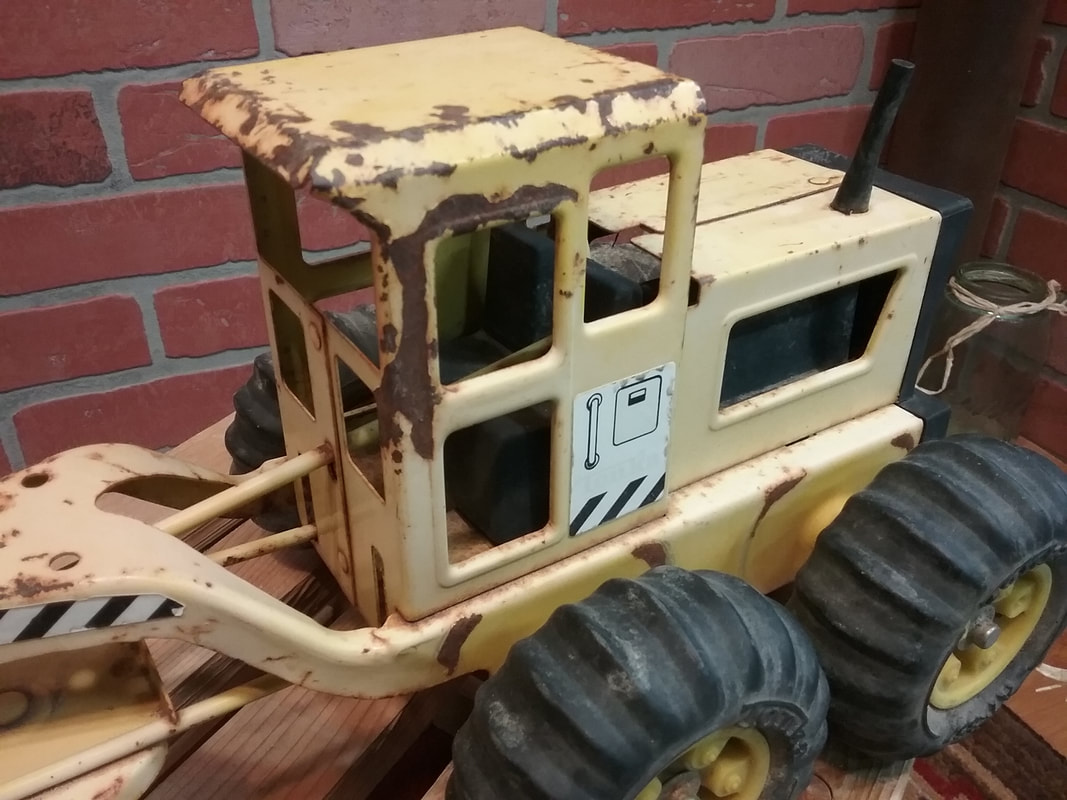
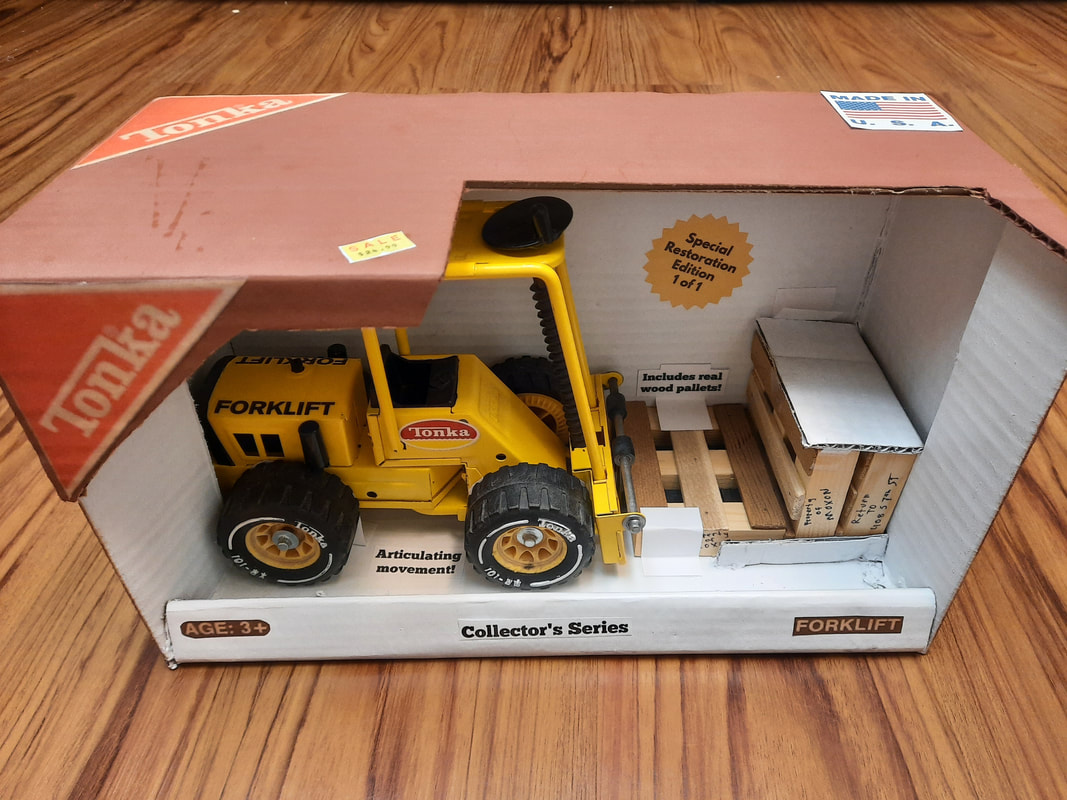
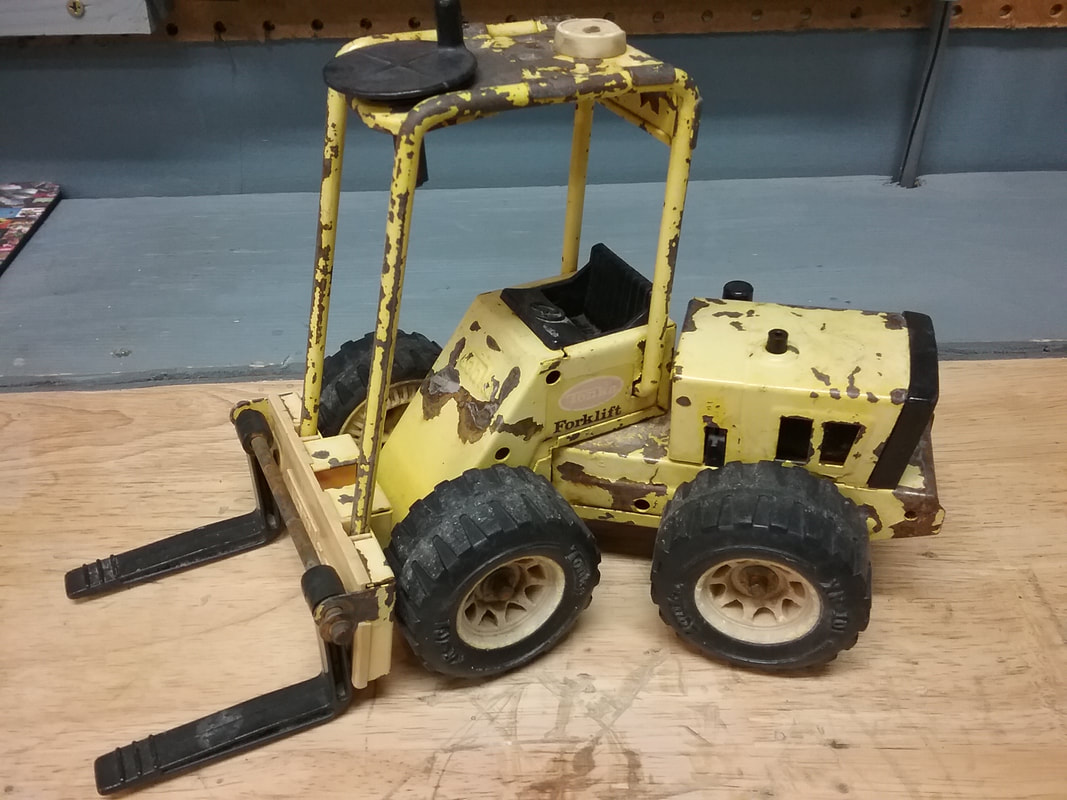
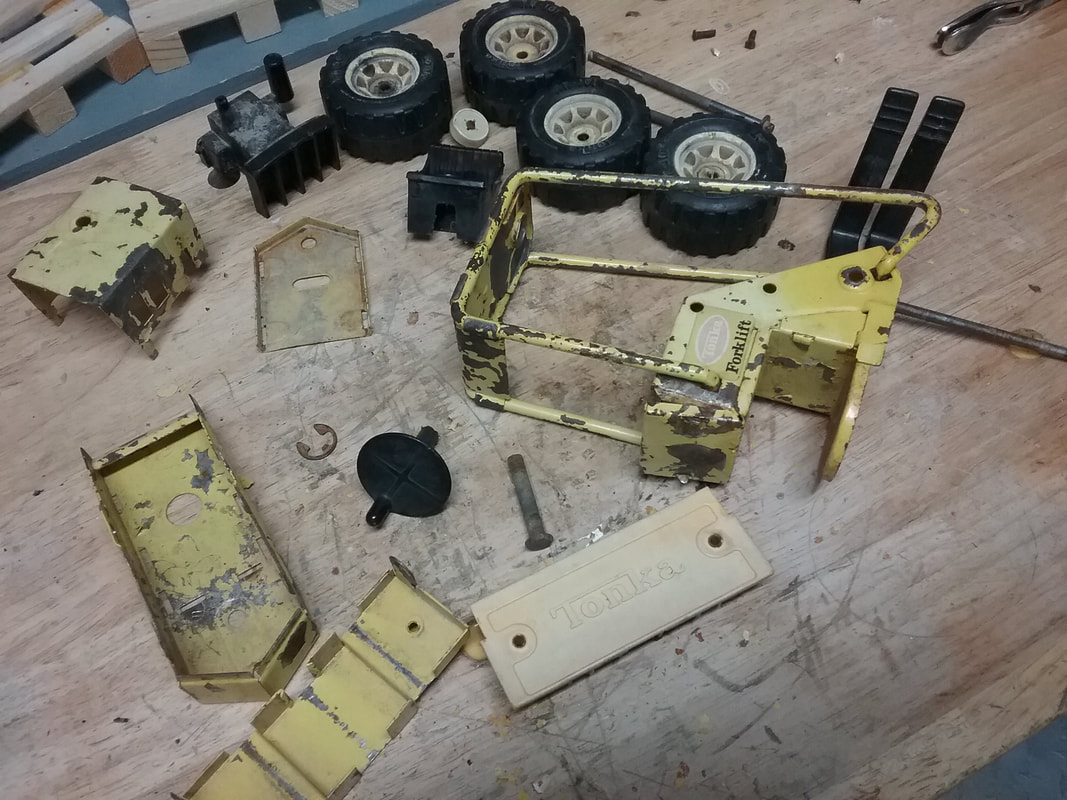
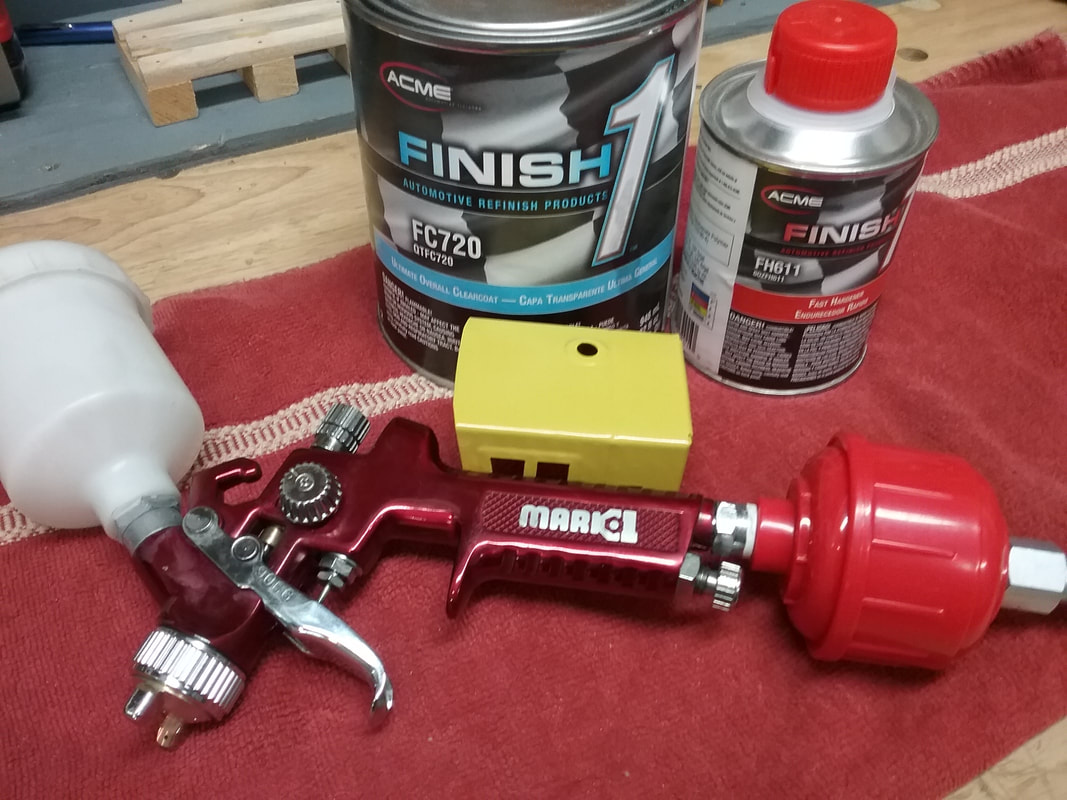
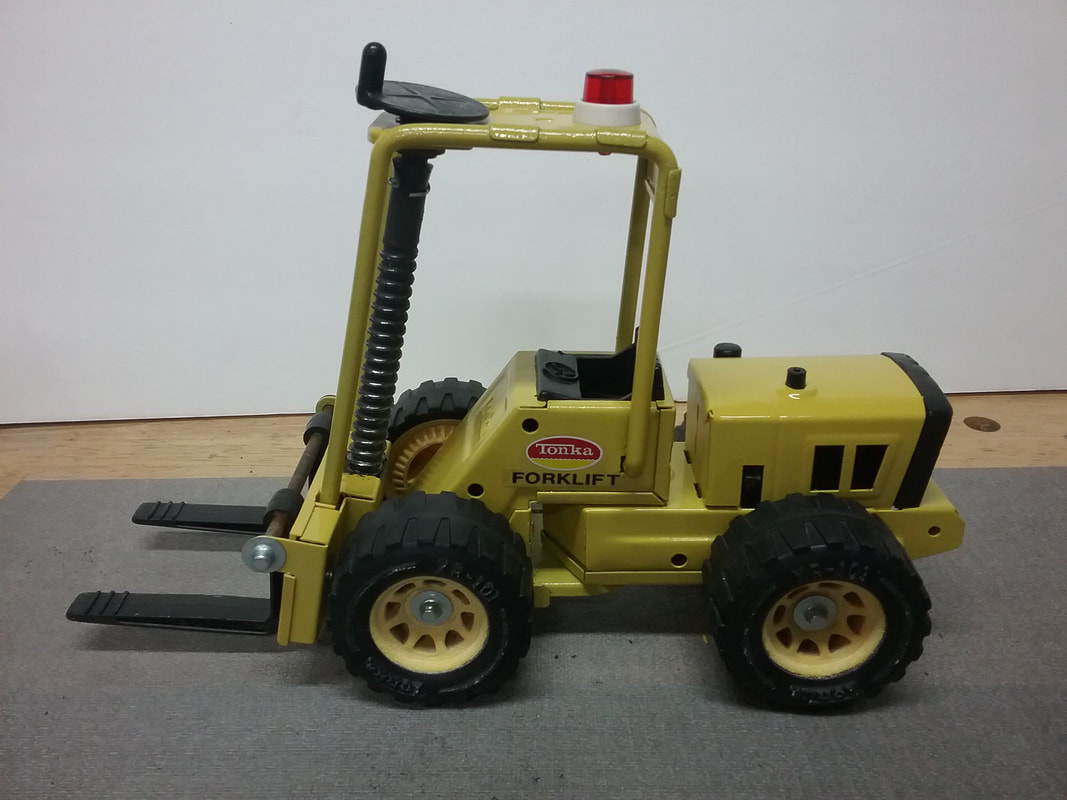
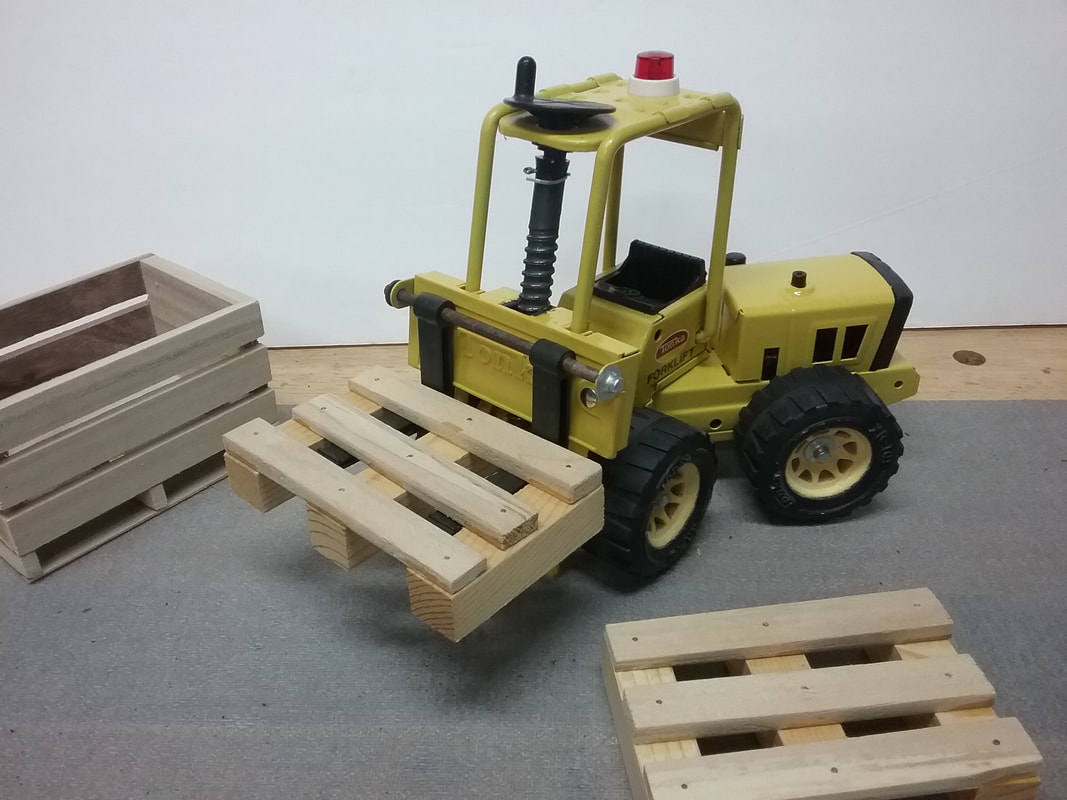
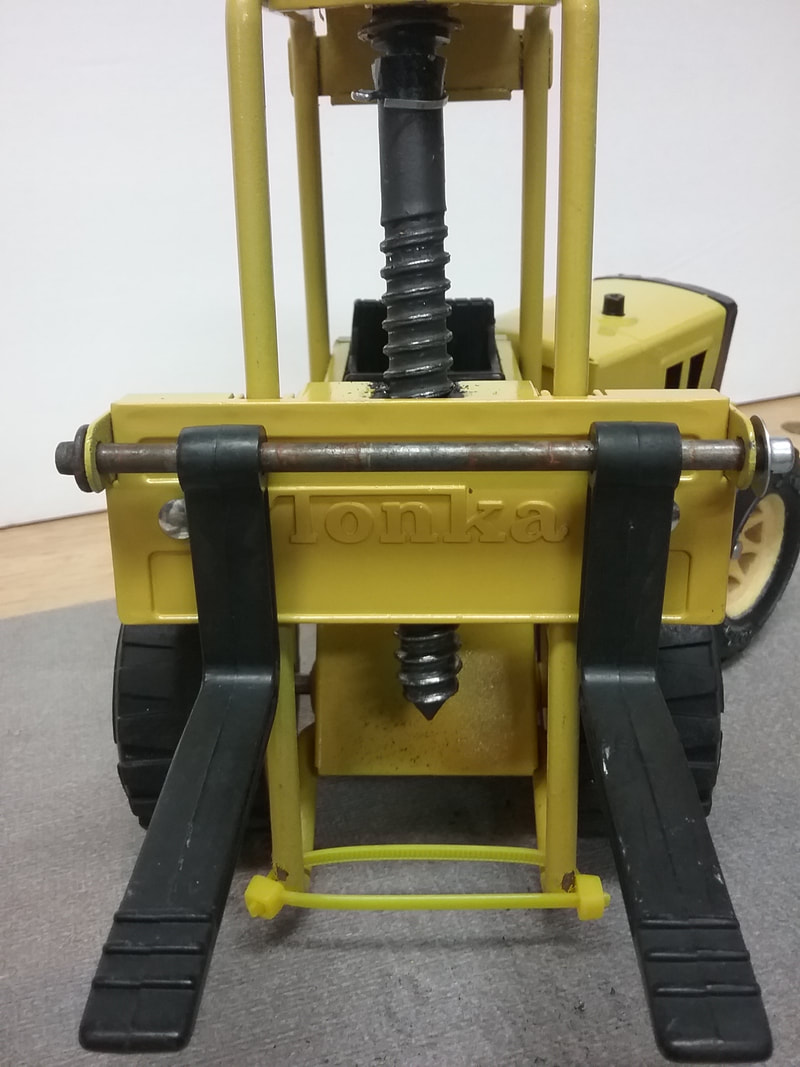
Below is the video of the vintage Tonka Forklift restoration.

The little wooden pallets are a custom item I made
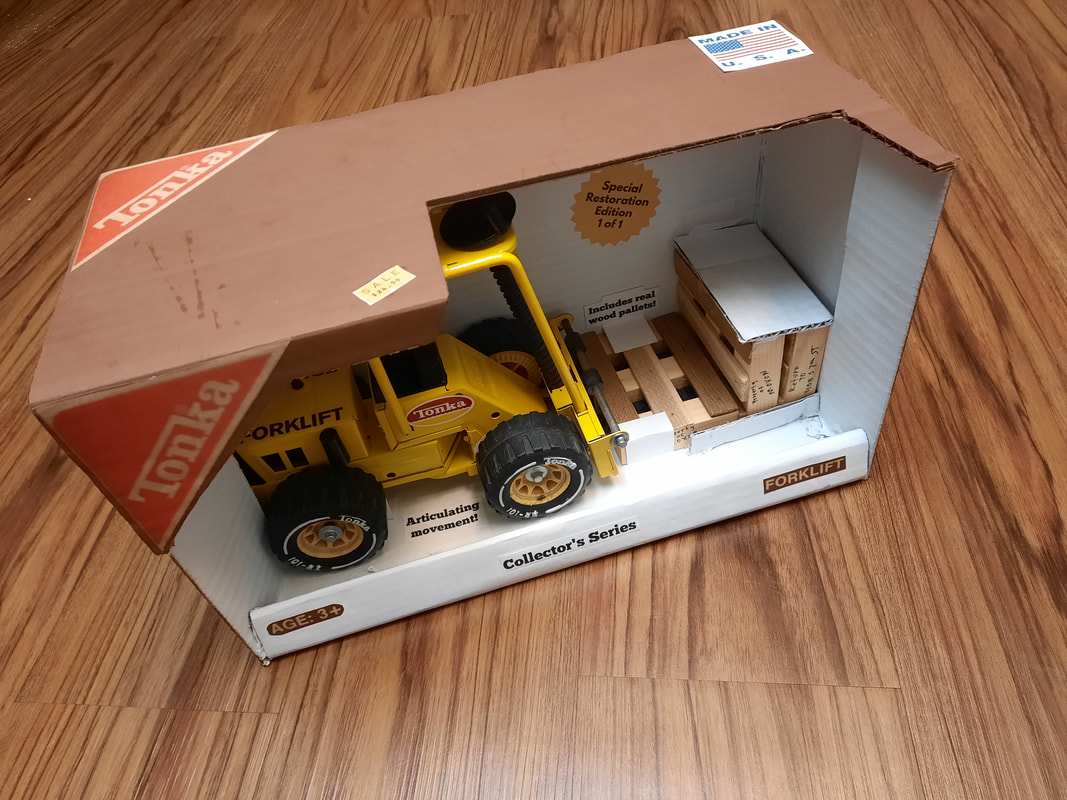
Makes a great gift under the Christmas Tree!


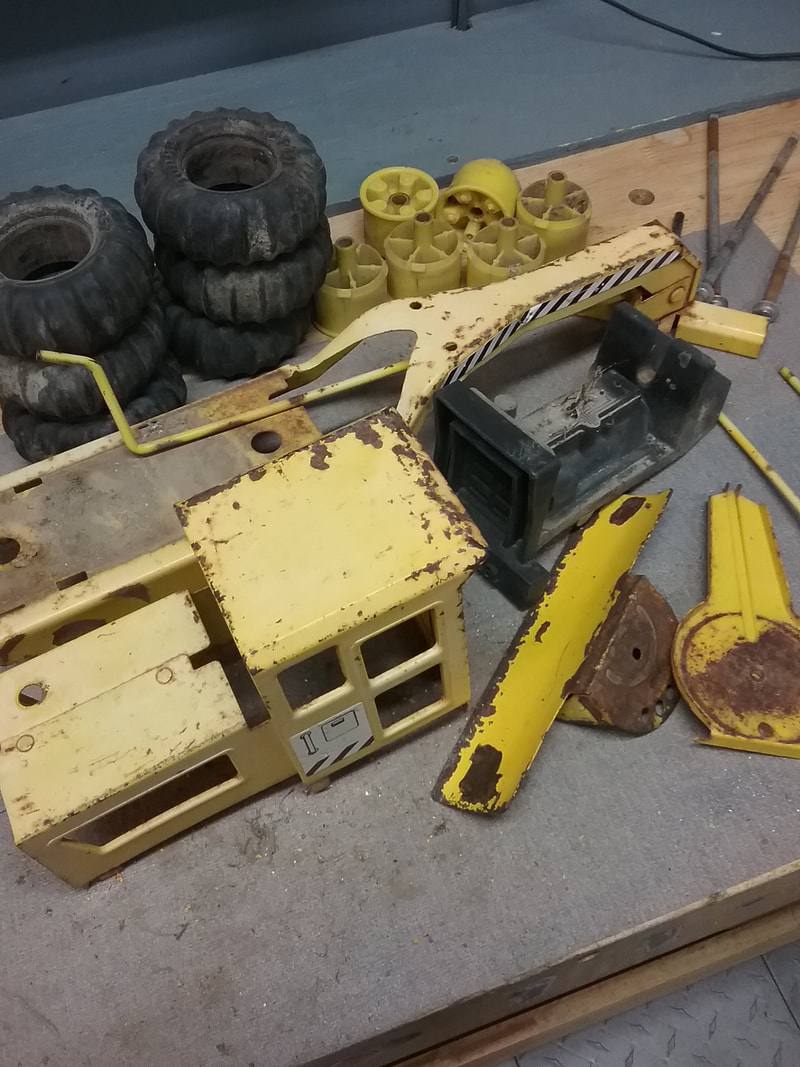
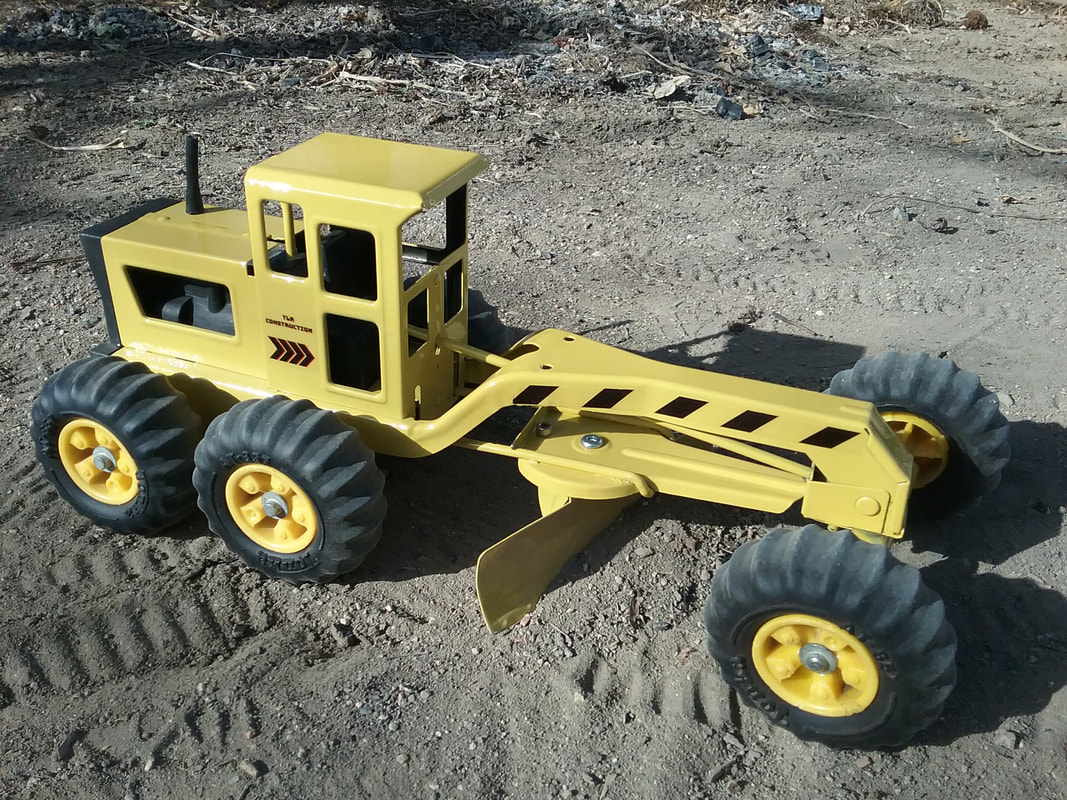
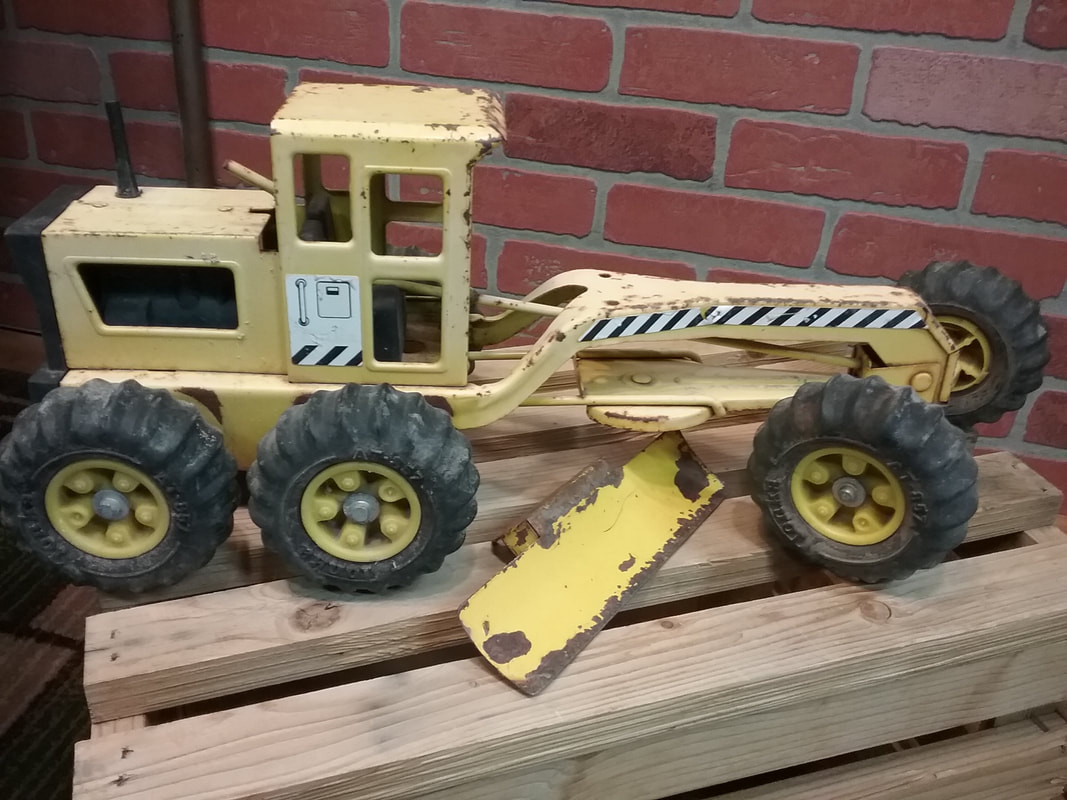
In 1968 Tonka began producing a line of toys under the label of Tiny Tonkas, ranging in size from 5 inches to 11 inches. These little toys were made out of press steel just like their larger siblings. Over the next two decades Tonka would produced many variations of these toys made out of press steel and plastic in various colors, styles and multiple iterations on the same design. In 1984 Tonka would sell off the Tiny Tonka brand to Hasbro ending the production of these little steel toys. In 1982 Tonka had begun the phase out of the snub nose toys replacing them with a more modern looking square plastic cab.

Ertl International 3088 toy tractor restoration with replica box! Below are more pictures from the restoration. Watch the entire video to see this amazing restoration. Lots of tips and tricks for your own restoration are in the video.
This model of ERTL tractor was produced up into at least the year 2000. It came in several varieties of "generic tractor" as well as was used as a model for promotional pieces for various companies. This model was even used as an incentive to ERTL employees for safety awards for 0 accidents in a certain time period. (see video) 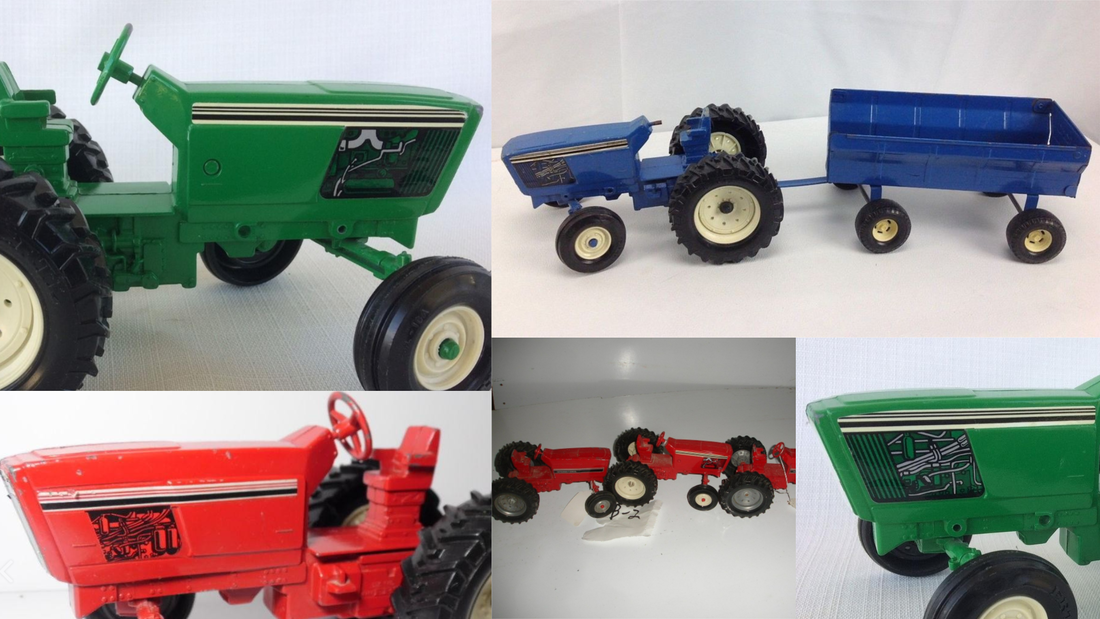
Other versions of this same casting
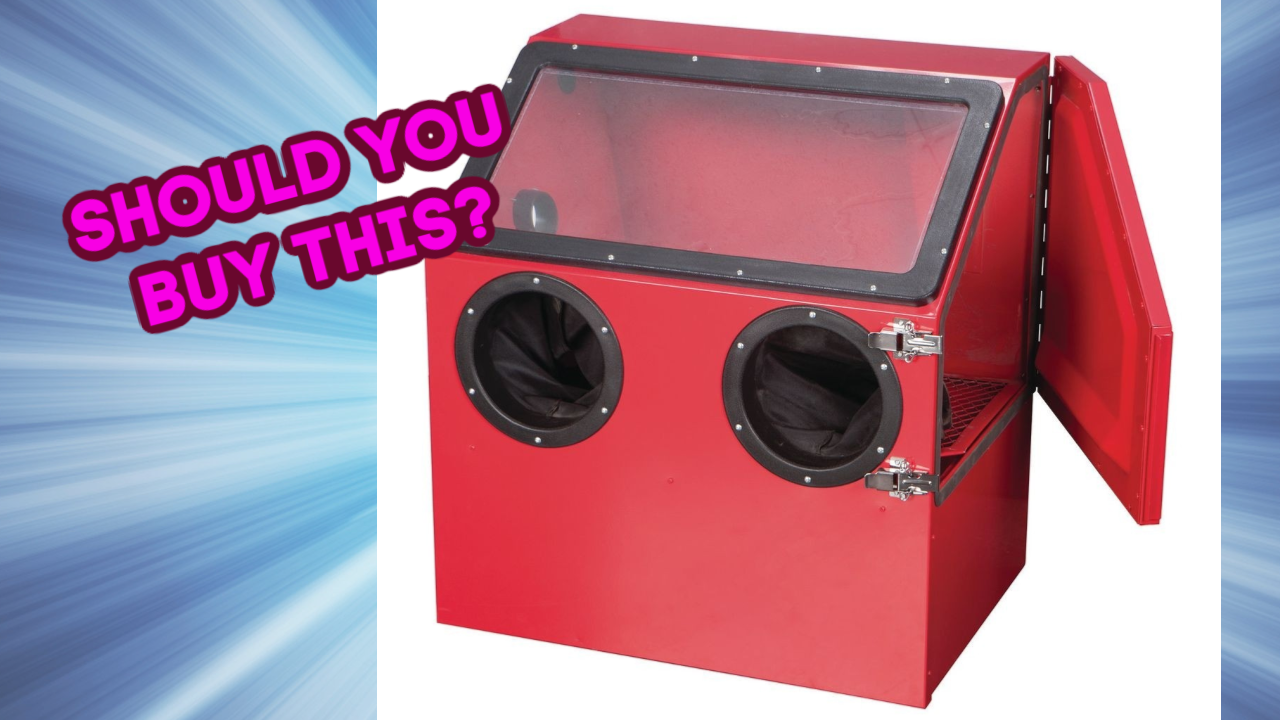 What are you really getting? What are you really getting?
The Harbor Freight benchtop sand blasting cabinet is one of those controversial items that comes up in forums and recommendations on the internet. Many opinions surround this item and it's perceived value. In this video I'll take a look at what you get for $119.99 (before coupons or discounts), what things you will need to get this cabinet up and running, and my overall thoughts on who should buy this particular cabinet.
No this is not a bash on this cabinet or Harbor Freight, the purpose is to give a real world perspective and some of the things to consider if you are just getting started.
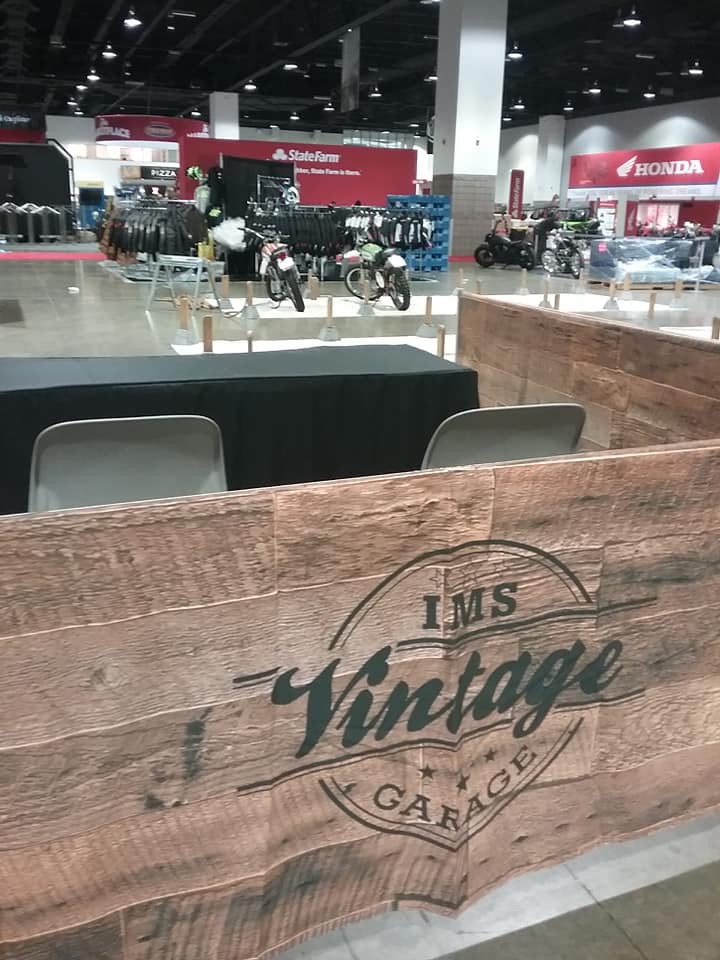
 IMS Vintage Garage IMS Vintage Garage
I was privileged enough to have 2 of my bikes selected for display at the 2020 International Motorcycle show in Denver at the Colorado Convention Center.
If you follow me on Youtube or this website you already know all about these bikes, but for those that don't here is the low down. The orange bike is an early 1970 Kawasaki F5 Big Horn and the green bike is a 1974 Kawasaki F9 modified into a period correct motocross racer. My bikes were part of the IMS Vintage Garage display where at each stop of this show they have a casting call for vintage bikes near the area for the show. They also have a restoration demonstration and some other seminar type presentations. Below is some pictures from the show and a video of my experience at the show. It was a great time and I hope to do it again sometime. I would recommend anyone that is into motorcycles to attend one of these shows if they come to your area.
Video of what its like to attend and International Motorcycle Show check out the video below!

1970 Kawasaki F5 Big Horn
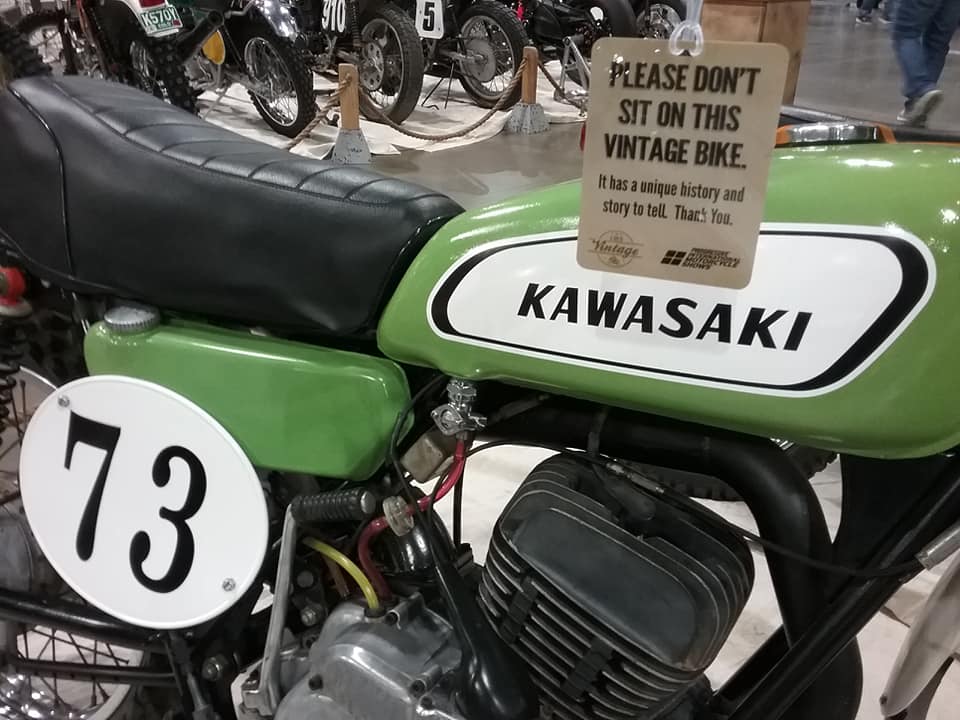
1974 Kawasaki F9 "MX"
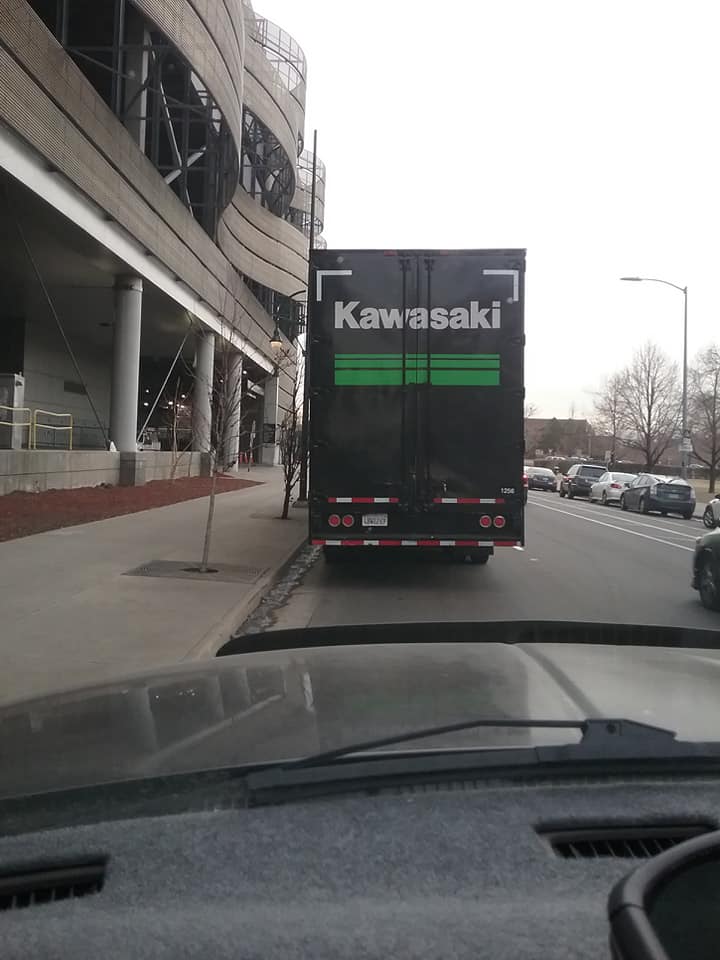
Waiting to enter the venue
The day before the show, setting up
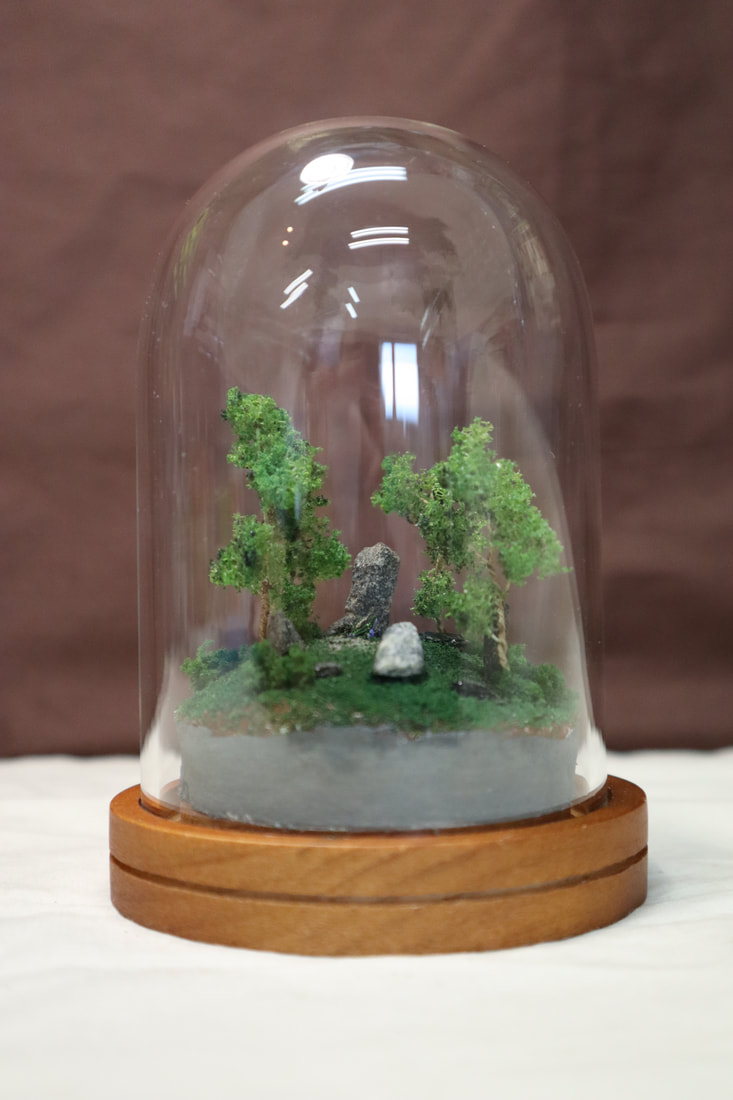
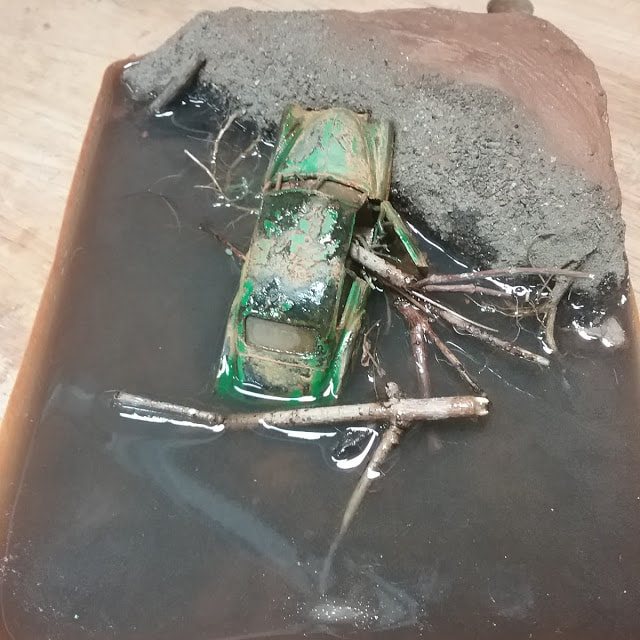
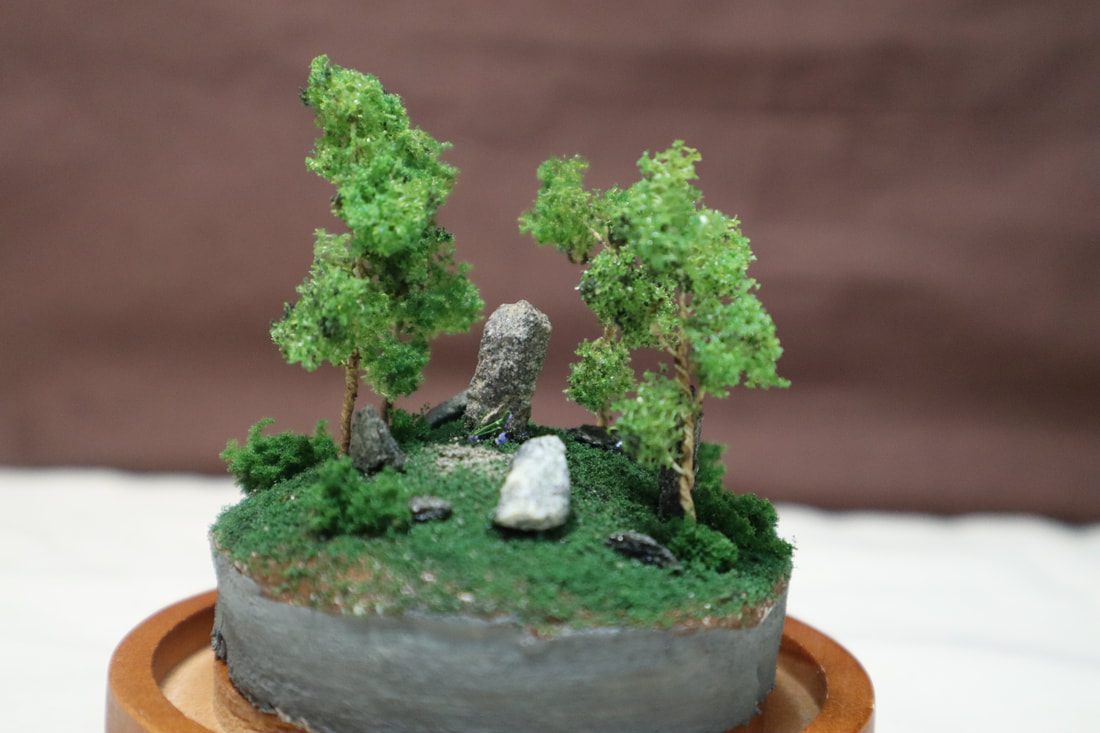
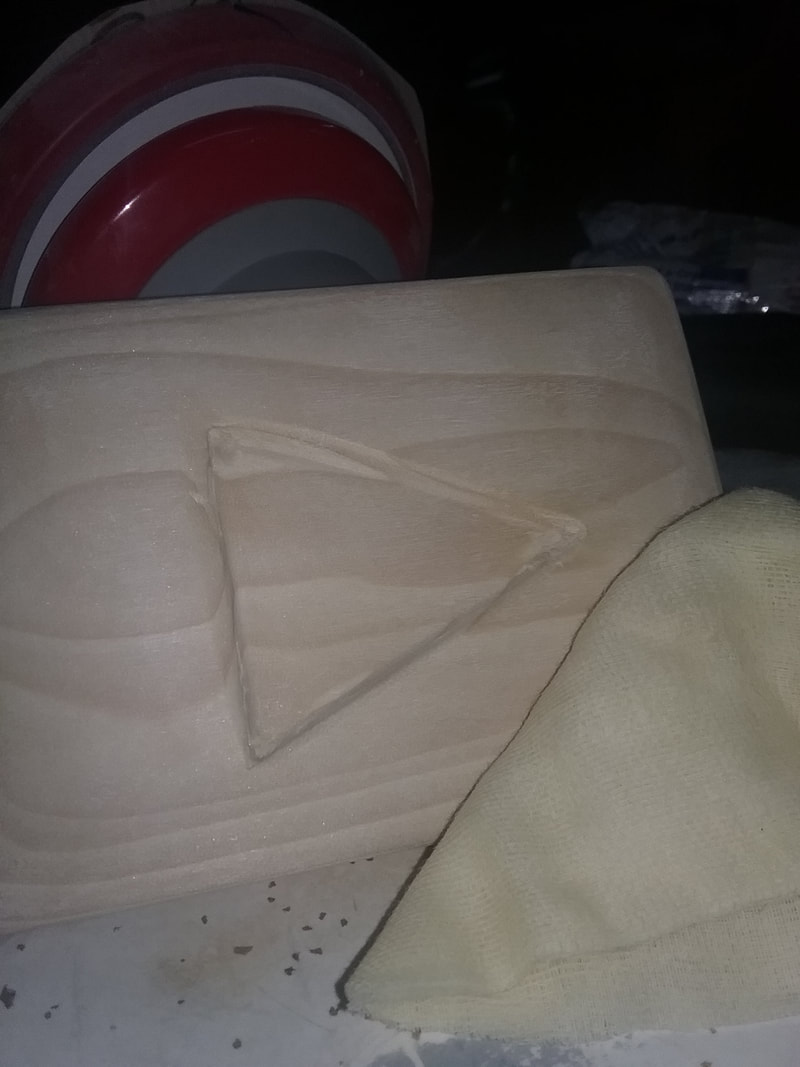
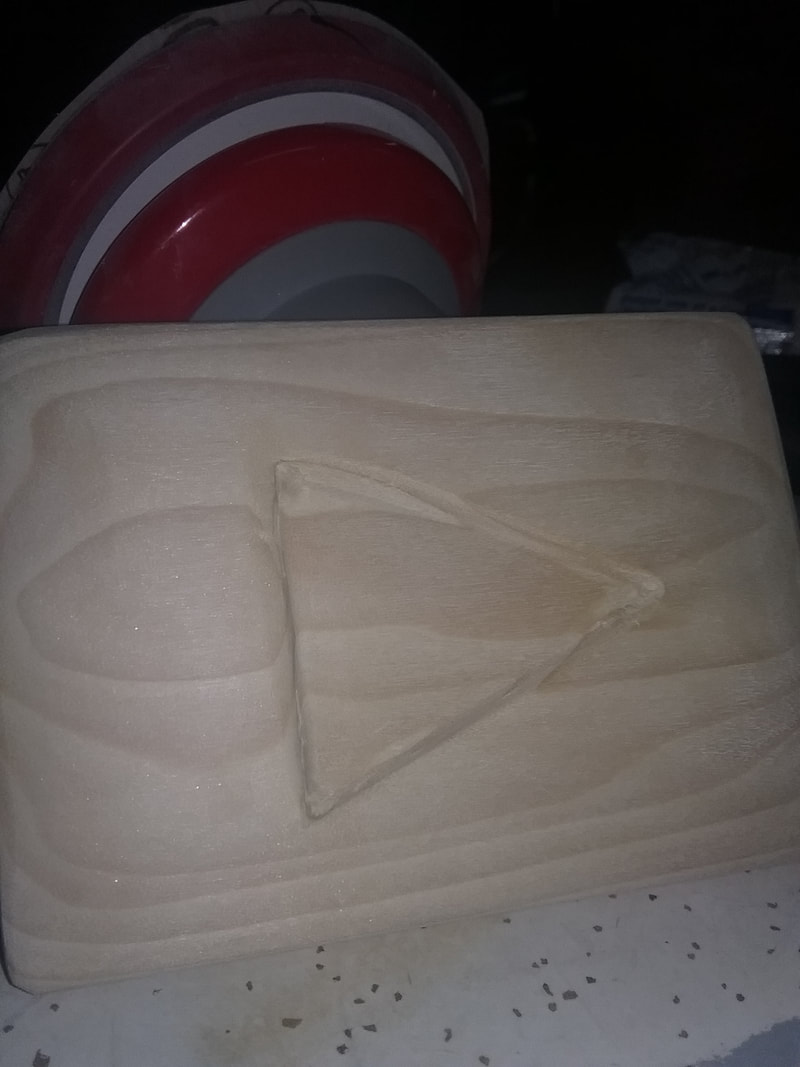
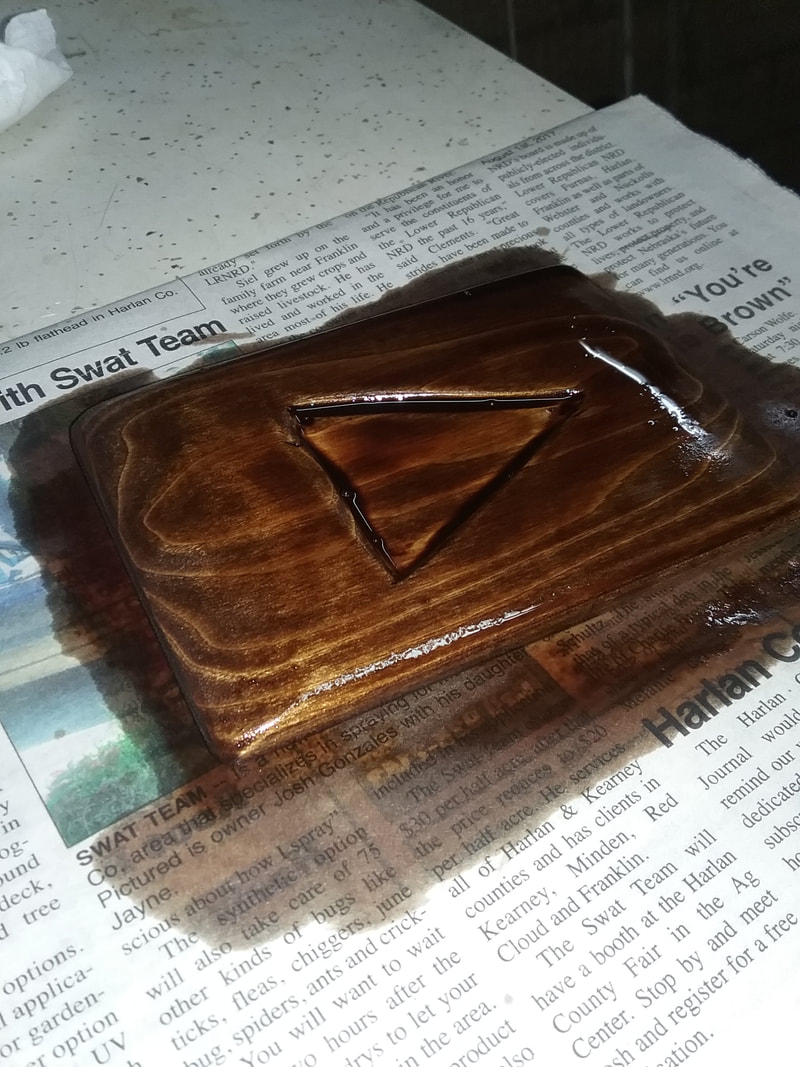
 Outlander - Circle of Stones, mini Diorama Outlander - Circle of Stones, mini Diorama
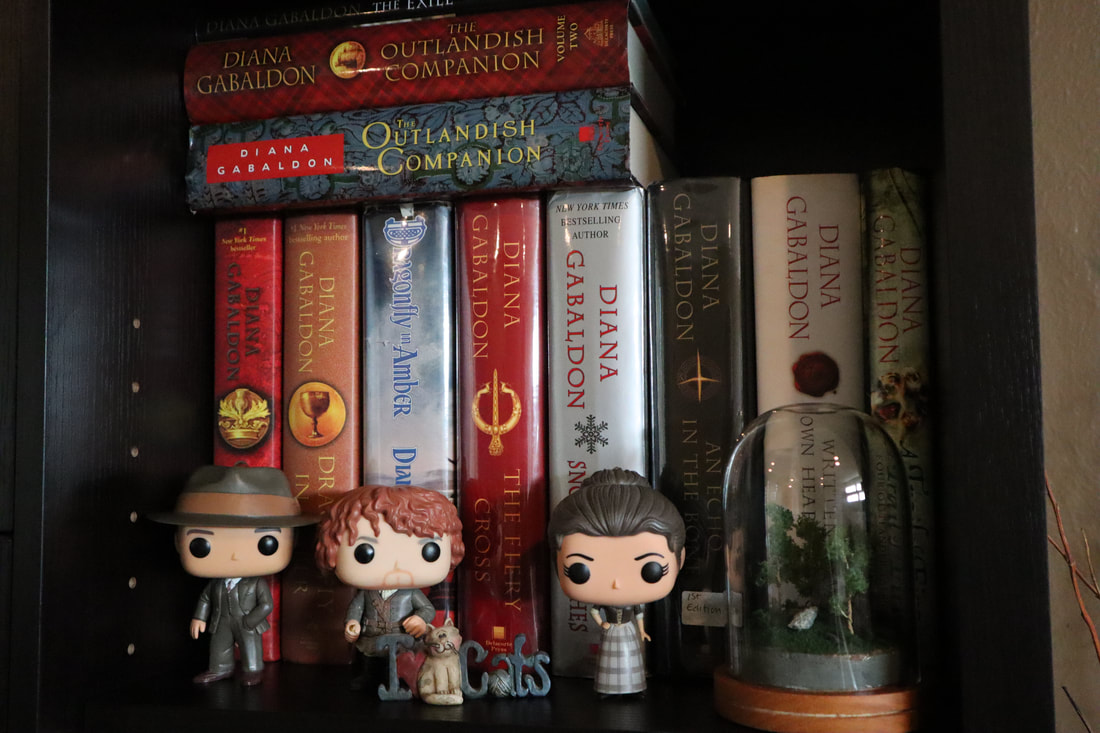
"Why, it's a henge!" I said delighted. "A miniature henge." exclaims Claire Randall Fraser, the female protagonist in the wildly popular Outlander book series (and now TV series too!) by Diana Gabaldon. This is her first of several visits throughout the series by her to the stone henge called Craigh na Dun, as well as other important characters later on. Referred to as the standing stones, these rocks play a key role as they are how Claire time travels from 1945 Scotland to 1745 Scotland, where she meets and falls in love with James Fraser, a Scottish Highlander. When she leaves 1945, she leaves behind her husband Frank Randall who can find no trace of how she vanished or where she vanished to despite searching the entire country side where they were visiting, the same area that Craigh na Dun is found.
As an avid Outlander fan you want to display your collection of books by as well as any other trinkets that pertain to the books. Postcards and pictures of the historical buildings and landmarks come to mind but sometimes feel flat and 2-D. Now there are several important places that are a focal point that the characters center around. The first of these would have to be Craigh na Dun. Others include James' family home in Scotland and Claire and James' home in back country of North Carolina pre-Revolutionary War. Outlander trinkets are nice and all, but I thought to myself why not have a miniature henge, a miniature Craigh na Dun to display alongside some of my favorite books. So that's what we did, we created our own set of standing stones. Up next might just be Lallybroch or Fraser's Ridge, but we might need more book shelves! I will just have to be careful around the stones when dusting and rearranging books so I won't accidentally travel back 200 years and find myself my own red-headed Scottish Highlander. See how I built this mini diorama by watching THIS VIDEO
Outlander!
Don't touch the stones!
I got the bug to build a diorama and one thing lead to another when I got some inspiration from this picture.
Time lapse of the build
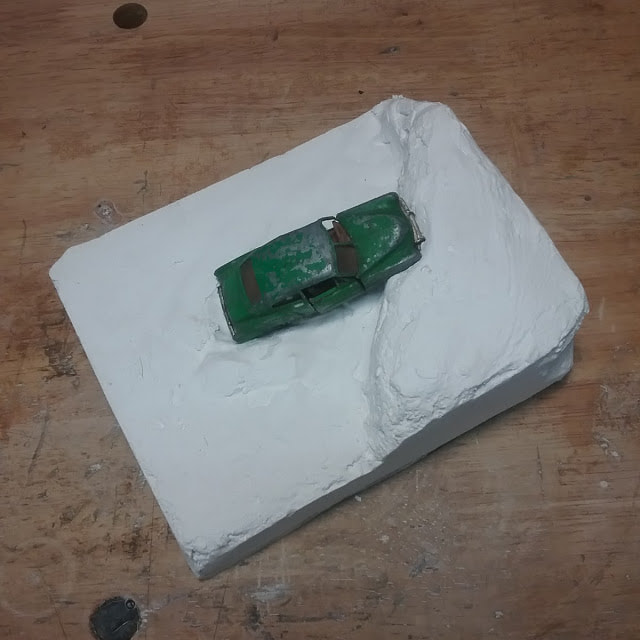
So I began to watch a few tutorials in hopes to gain some knowledge about how to go about tackling something like this. I new I wanted to start small, something that I could display on my desk and be interesting (and a conversation starter) but also not take up a lot of room. So I began with these materials. Pretty modest I know, well that was the idea.
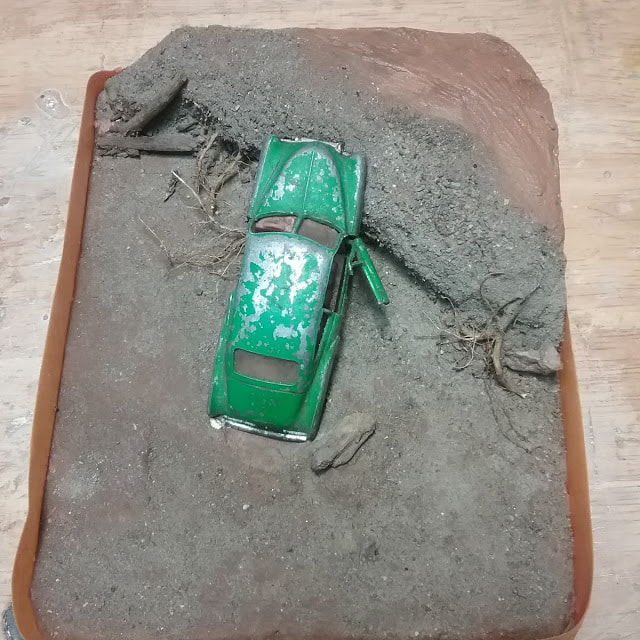
I also wanted to share my journey so I LIVE STREAMED the build and you can watch all the archived streams in the playlist below. The pictures show the progress made after each live stream. Watch all 5 parts in the PLAYLIST below 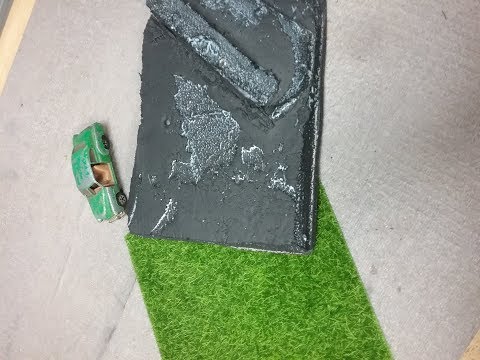

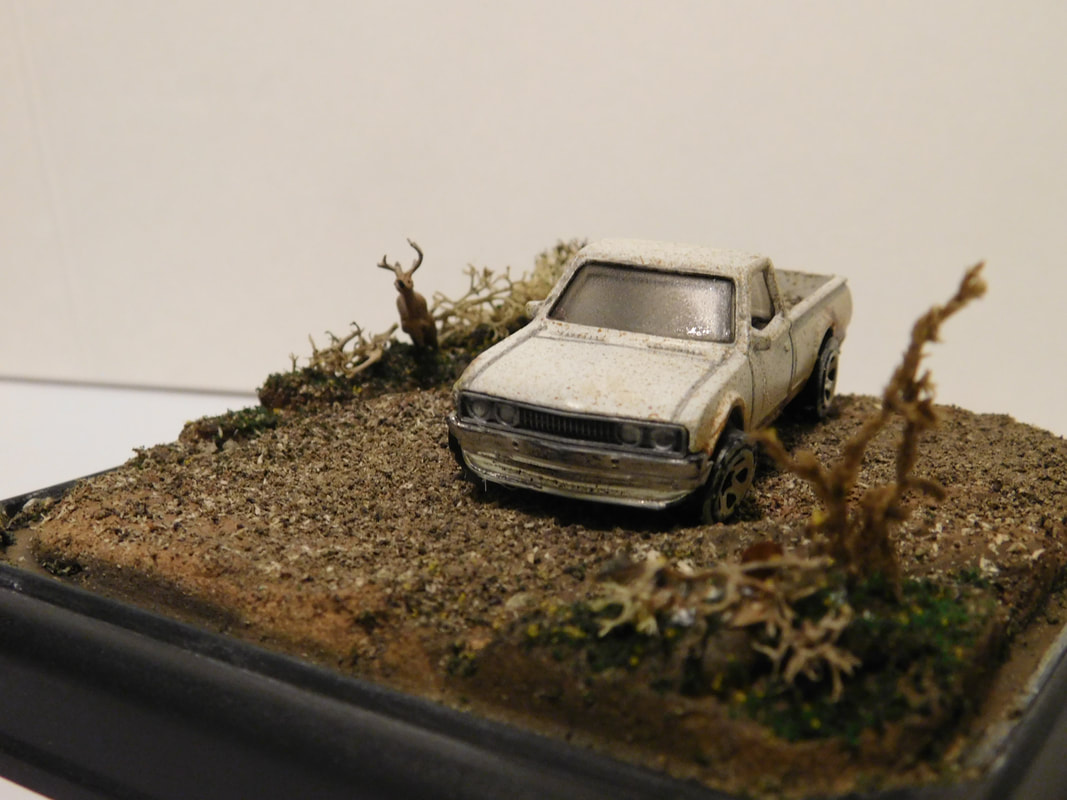
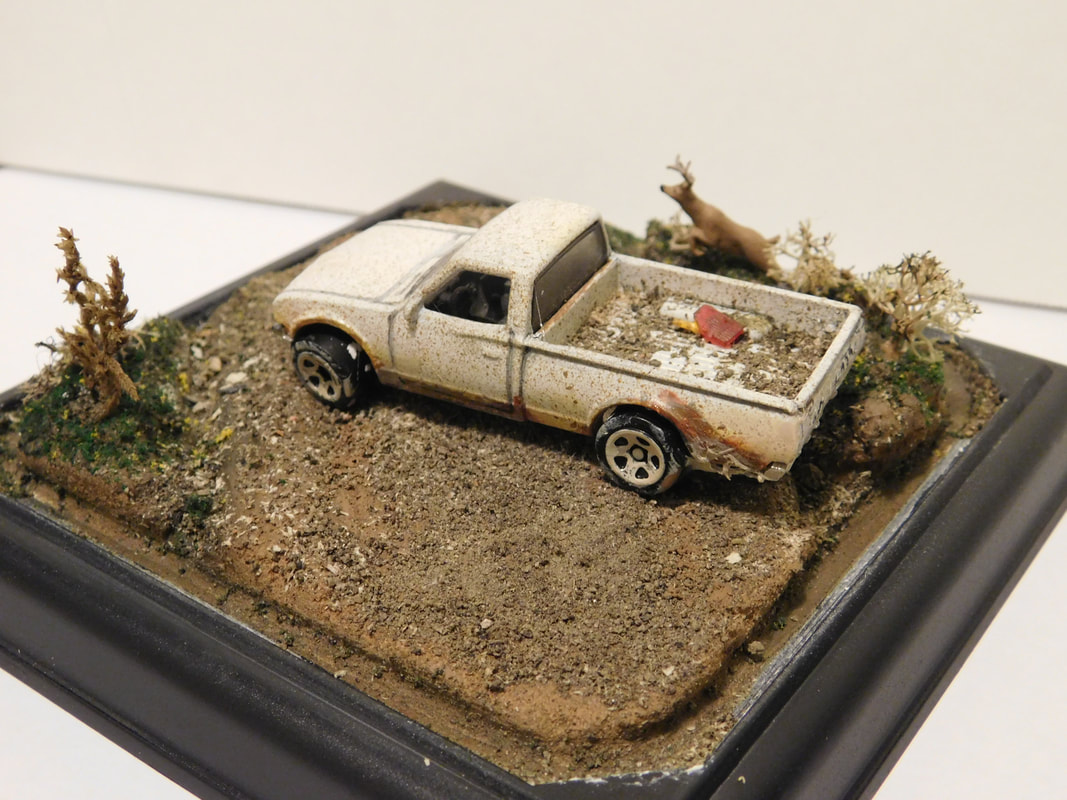
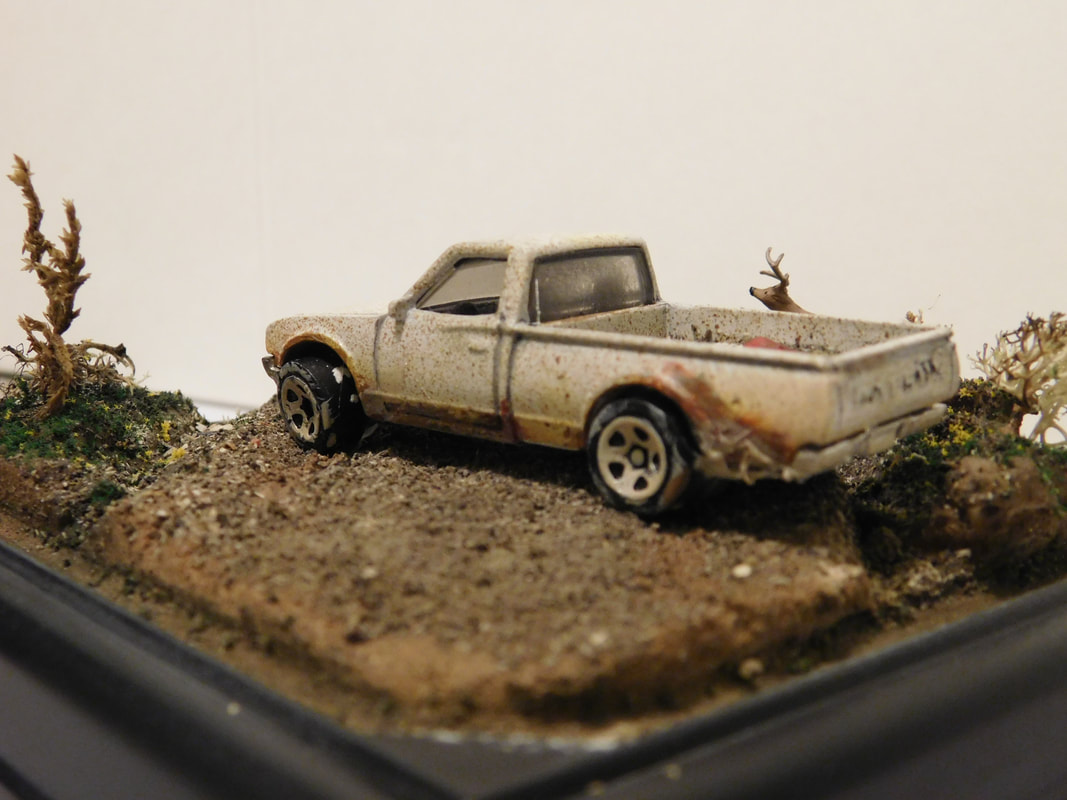
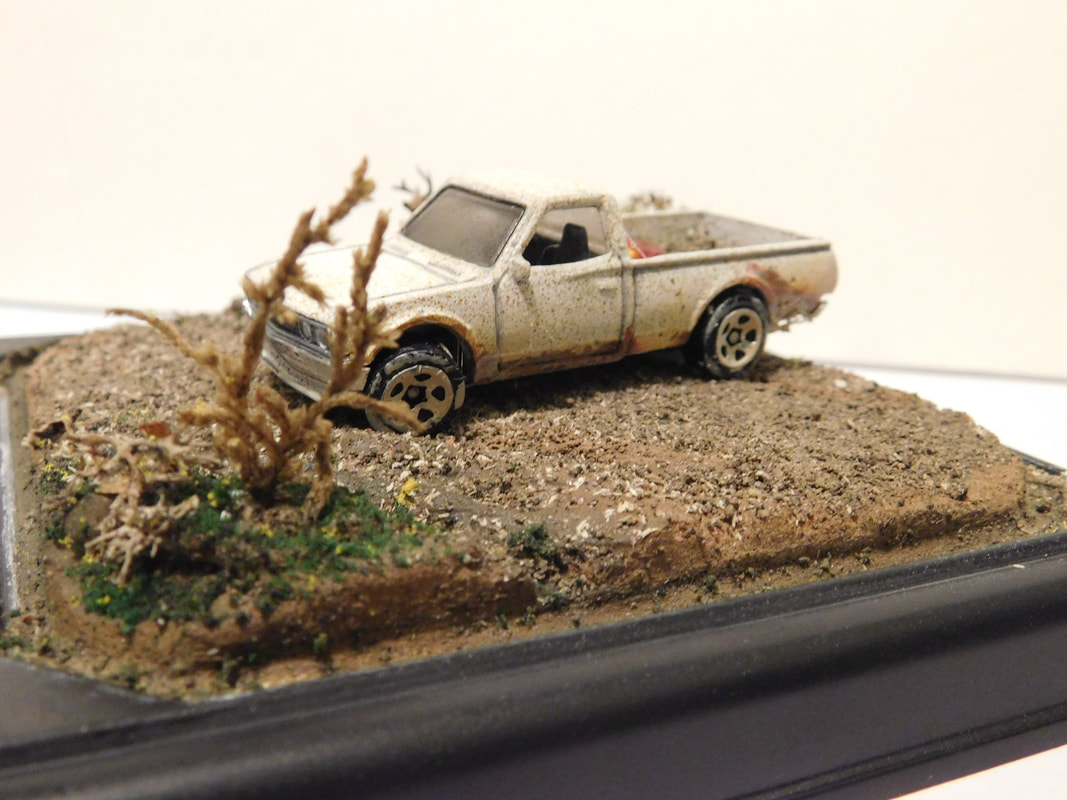
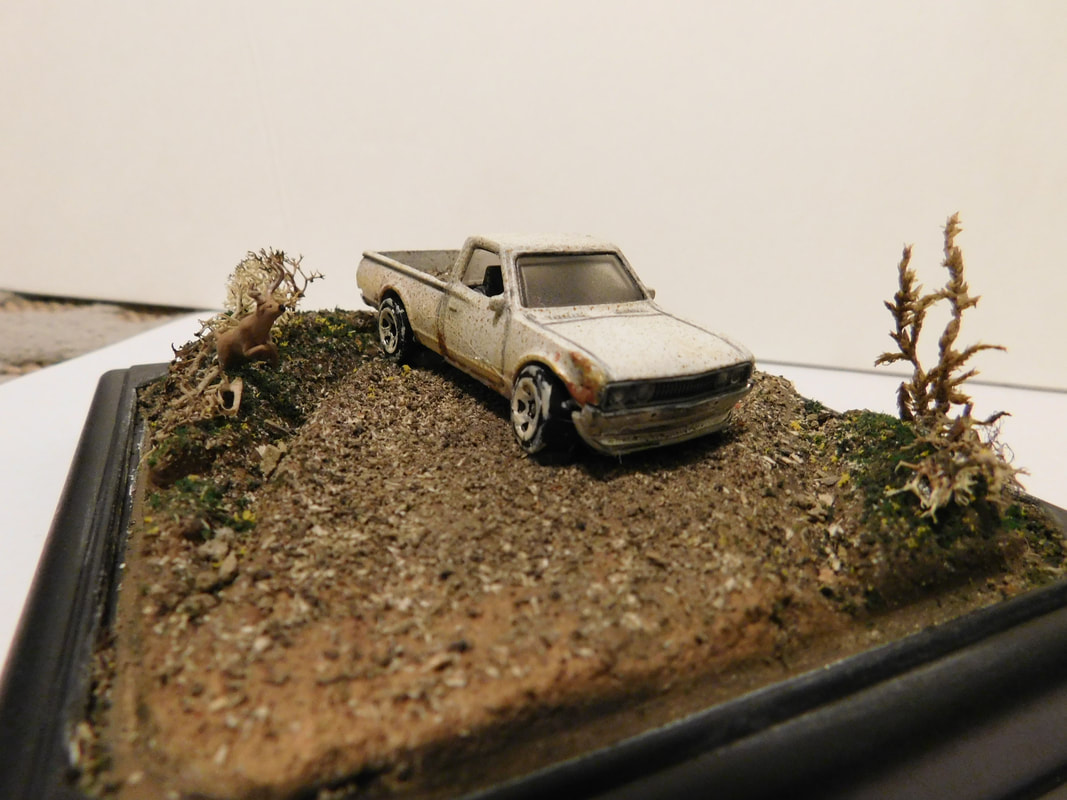
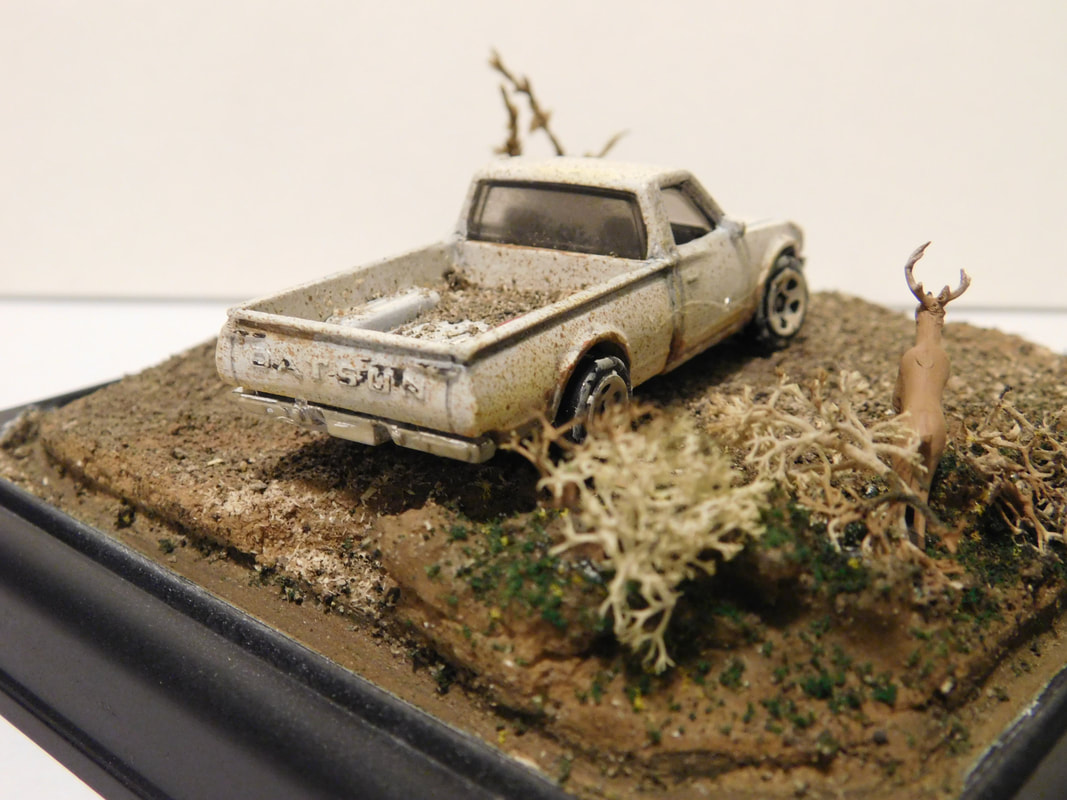
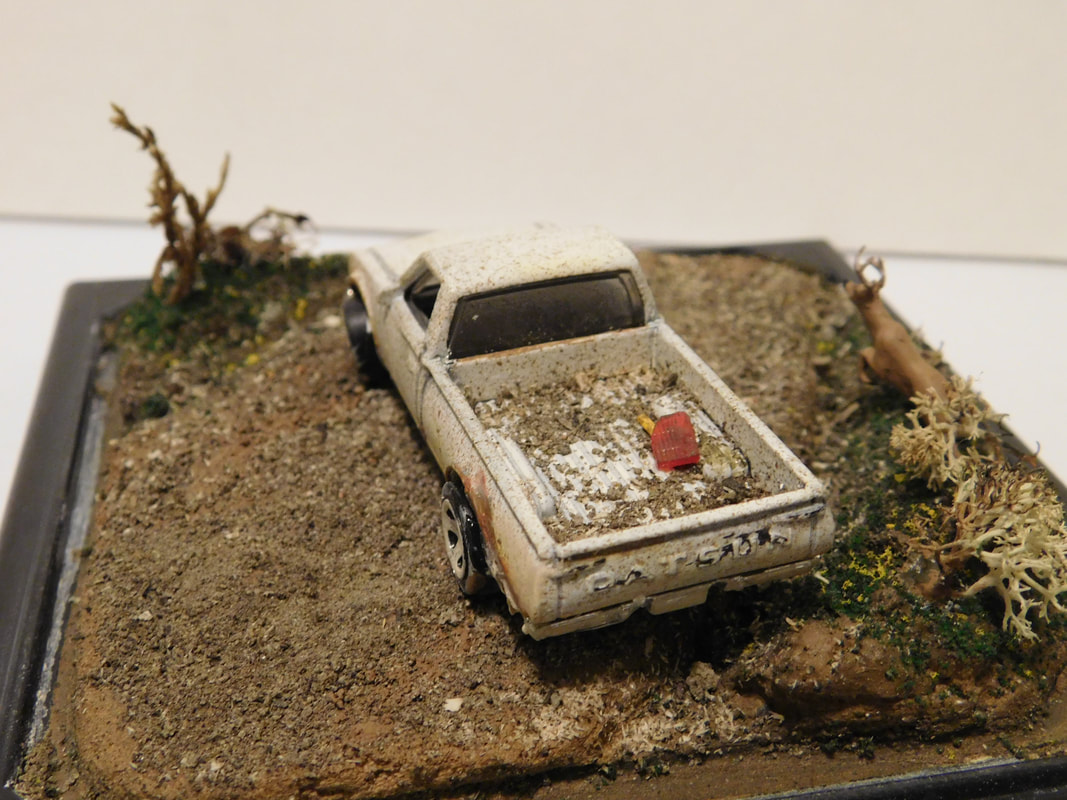
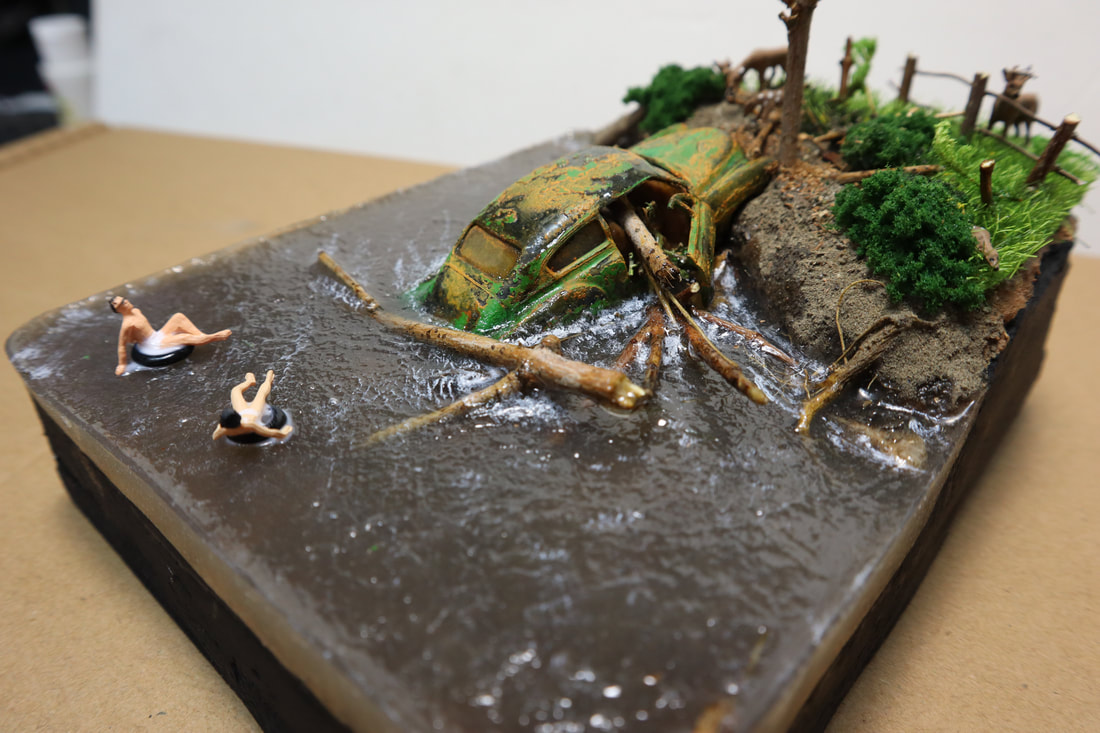
 The Mighty Nissan 1/24th scale The Mighty Nissan 1/24th scale
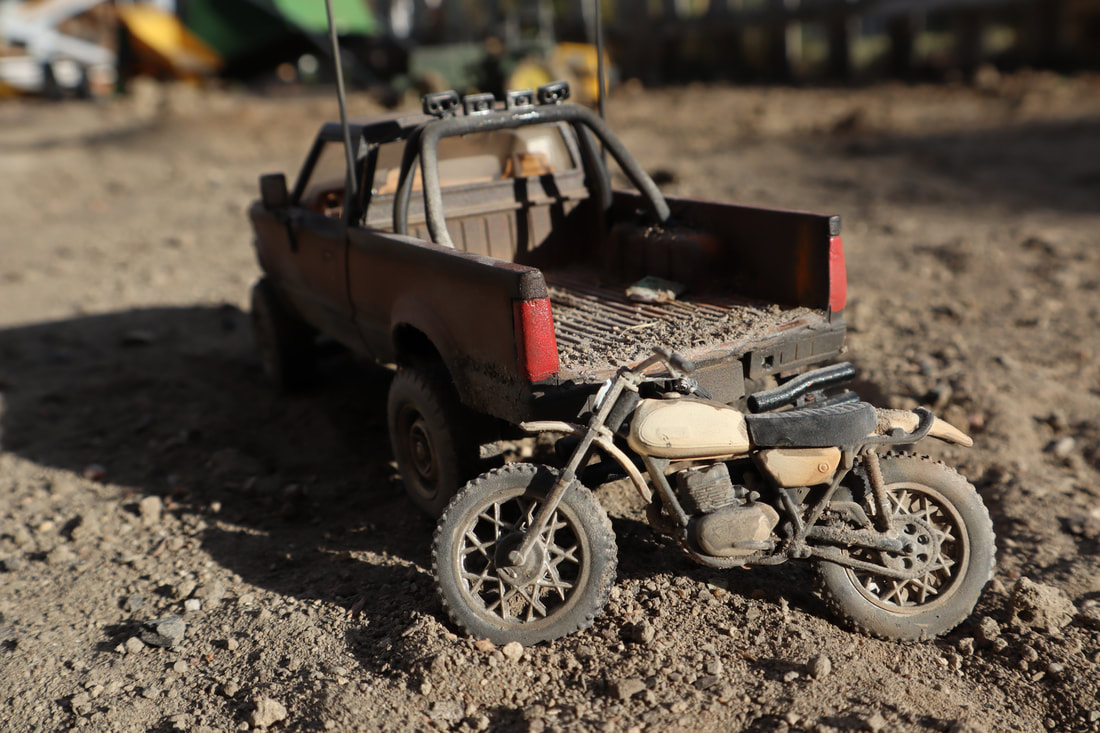
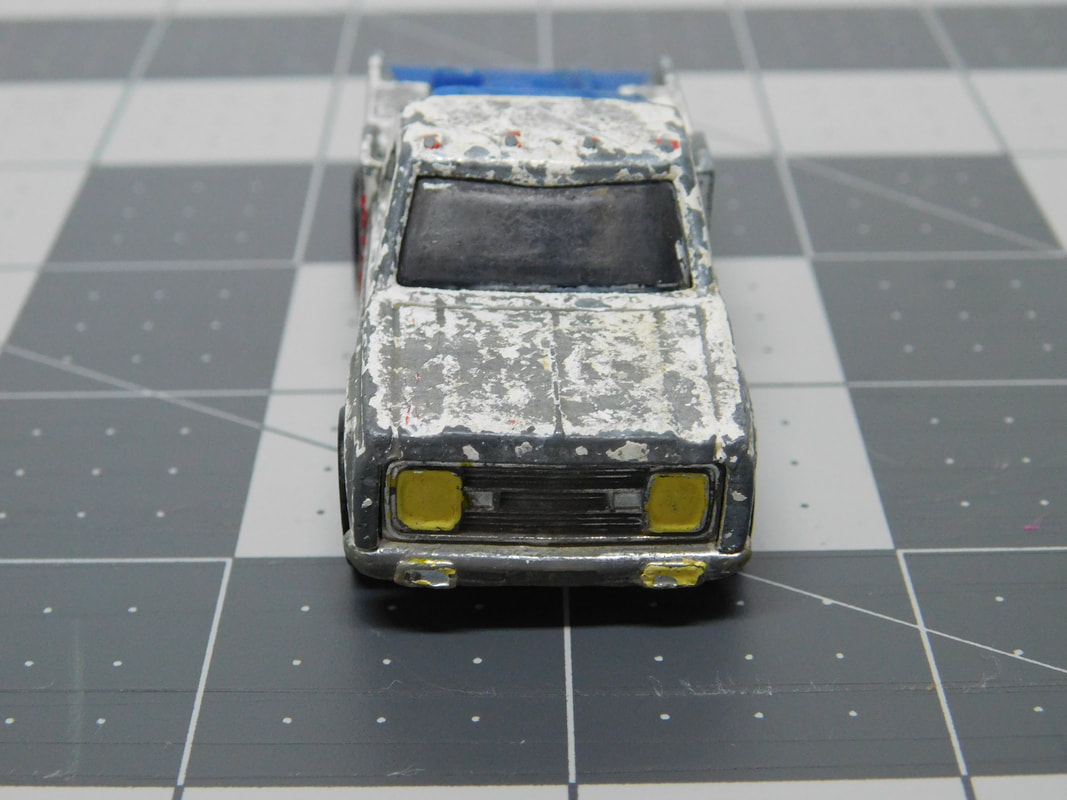
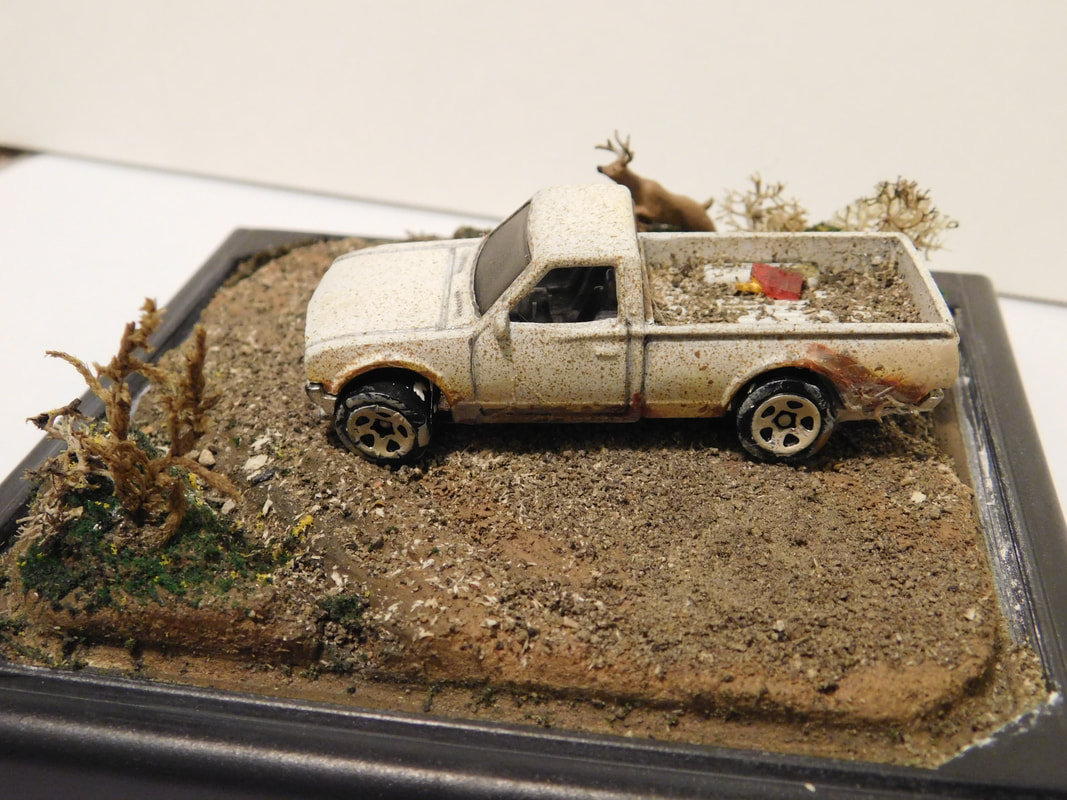
Check out my complete build and application of some heavy weathering techniques to this Revell 1/24 scale Datsun 720 off road pickup truck. I call it "The Mighty Nissan" Sometimes known as a Nissan Hardbody. This is a low piece count model kit, but still provides some great opportunities for detailing. In this project I take it off the rails and add a ton of detail work and heavy weathering (rust, dirt, mud, ect...) to replicate my memory of the real vehicle as seen below. Read on and don't forget to watch the video documenting the process of building this fantastic kit!
Below is some screen shots and links to the actual video of the REAL pickup I am replicating for this kit. It is a beat and battered 1985ish, the ish is because the pickup is a Datsun 720 with a later pickup box from the D21 (Hardbody), but anyways I digress. Here is a reference picture which will help describe the scope of this build. 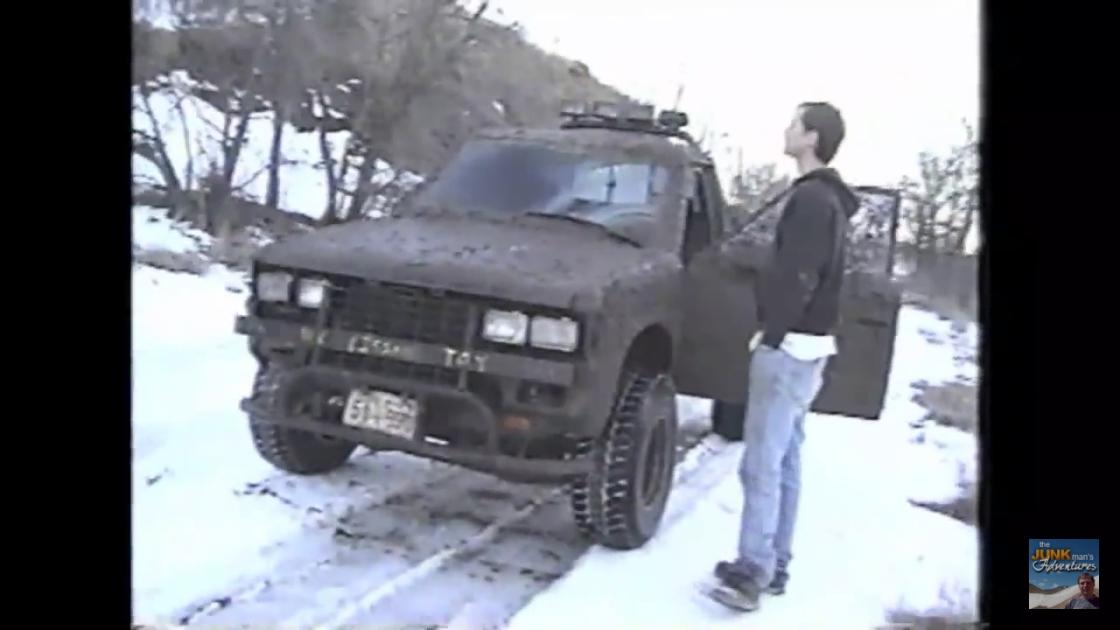
The Mighty Nissan (my best friend, driver)
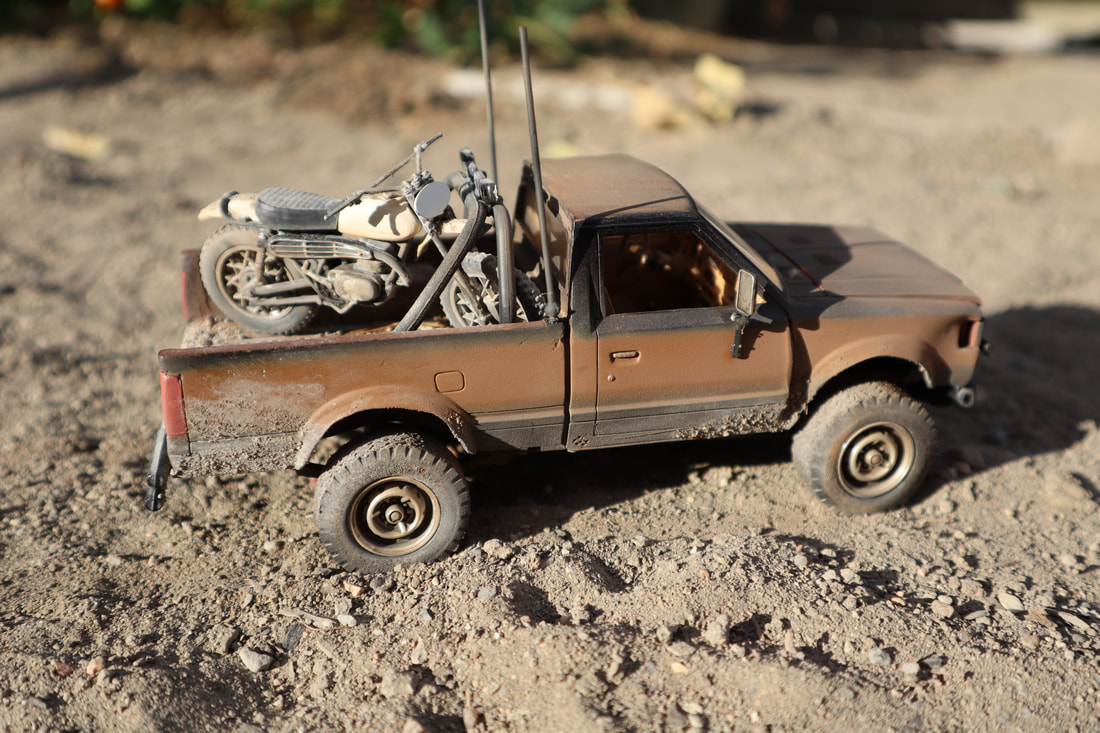
As you can see, this little pickup has taken a beating. Below is more progress pictures and the video documenting how I went about building this replica of the little Nissan/Datsun pickup we affectionately named "The Mighty Nissan" Stay tuned, in the next post will be an udpate with another project that goes with this one as an accessory that goes in the bed of the pickup.
The Dirt Bike, and the story continues...
Now to go along with the story this little model tells, it needs a motorcycle, a dirt bike to be exact. Now this is a model kit of a somewhat "generic" 70's dirtbike, but it looks an awful lot like a 1968 Yamaha DT1 ;) . Anyways there does not exist a 1/24 scale model of a 1984 Husqrvarna CR250 which is the exact motorcycle that relates to this pickup in memories. This will do just fine however. This is why I didn't fill in the obvious "Yamaha" badges, besides the story behind all this, those badges would have been gone anyways from neglect.

A good approximation of a 1968 Yamaha DT1 that has been rode hard and put up wet
Shift shaft and counter-shaft seals are leaking, as they do on old bikes like these.
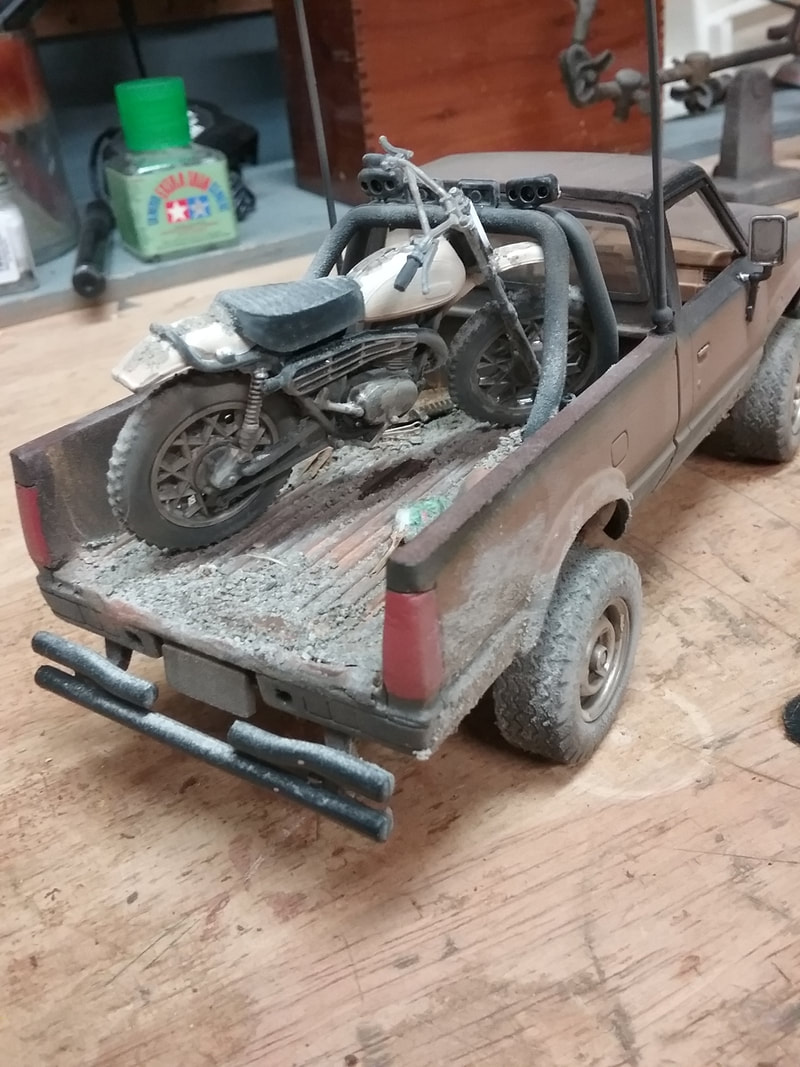
Shift shaft and counter-shaft seals are leaking..

Hot Wheels Ramblin' Wrecker custom
Hot Wheels Ramblin' Wrecker restoration and custom service truck. This truck is an original from my childhood and now will be passed down to my son, but not before a little custom treatment. 1977 Larry's Towing tow truck.
A lot of people asked where to get the chrome pen I used in this restoration. You can get it on Amazon HERE The rest of the paints are just your standard hobby shop type stuff. Leave a comment if you have any other questions. 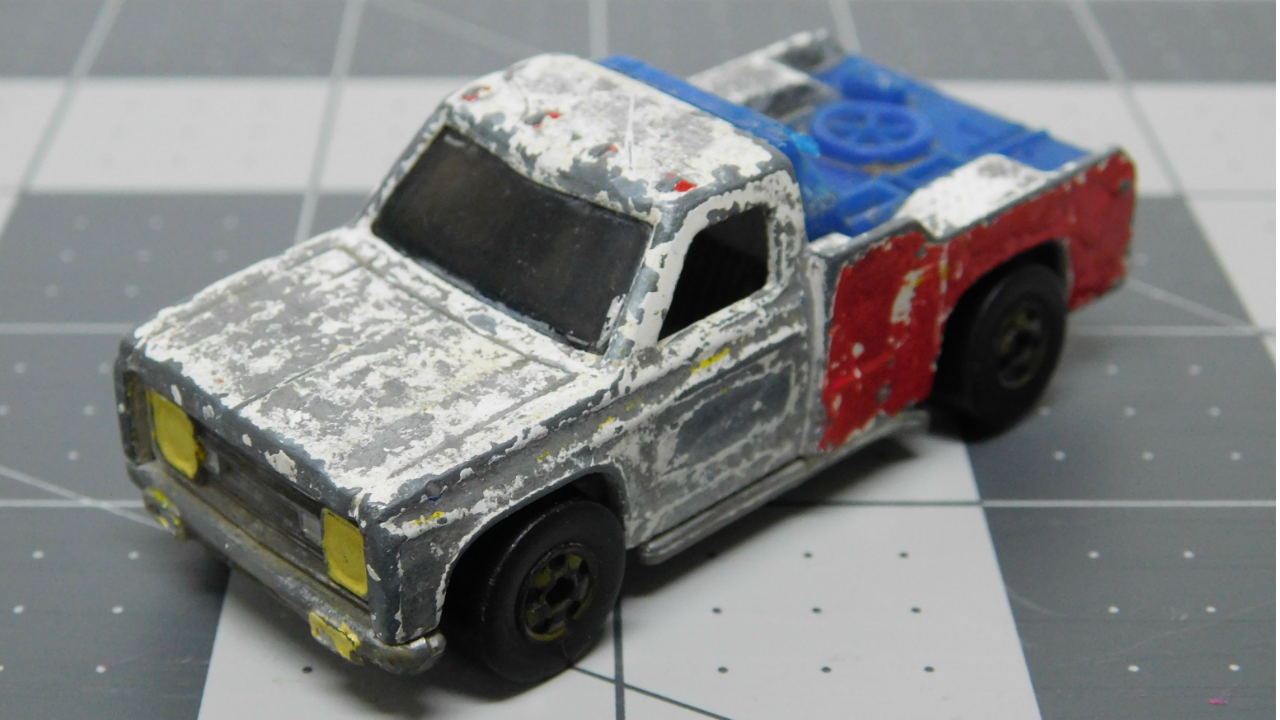
What this project started out as
Notice the detailed bed

Is My Bike Running Rich or Lean? To determine whether you need to re-jet the carb you can simply look at the spark plugs. Take the plugs out and if they look clean you're good to go. However, if you see black soot then you're running rich - meaning too much fuel - if you see A bright white insulator - meaning it is running too lean.
You can also determine if you need to jet the carb based on how the bike rides. If your dirt bike tends to be sluggish when you punch it and/or backfires when you open it up a bit, you're probably too rich. However, if your bike can take off in a sprint but lacks overall power, then you've got too much air. The carburetor consists of four components: Which you can learn more about in this video Carburetor Operation
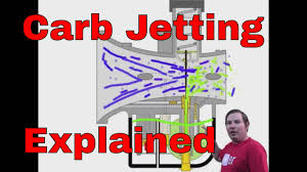
Carburetor Jetting Adjustment
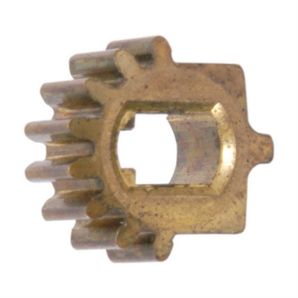
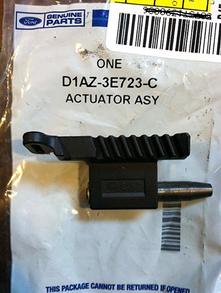
Ignition lock cylinder, rack, pinion and actuator rod replacement. This procedure fixes 1980 - 1992 FORD F150-F350 trucks and Ford E150-E350 vans with tilt steering. The common part that breaks is the lower actuator rod, this prevents the push rod that connects to the ignition switch mounted on the lower steering column to work properly. Below are the OEM part numbers for the parts in the mechanism. Dorman products is an aftermarket supplier of the lower actuator rod for the ignition. The lock cylinder is usually not the culprit when experiencing this failure.
Ford OEM part numbers Ford D4AZ-3E717-A is the brass gear Ford D1AZ-3E723-C is the rack (upper actuator) Ford E9T2-3E715-B (lower actuator) Dorman Products 83280 (lower actuator)

p/n E9T23E715B or Dorman 83280
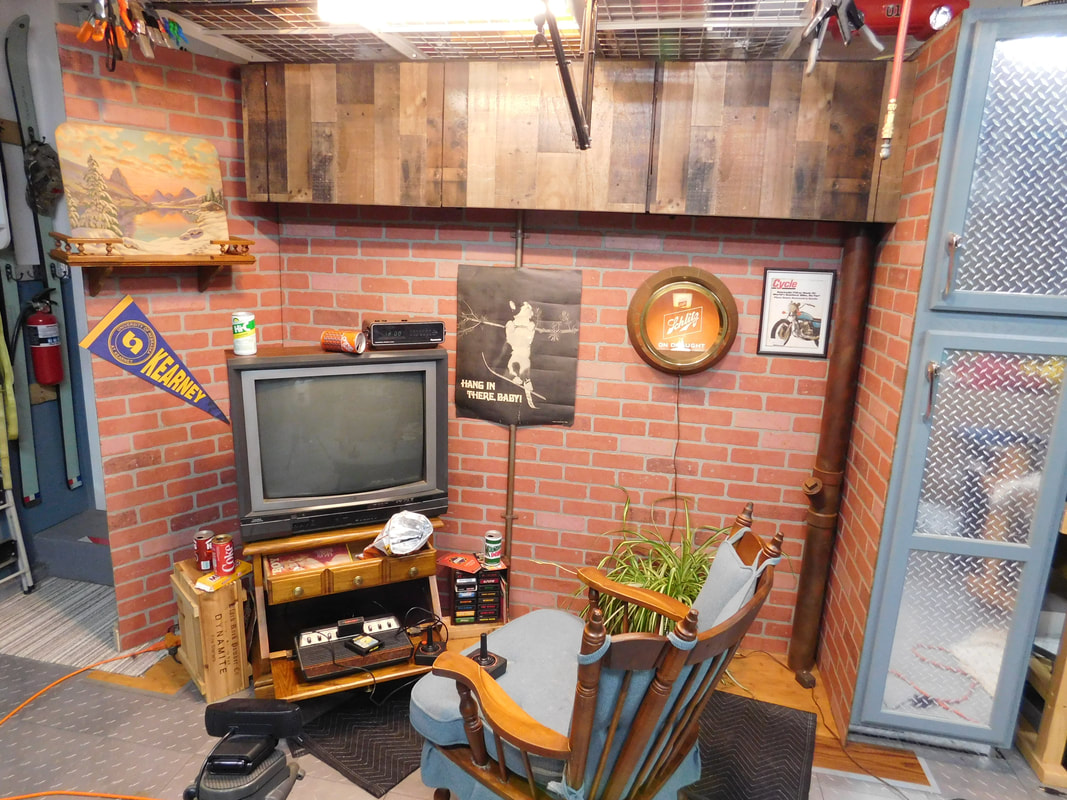
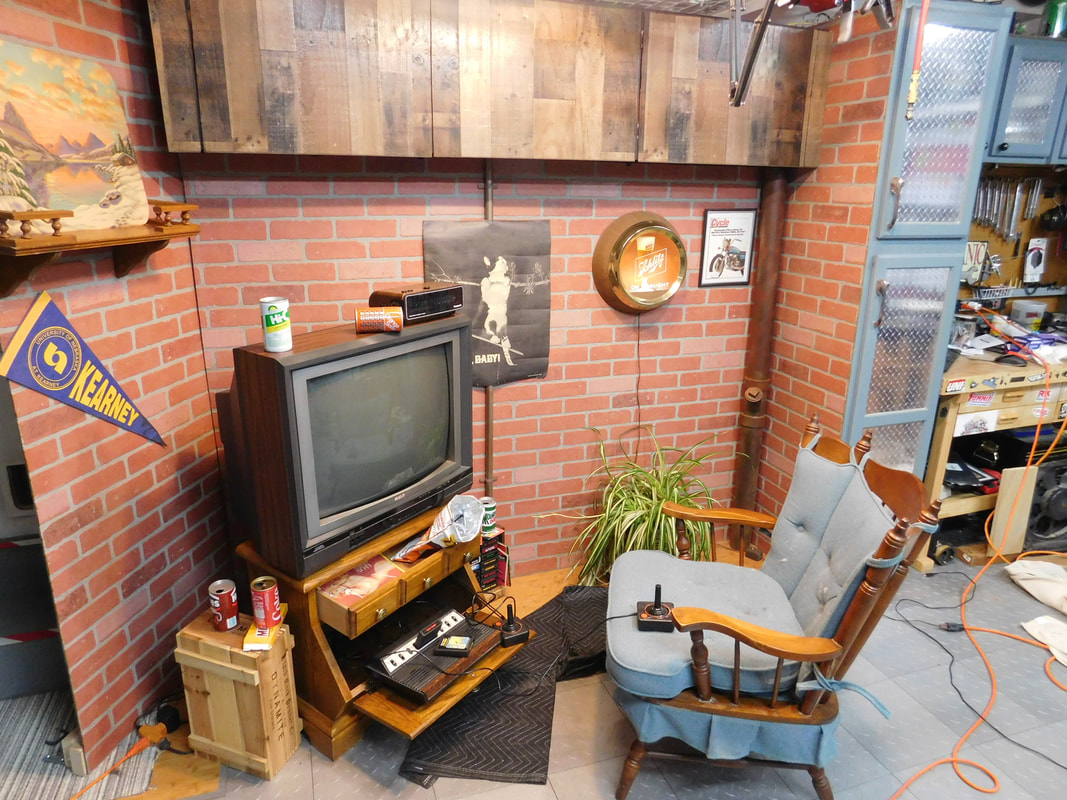
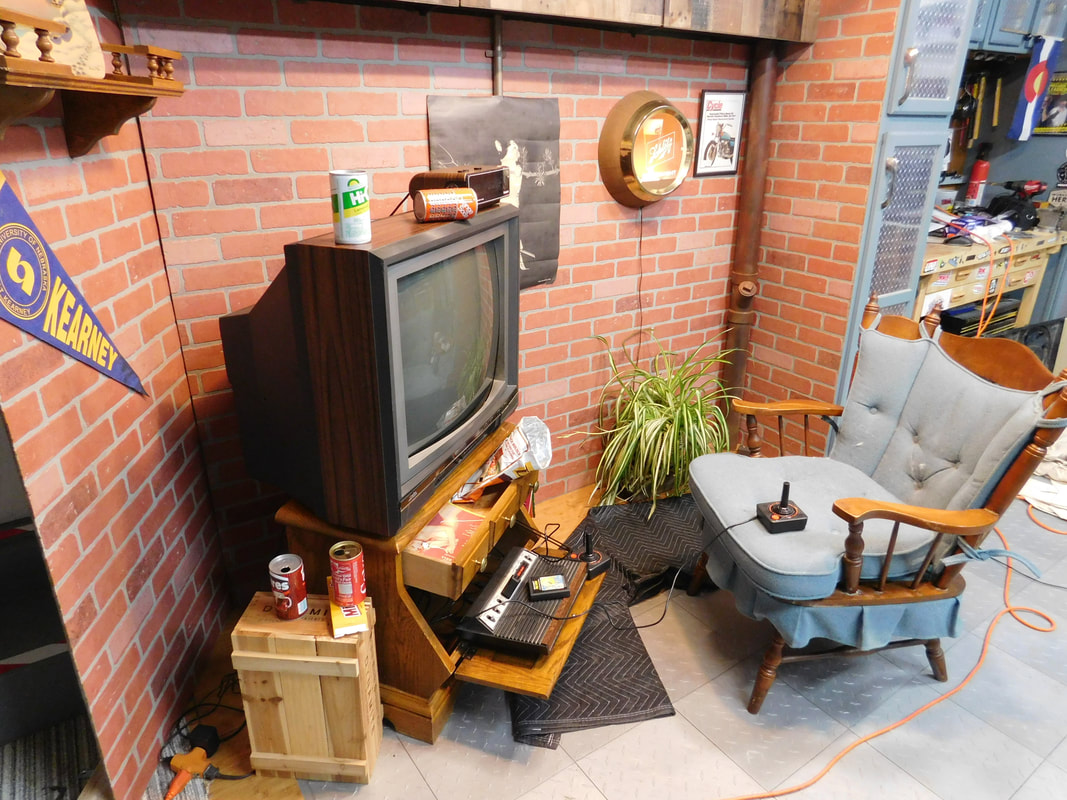
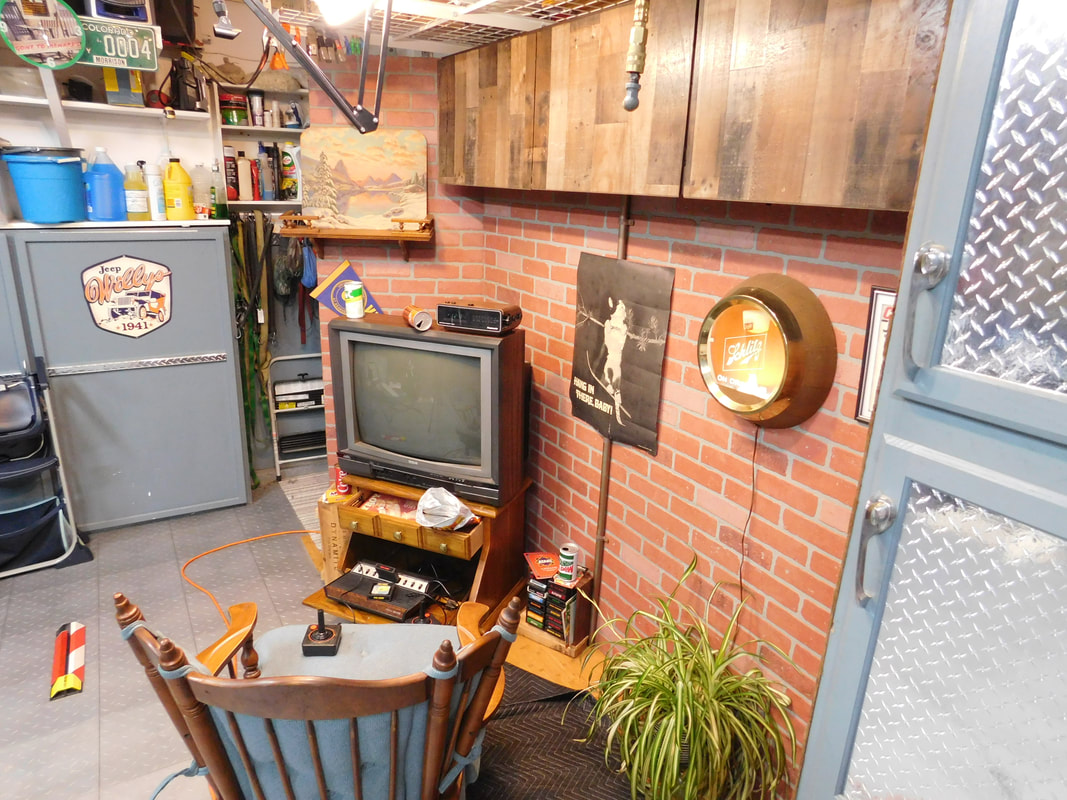
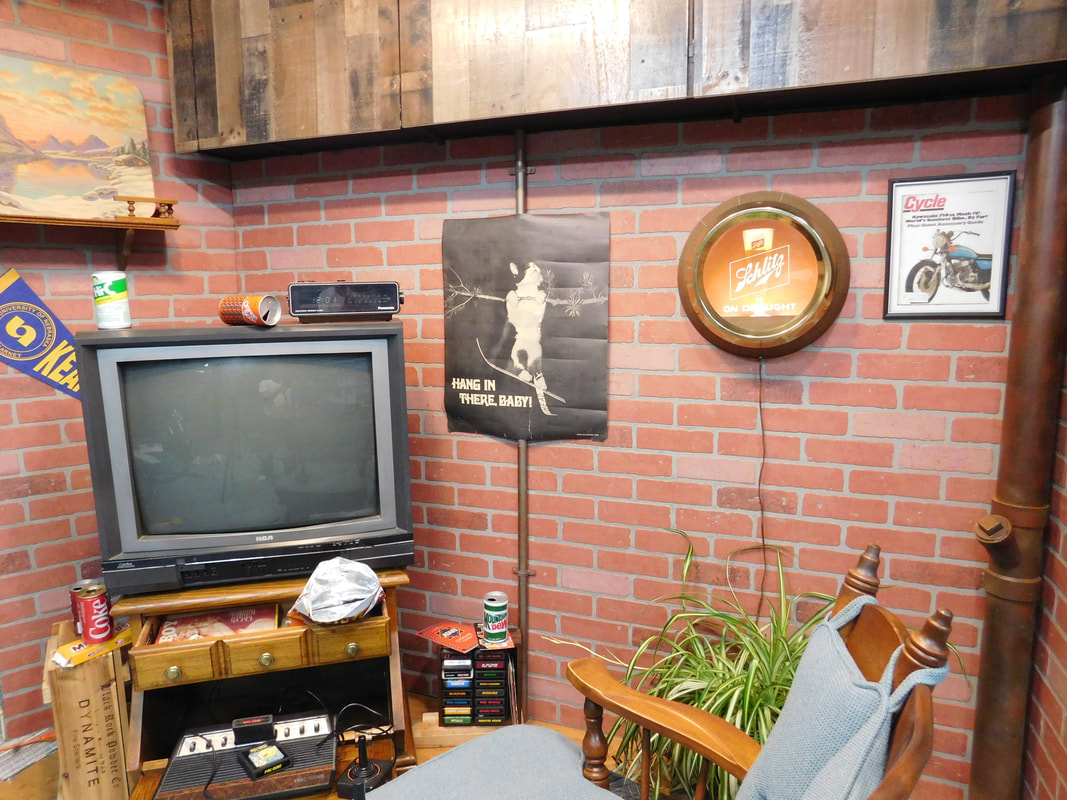
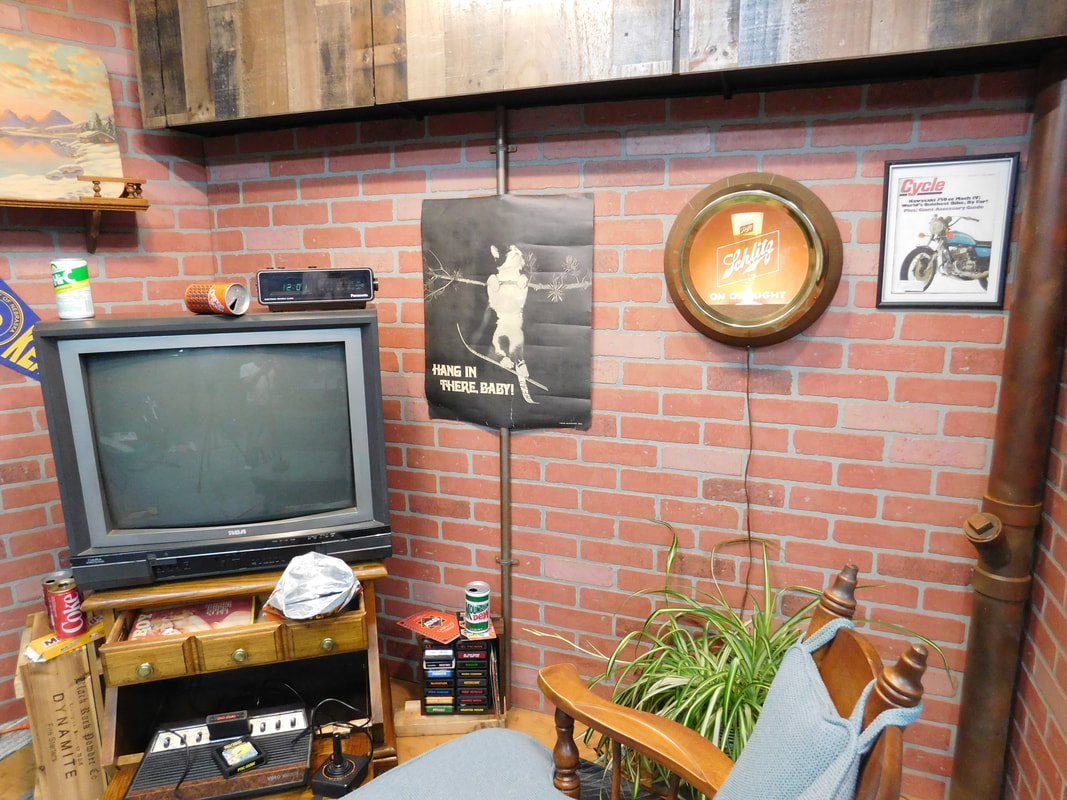
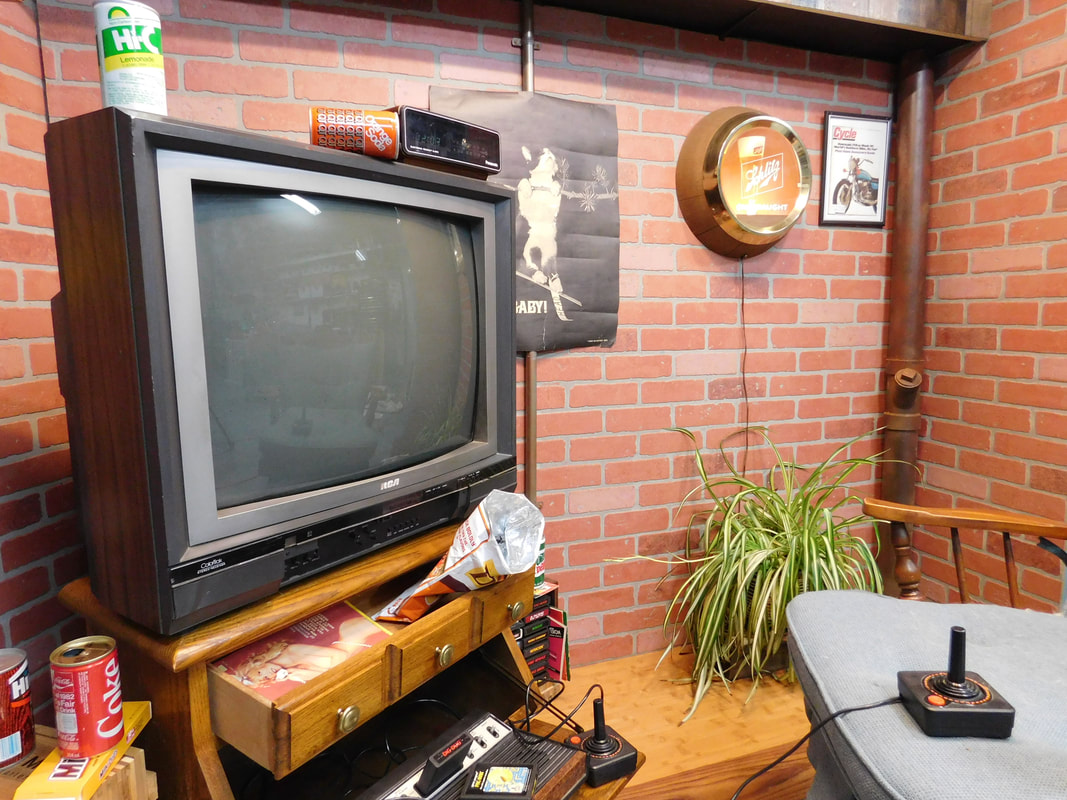
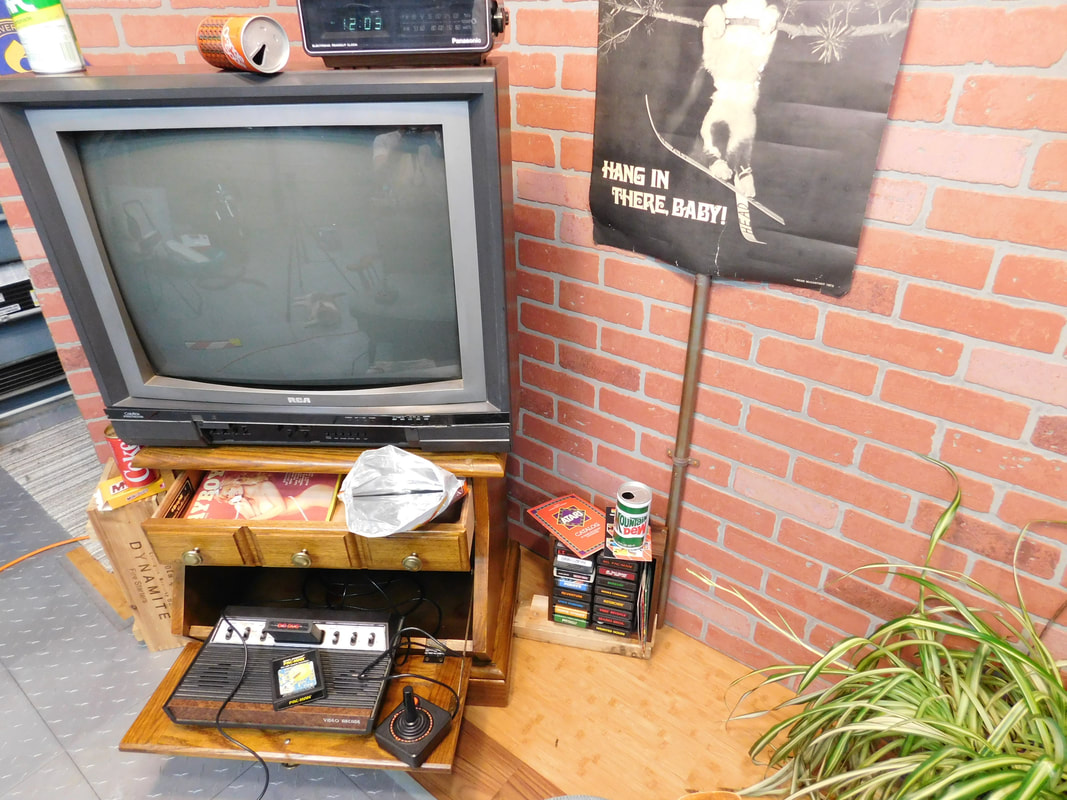
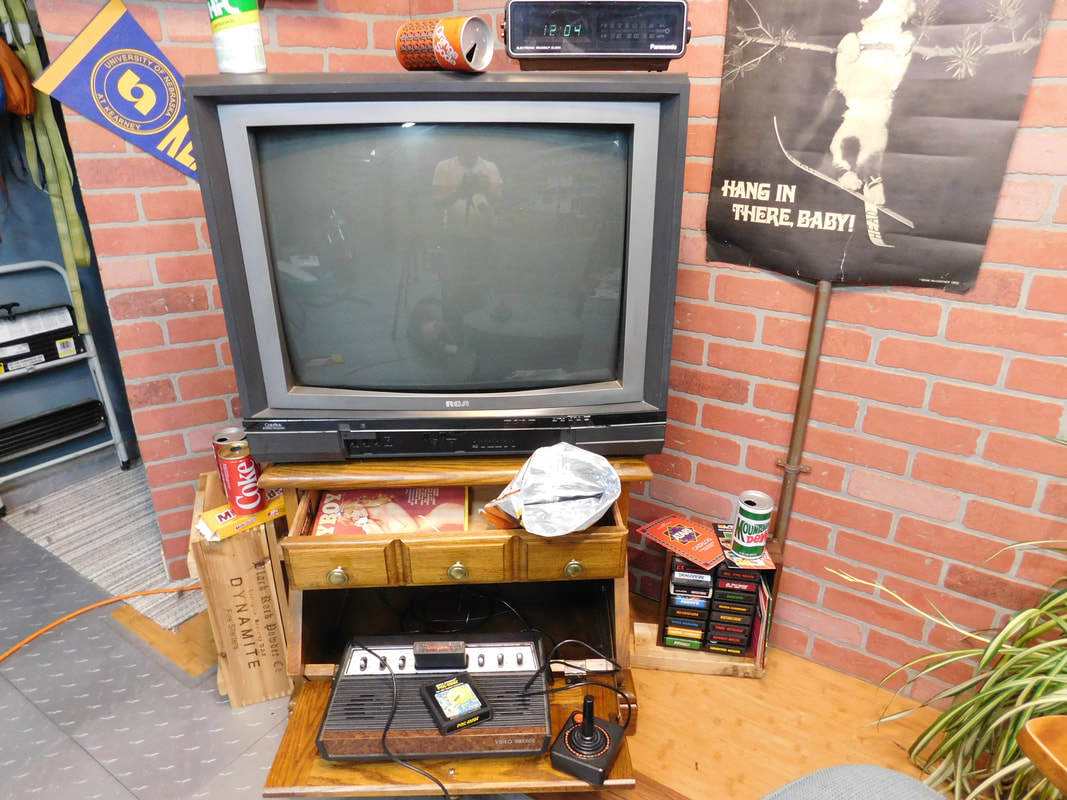
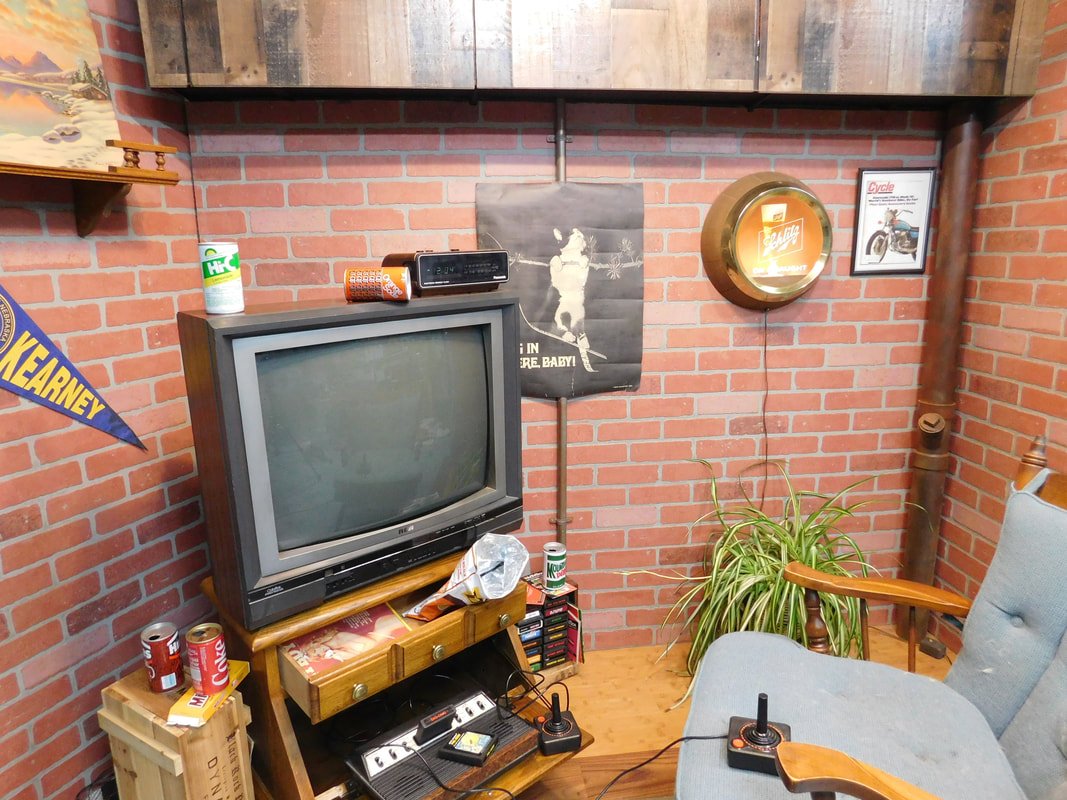
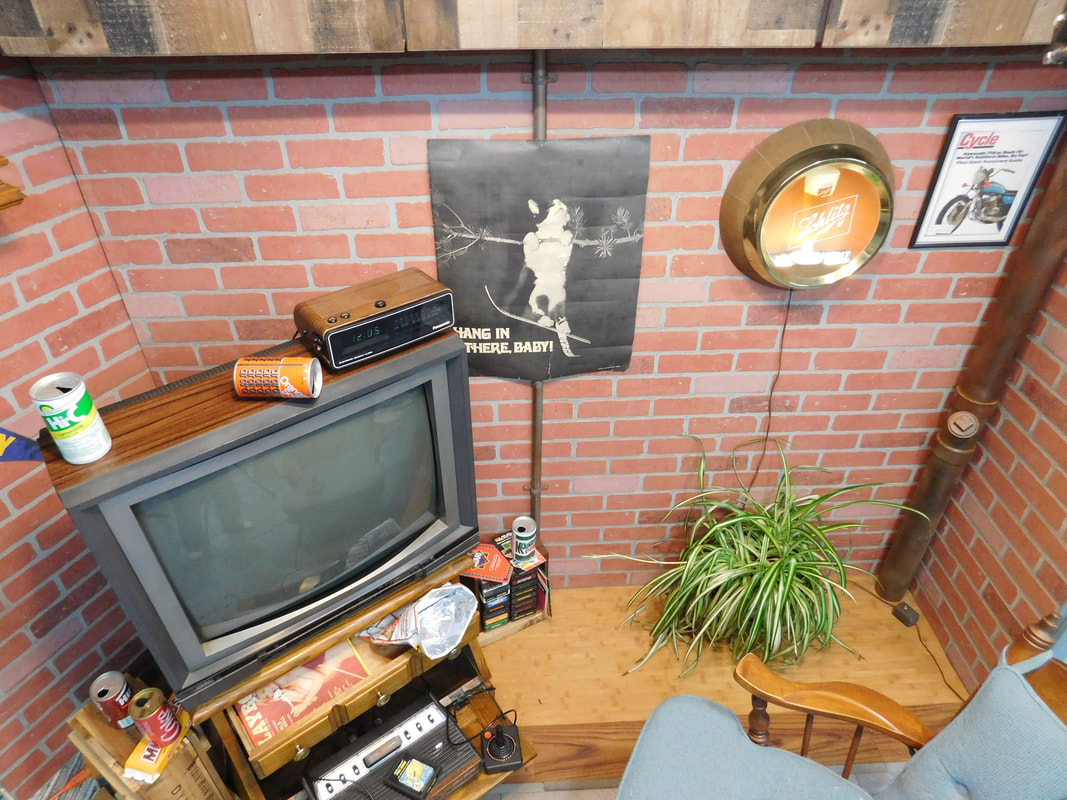
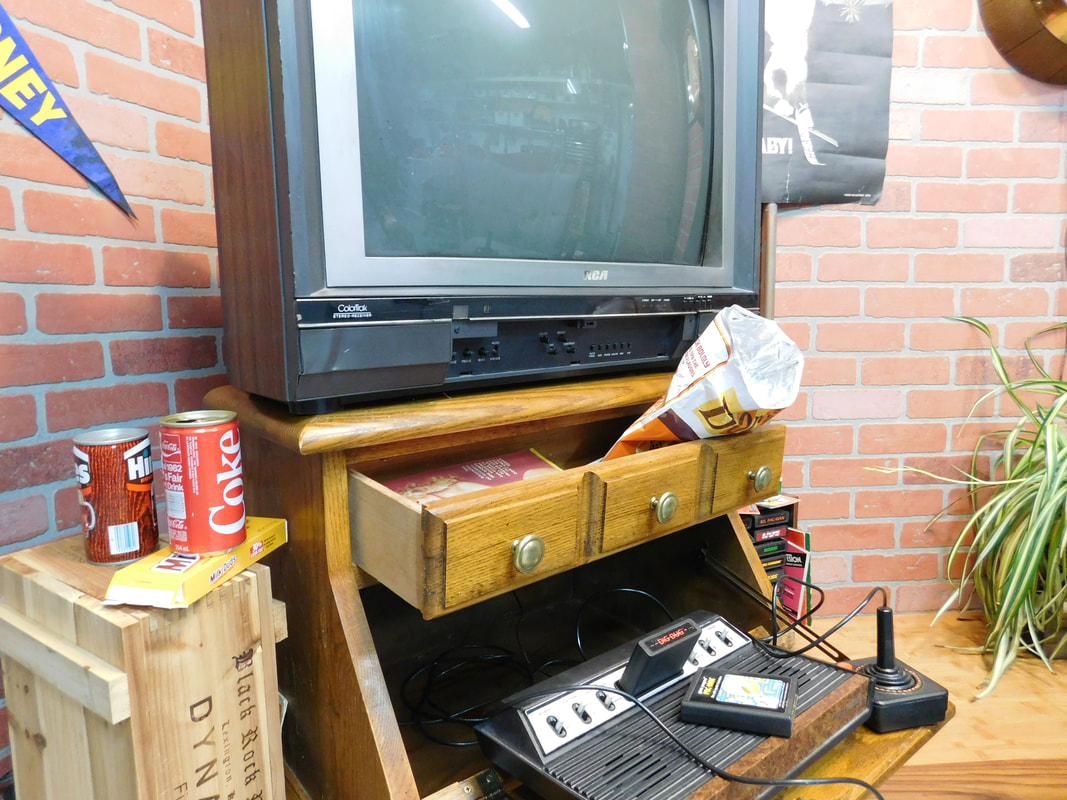
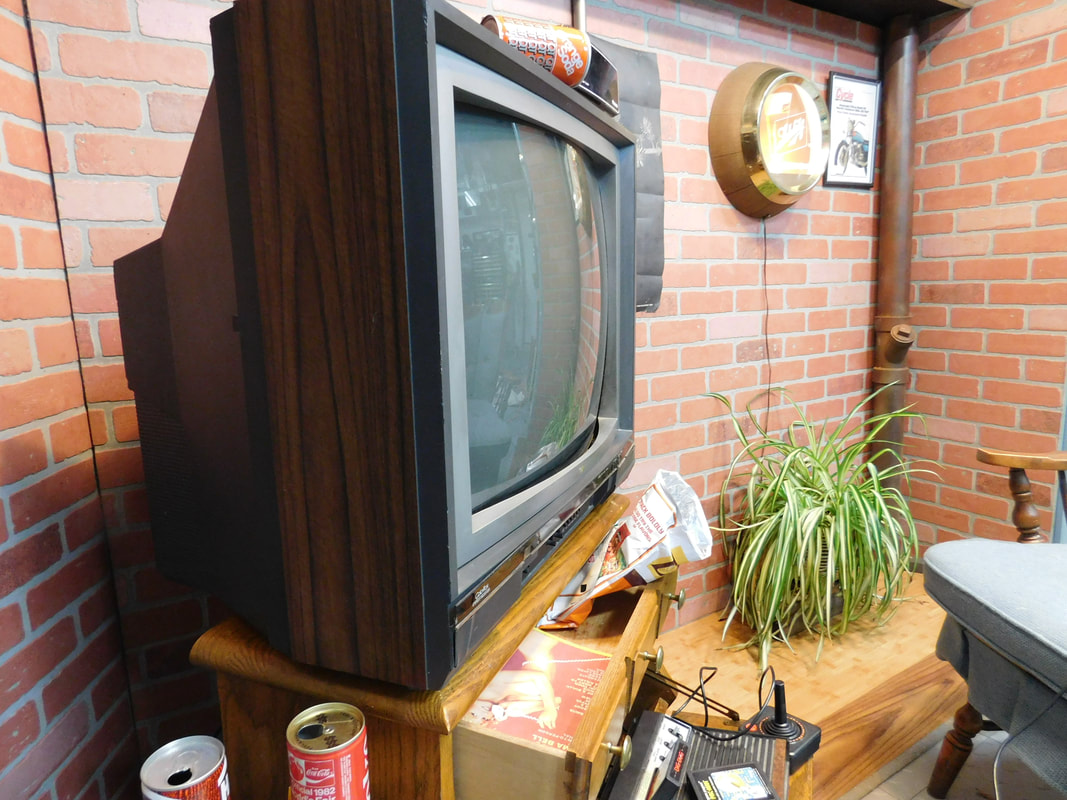
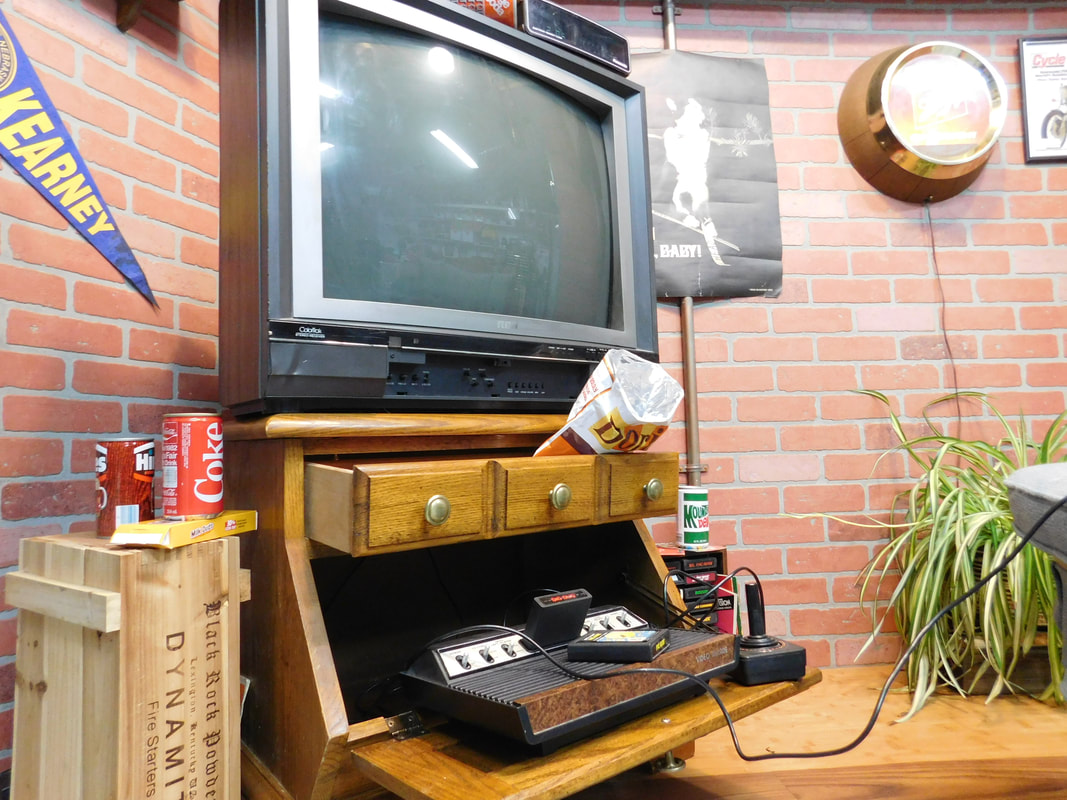
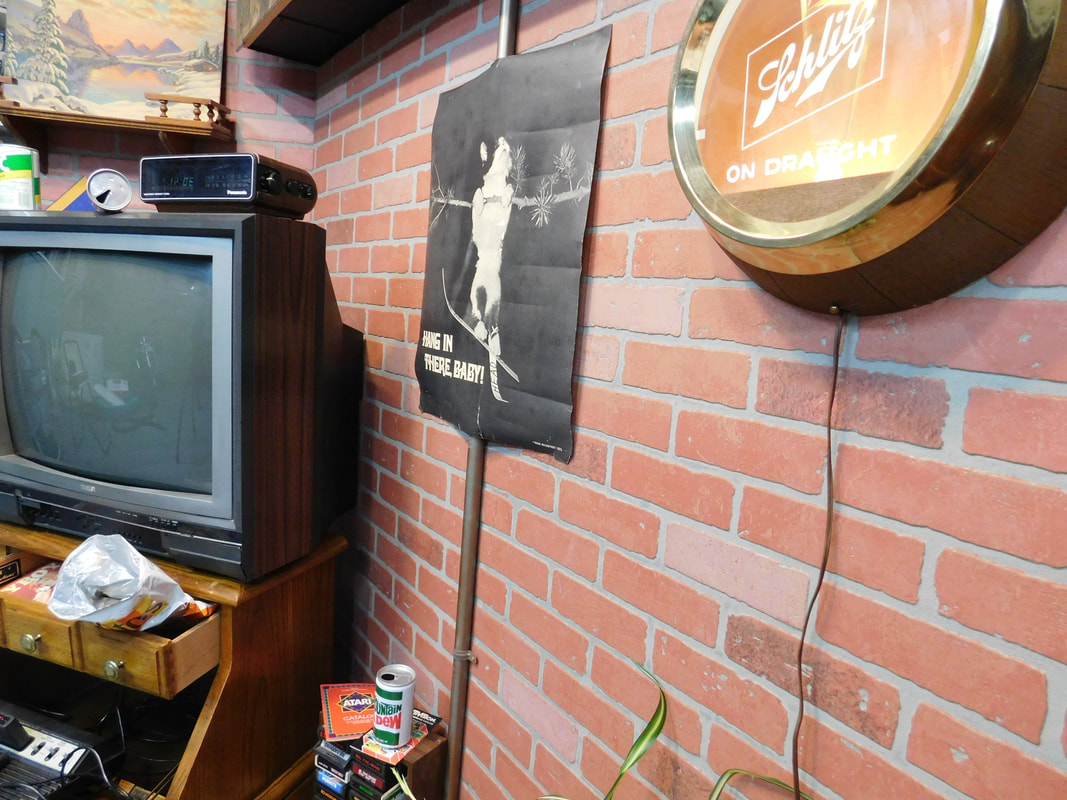
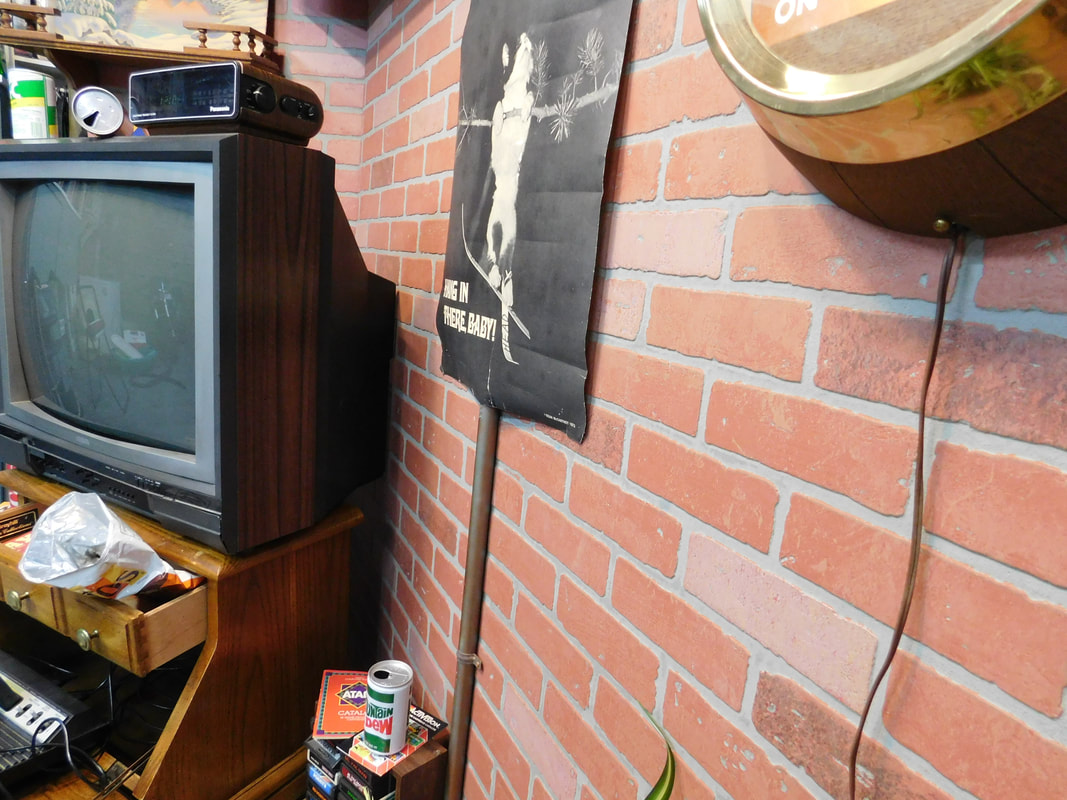
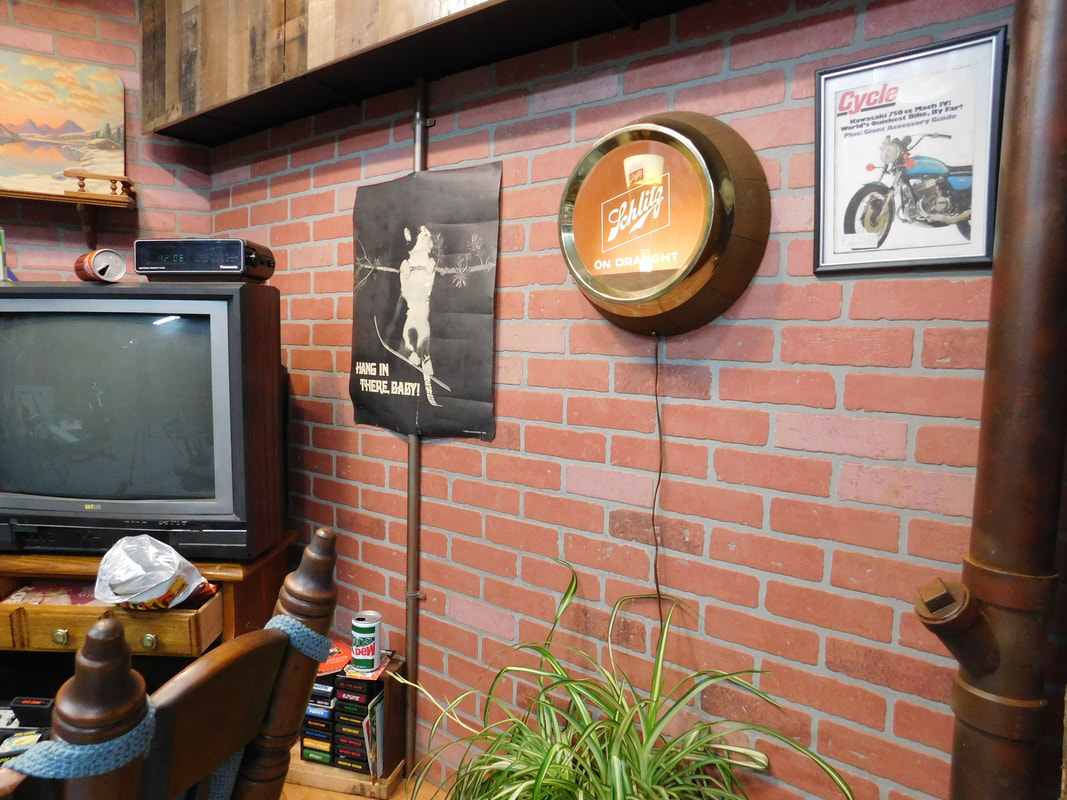
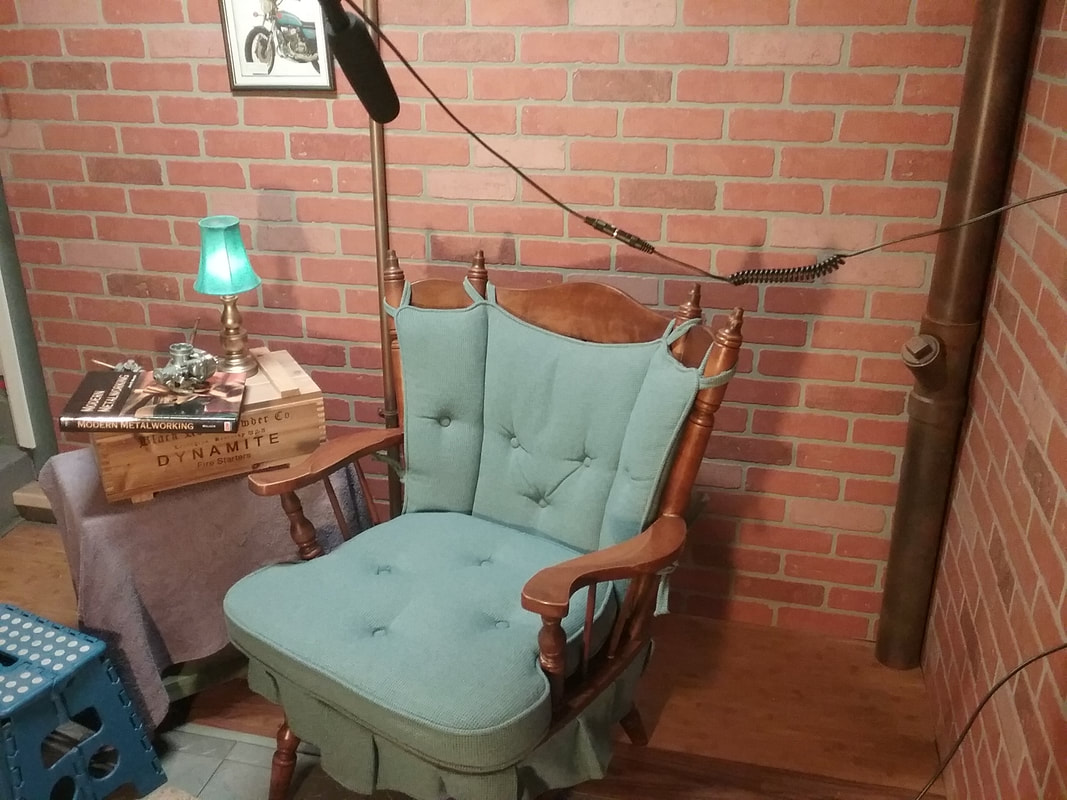
 Just kickin' back with Mountain Dew Just kickin' back with Mountain Dew
"Don't you just wish you could go back?" Well here is a little slice of early 80's gaming via the Atari 2600! See what it was like to sit down in the basement with some snack and a cool drink and relax playing some retro-video games. Click to watch the video!
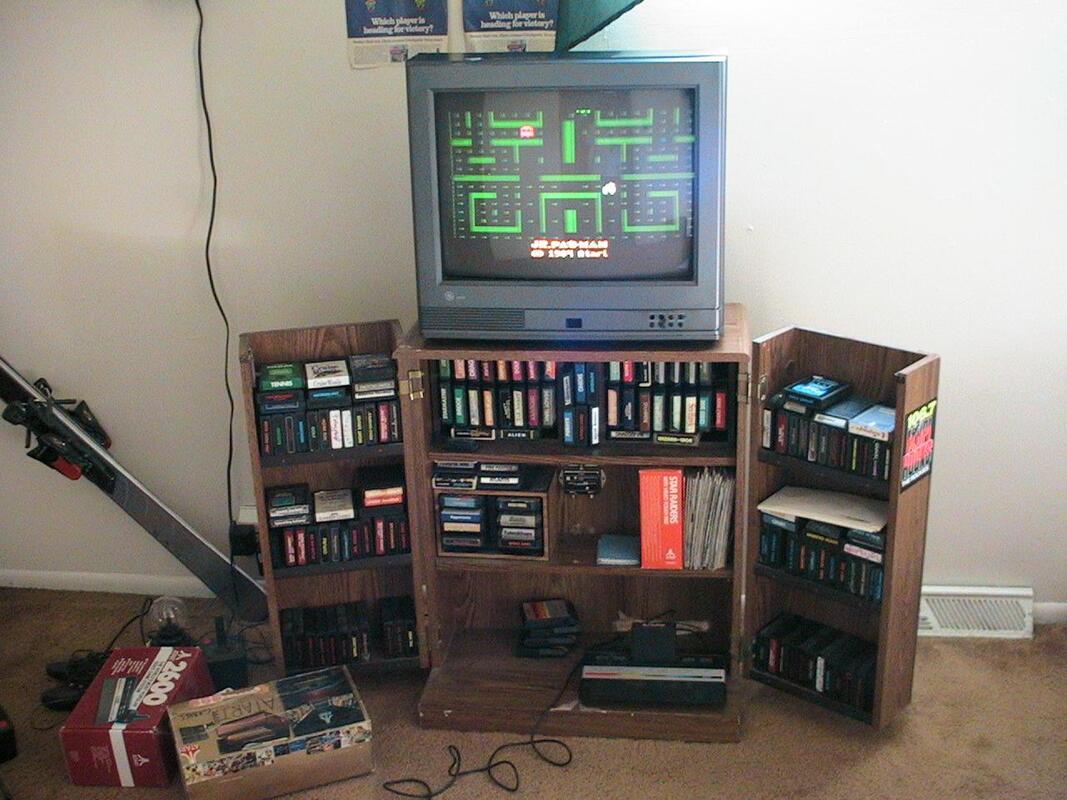
My setup back in the day


Gaming in the 80's
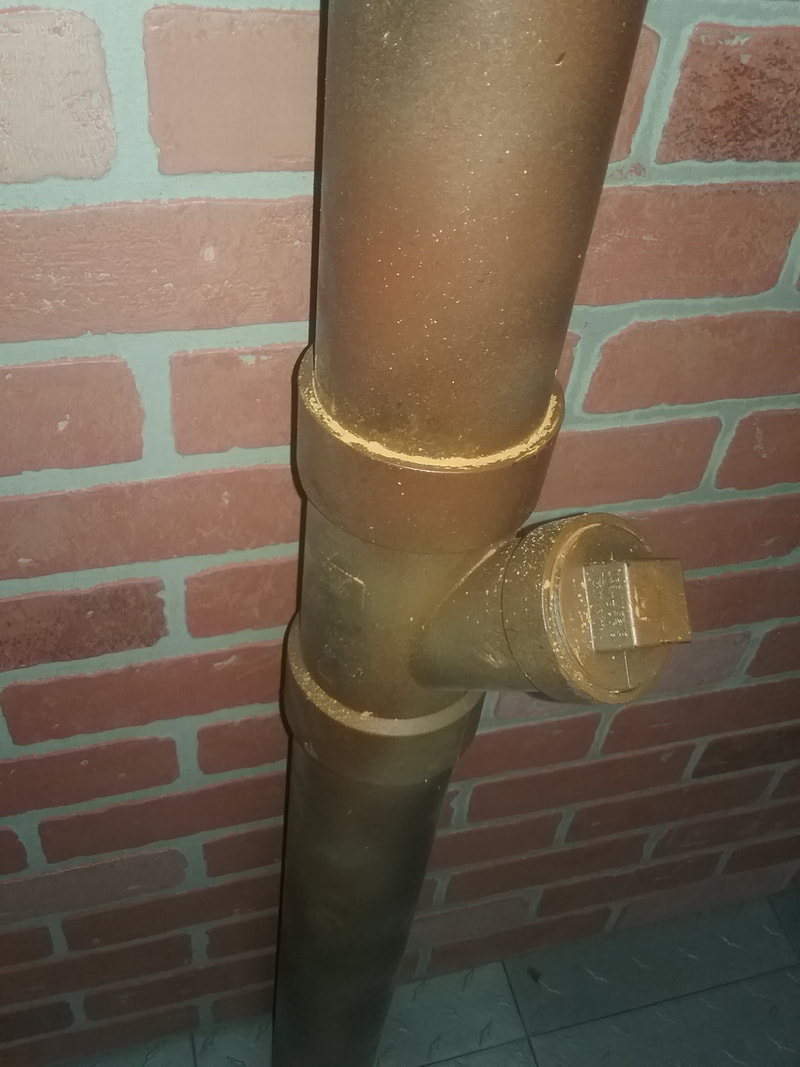
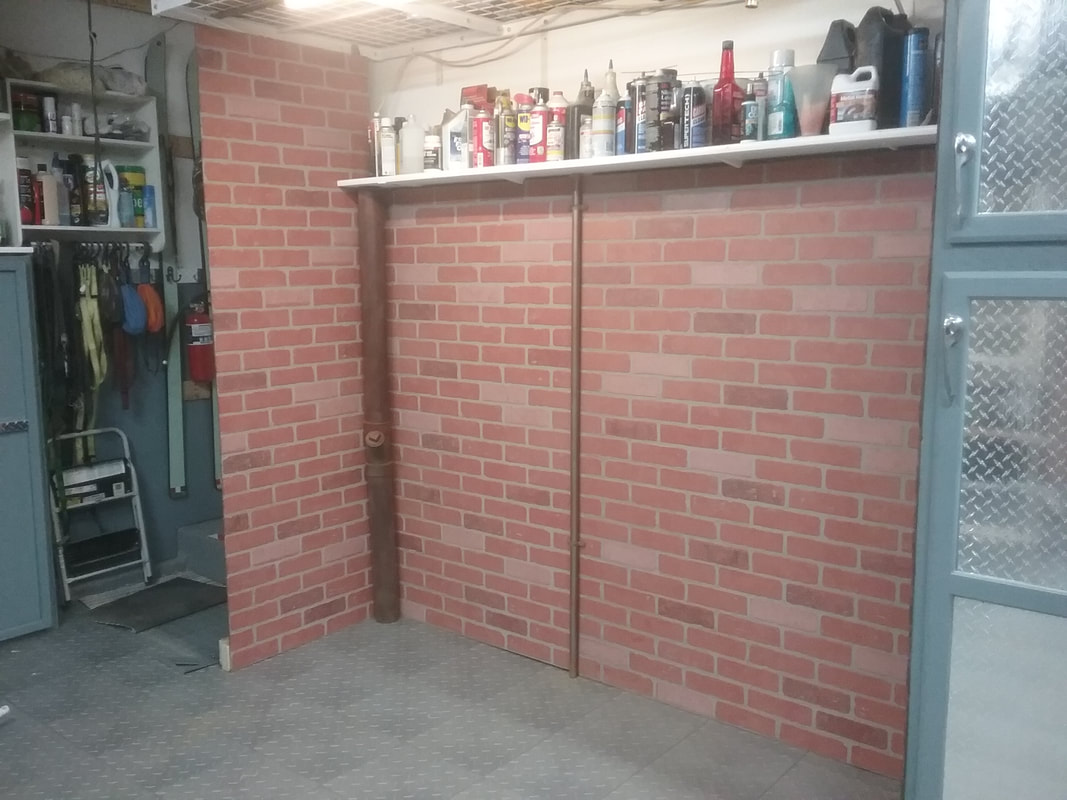
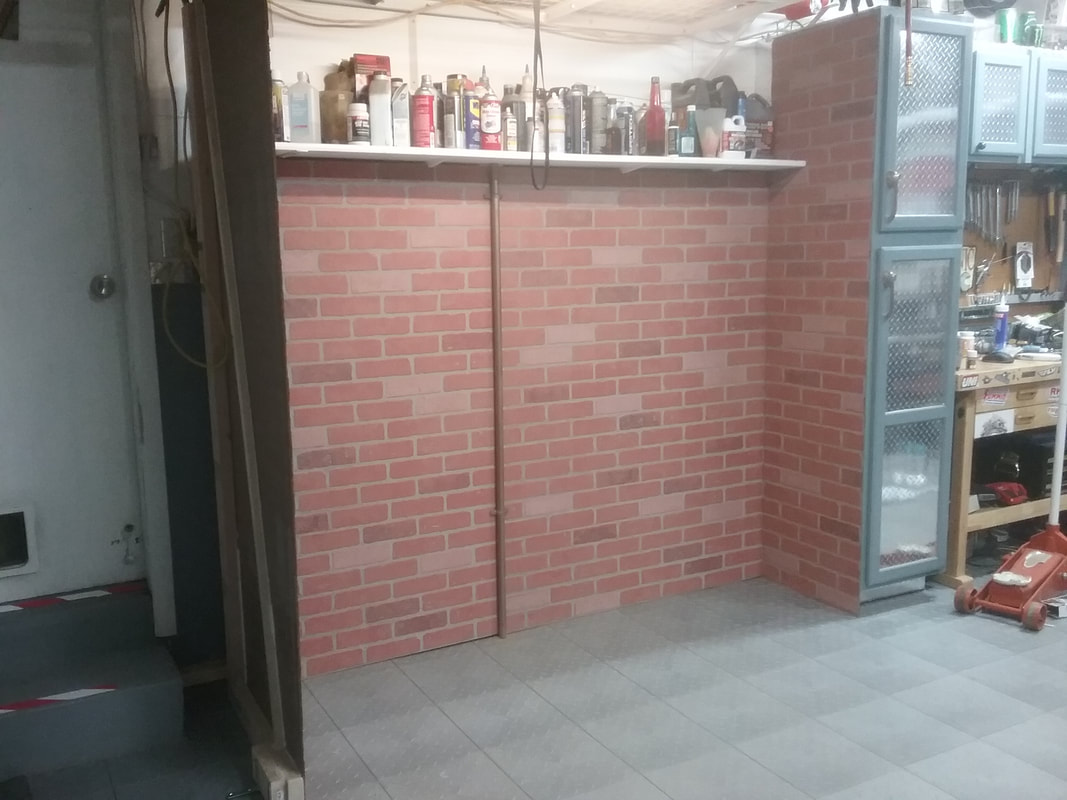
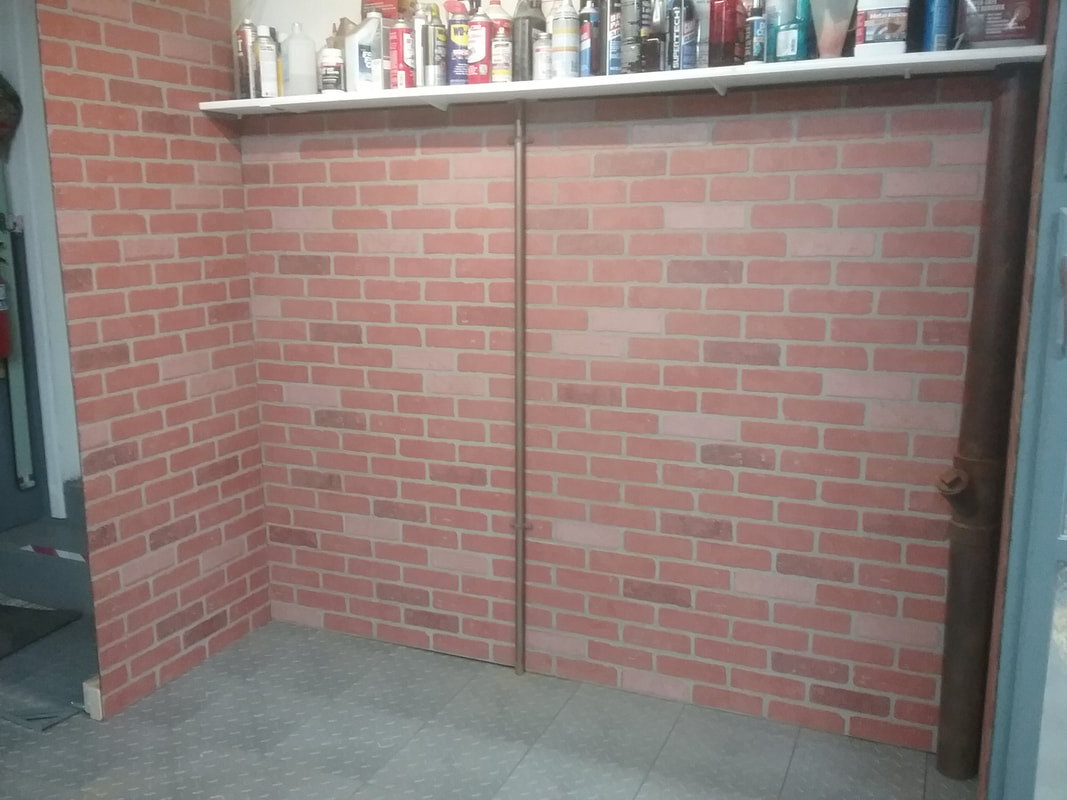
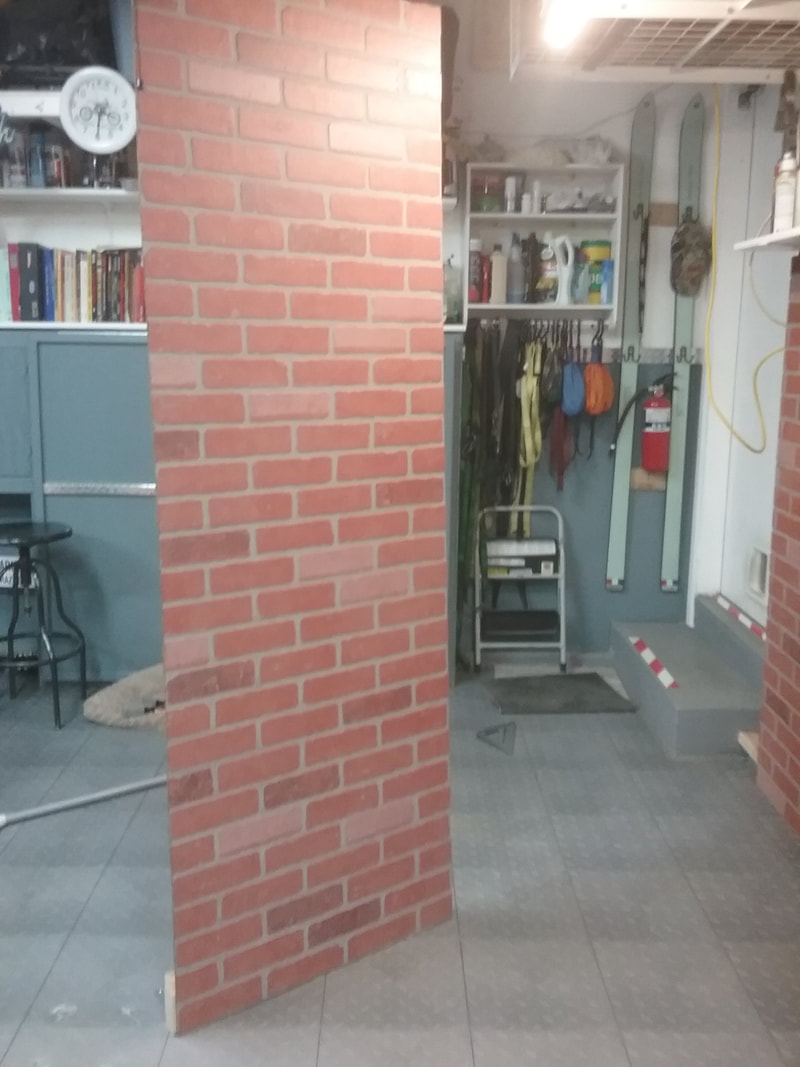
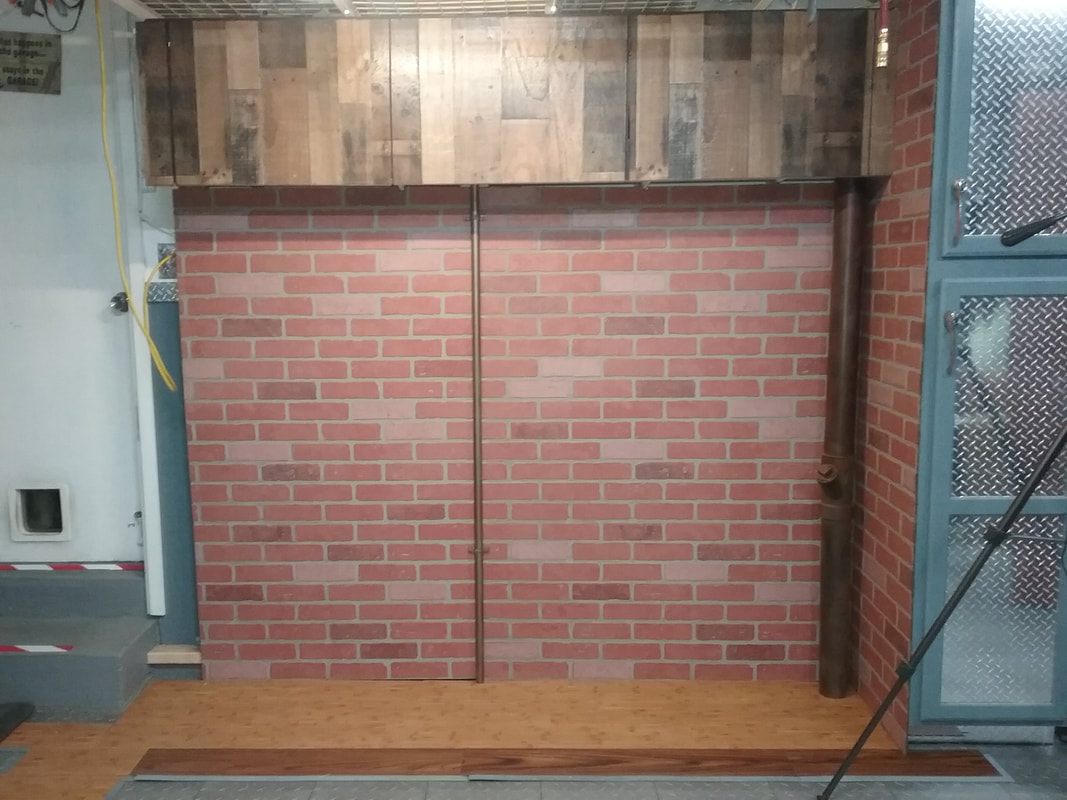
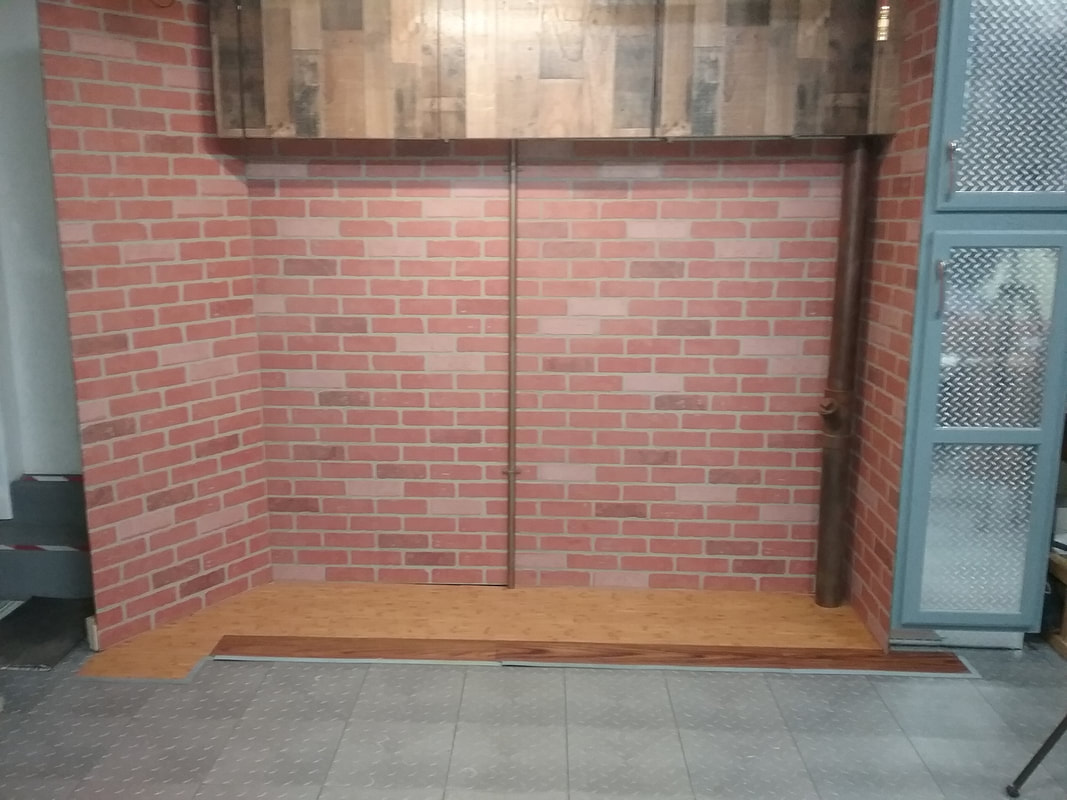
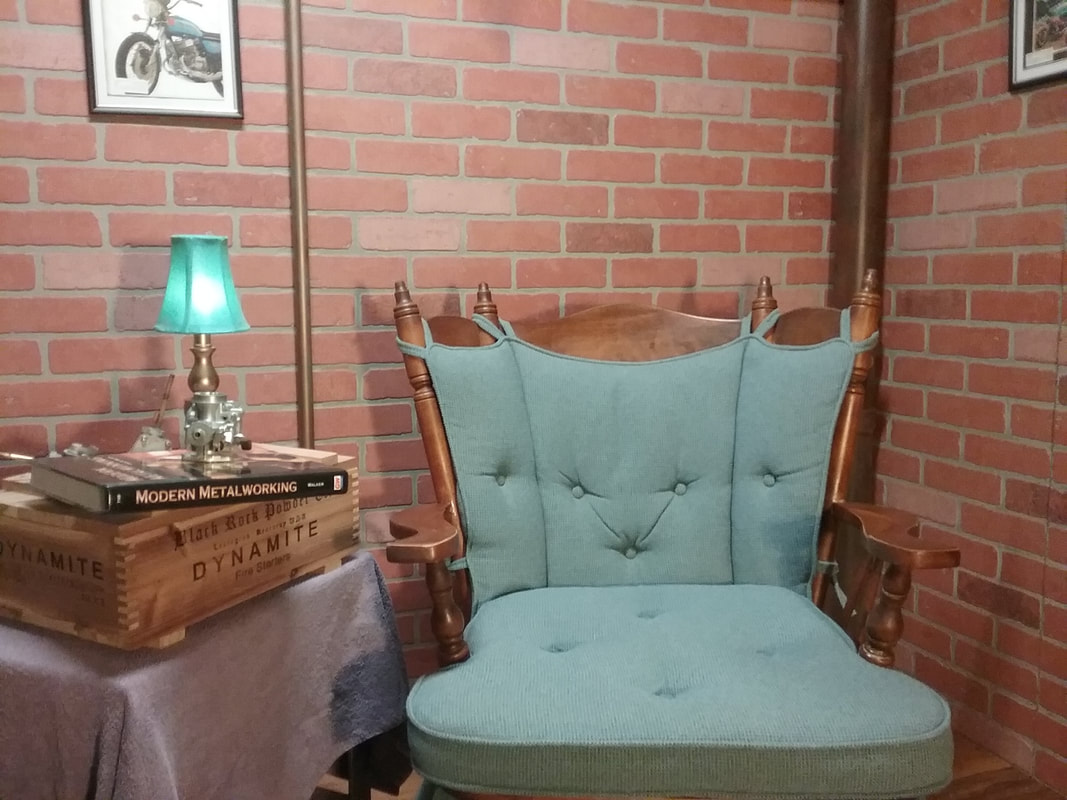
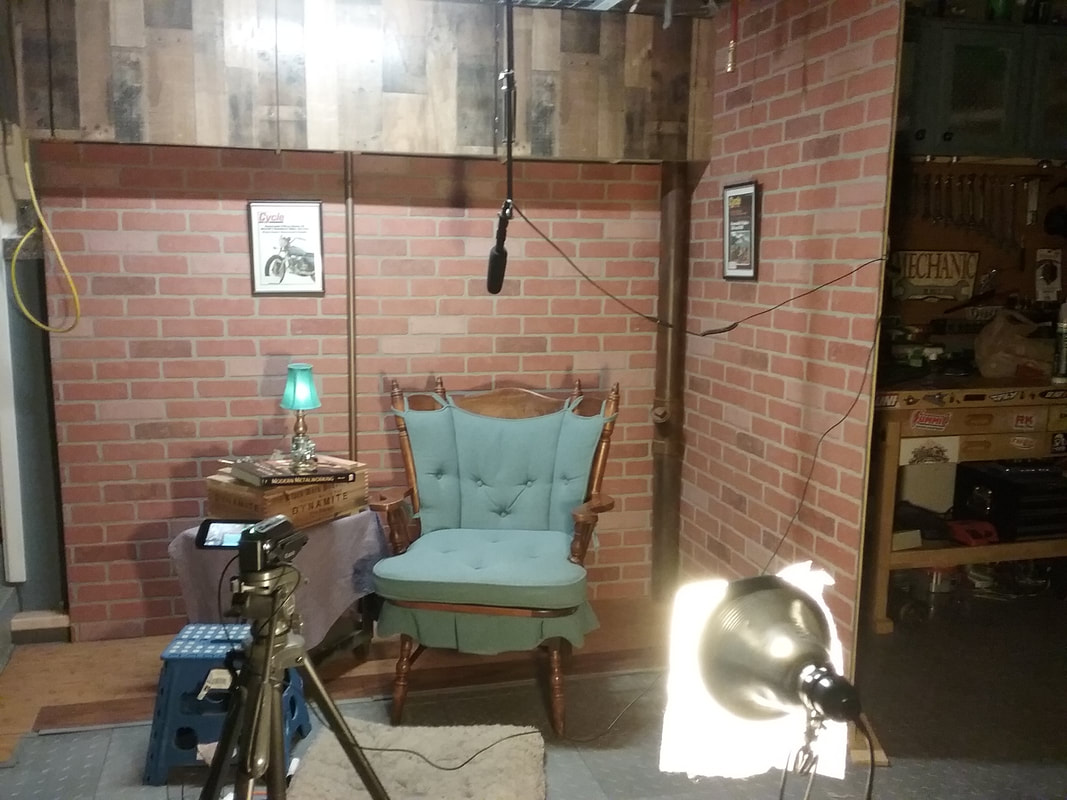
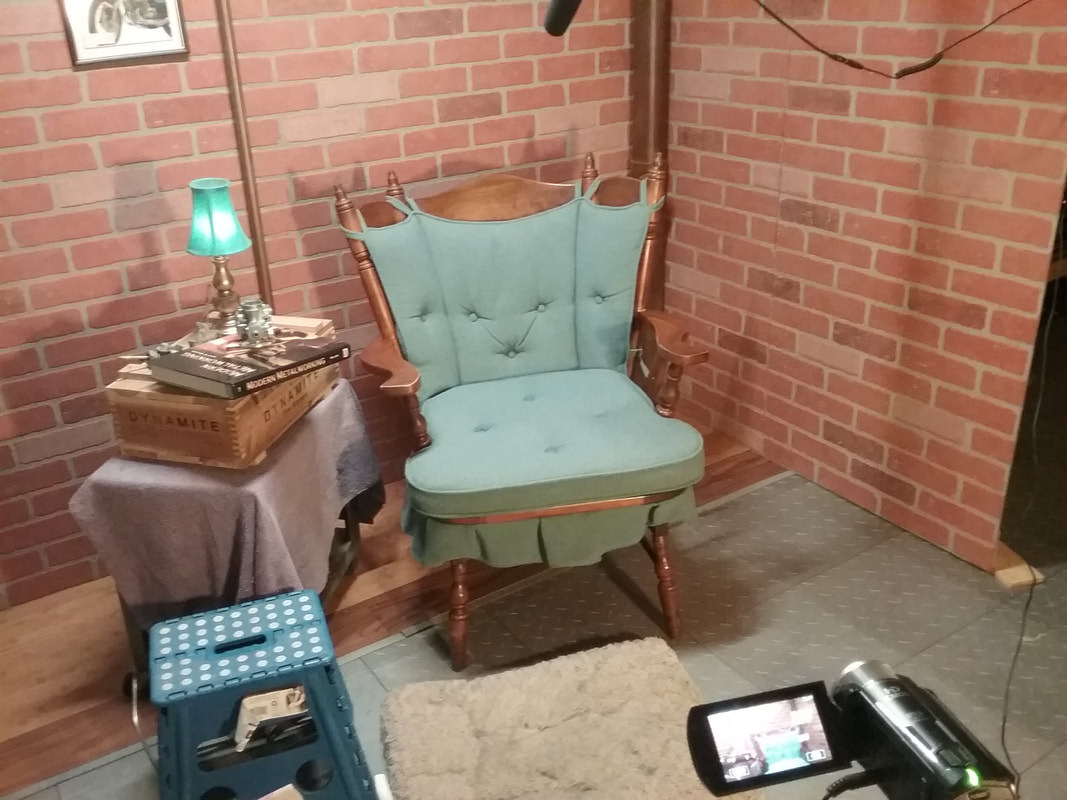
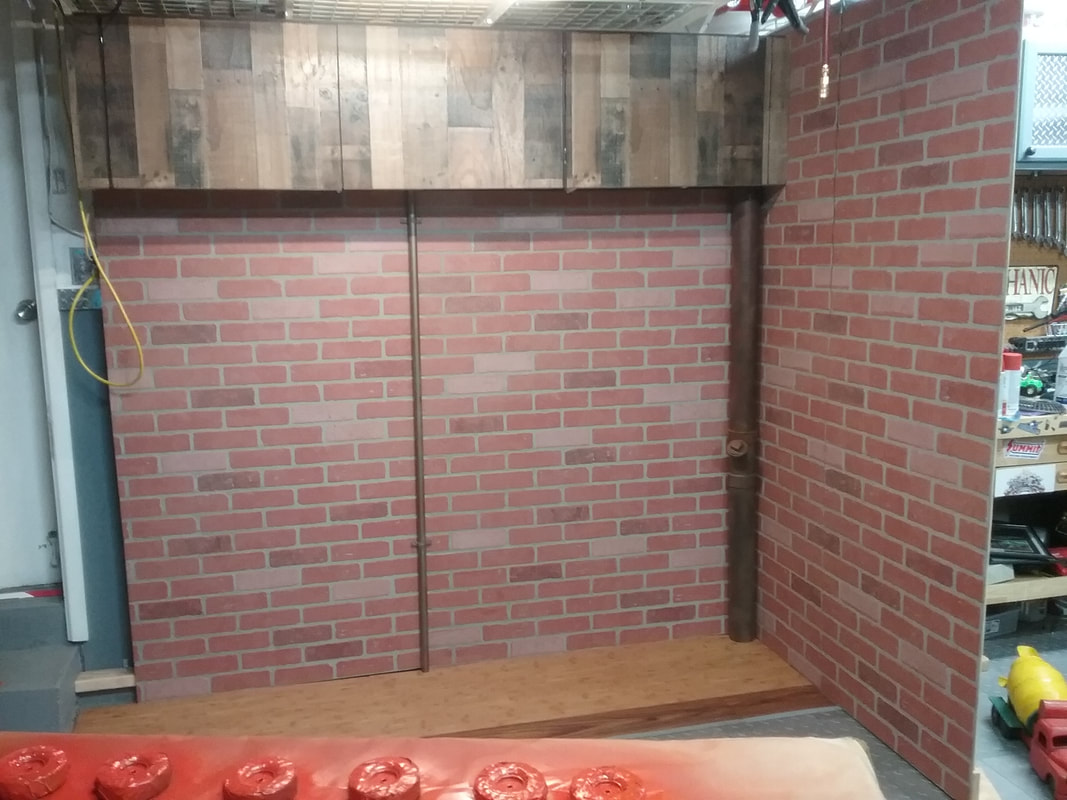
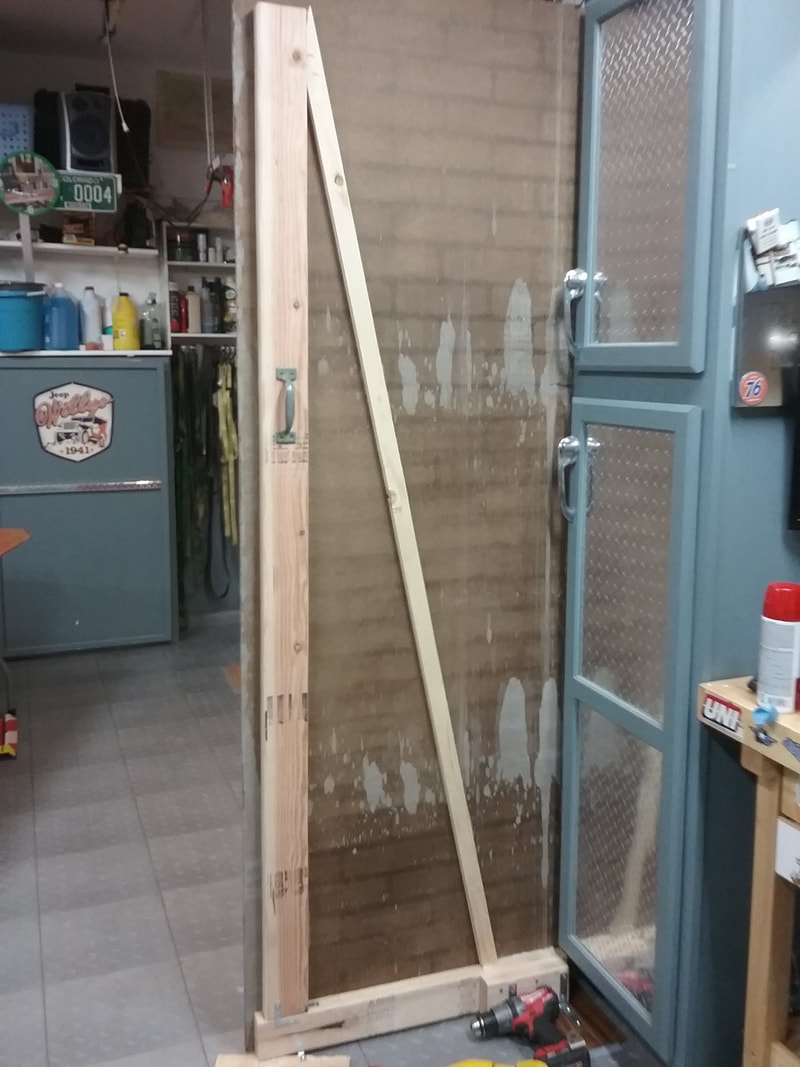
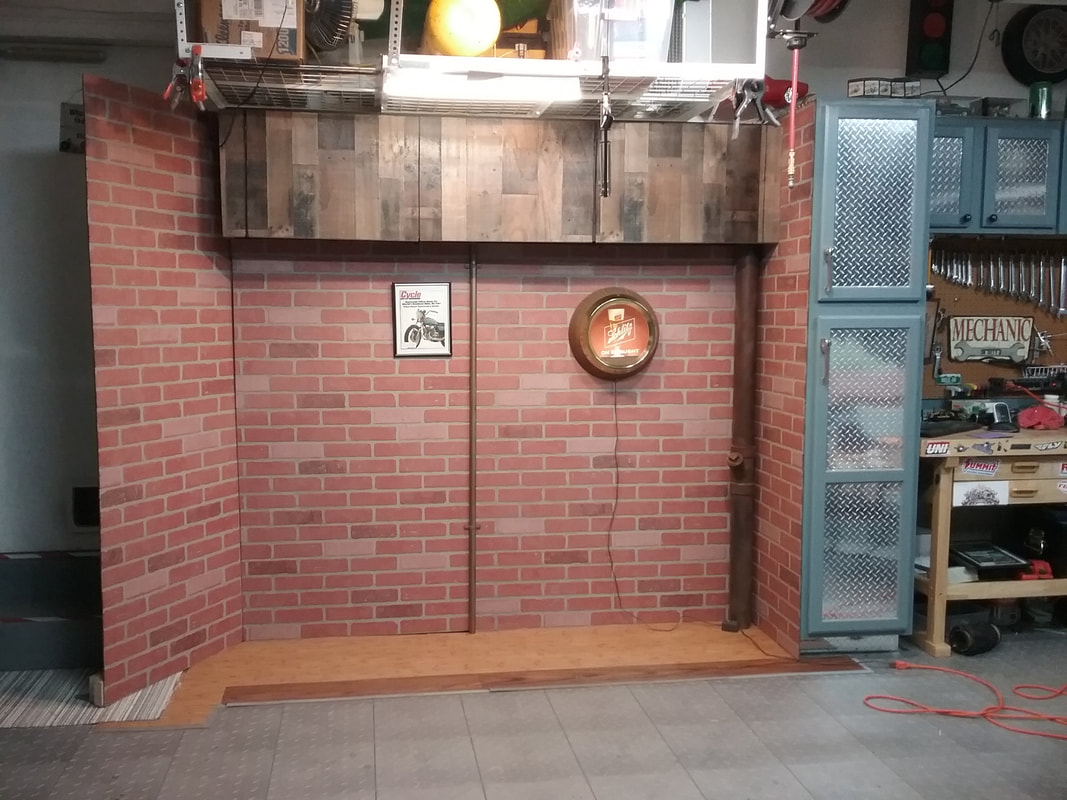
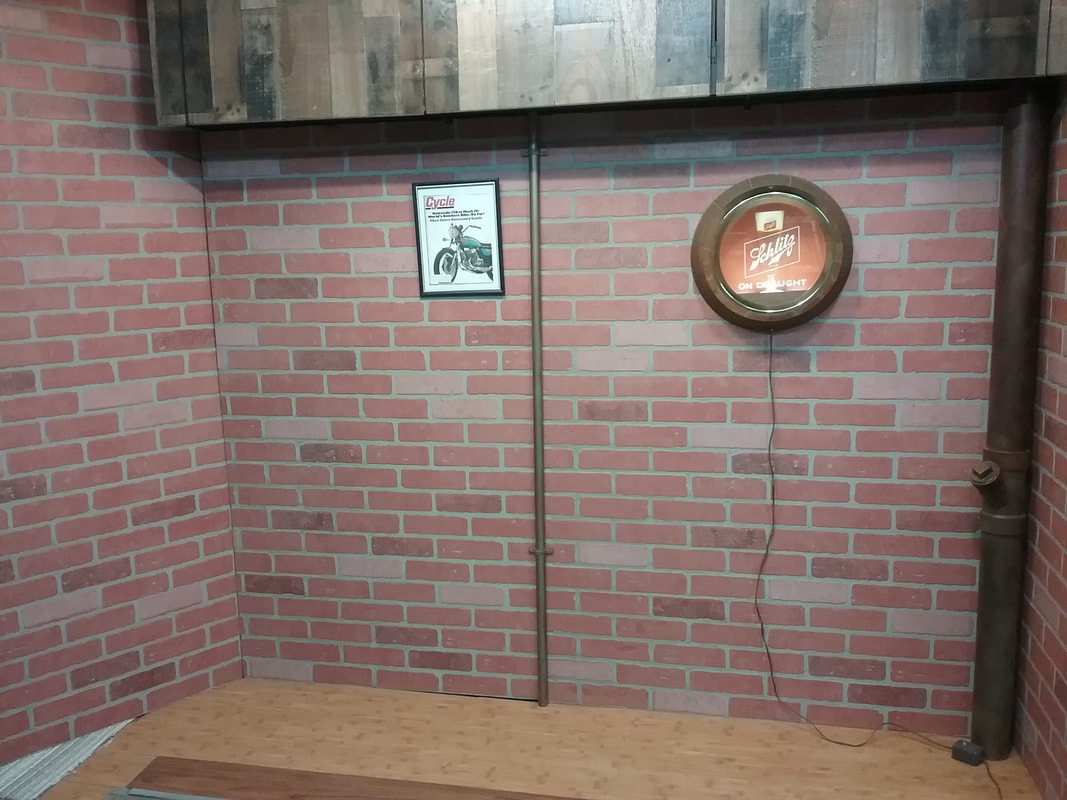
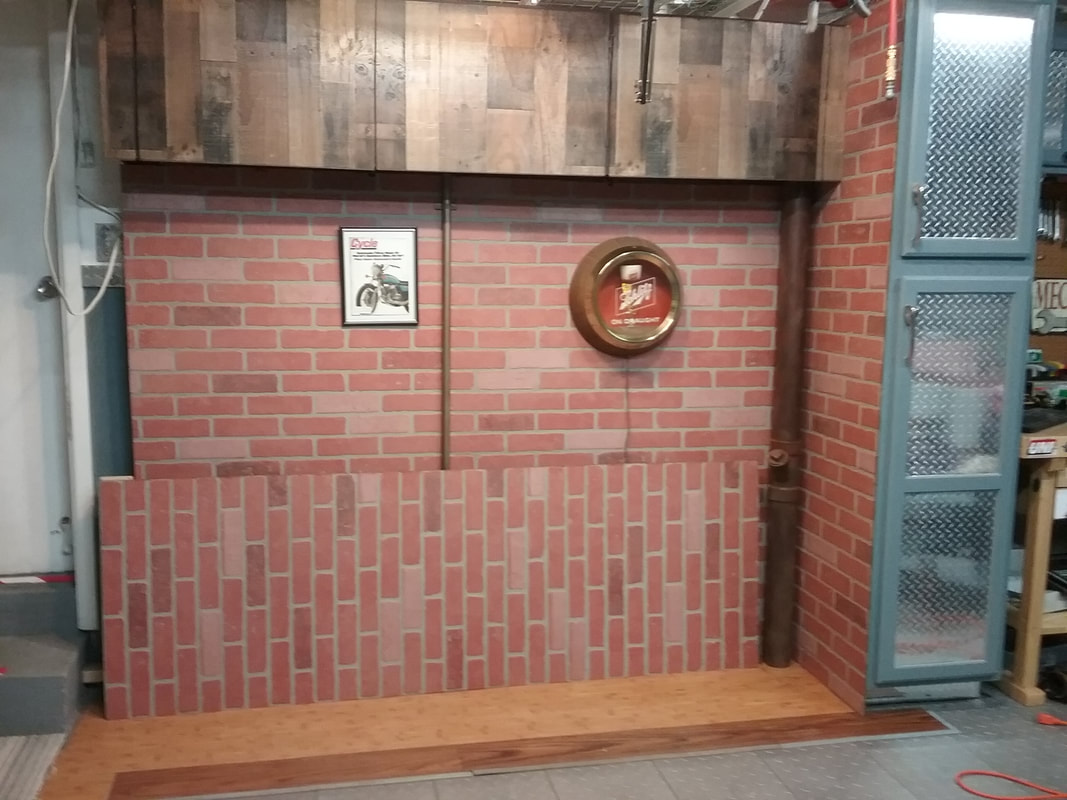
Breaking the 4th Wall
Check out some pictures below of my "basement" set that features a modular wall that can be moved from side to side for different angles and setups.
Nylint Michigan Crane (Shovel) toy restoration.
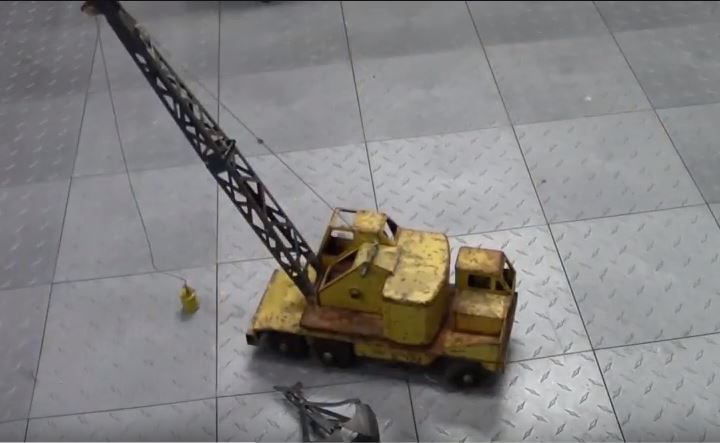
1955-56 Version #1 Michigan Crane before, pretty rusty...
Beginning the restoration of the Nylint crane
More dis-assembly of the Nylint crane
2nd round with the paint stripper after a dip in the rust bath
I need to re-cast the wheel for the winch, stay tuned.
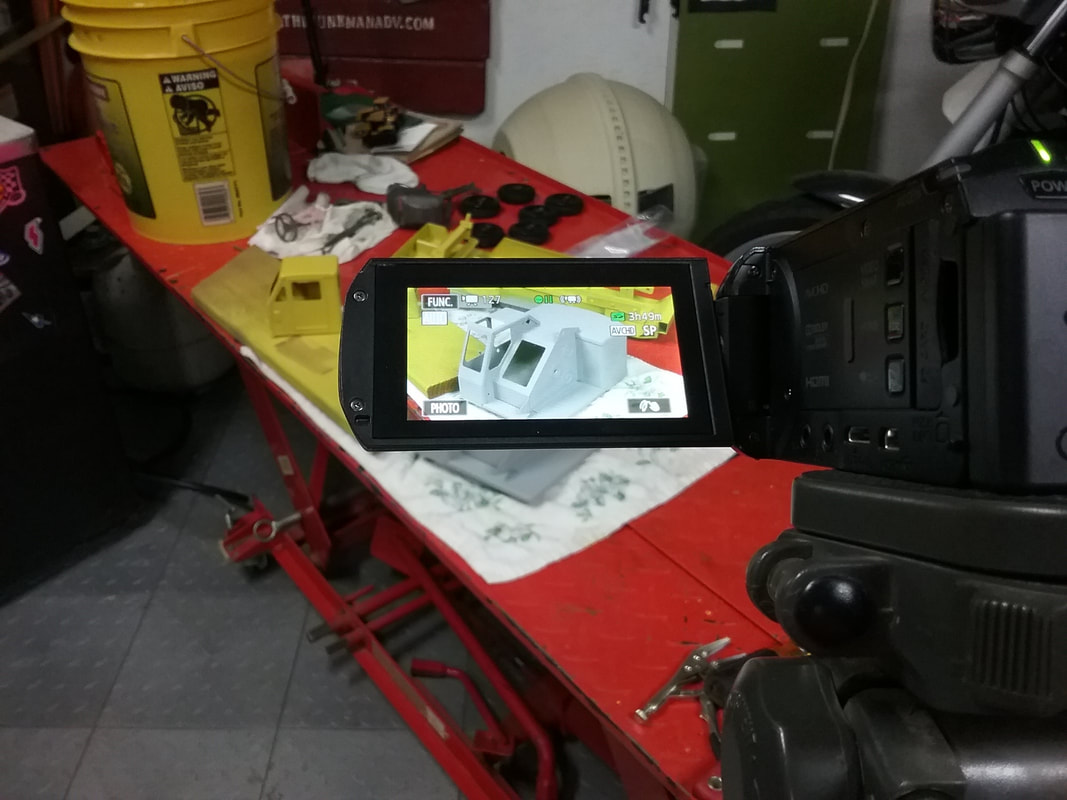
Filming the restoration

A few glamour shots, see the video of it in action!
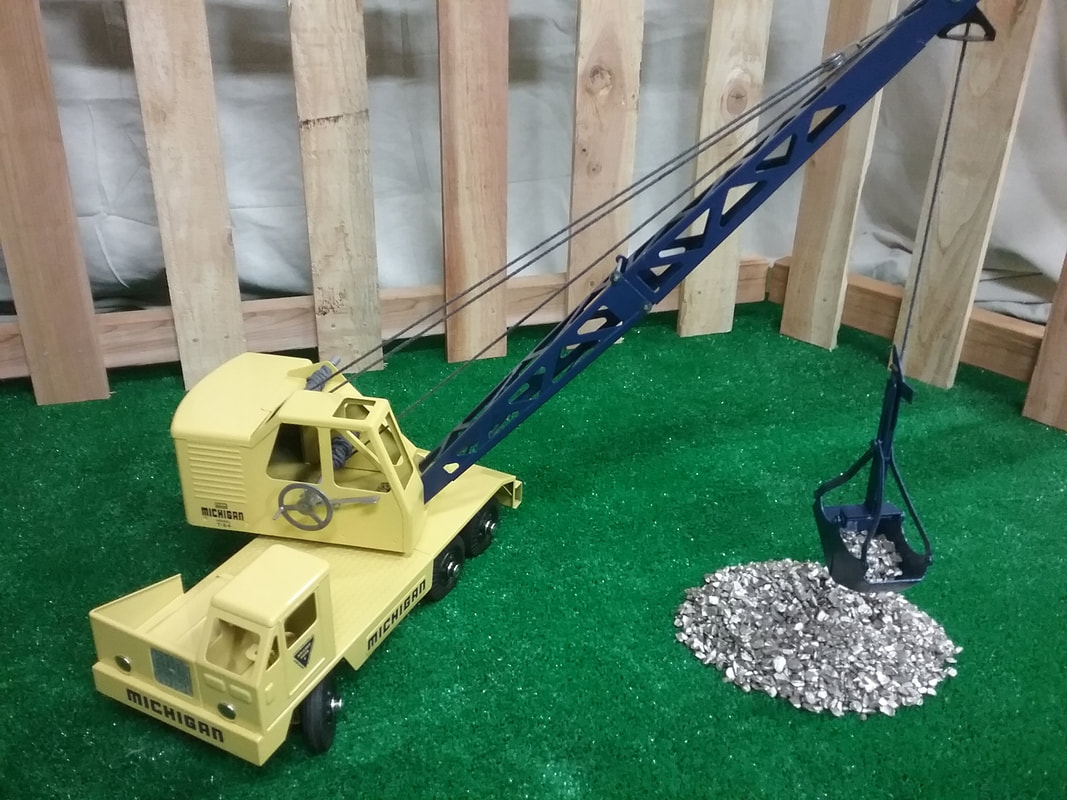
Nylint Michigan crane (shovel)
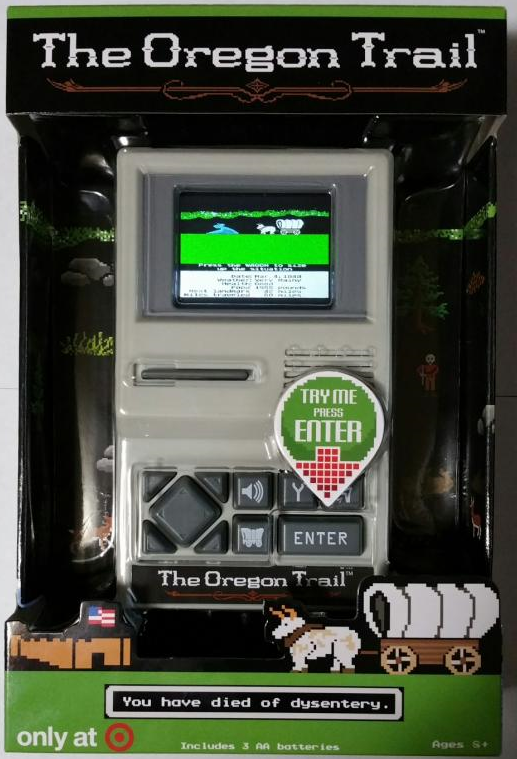
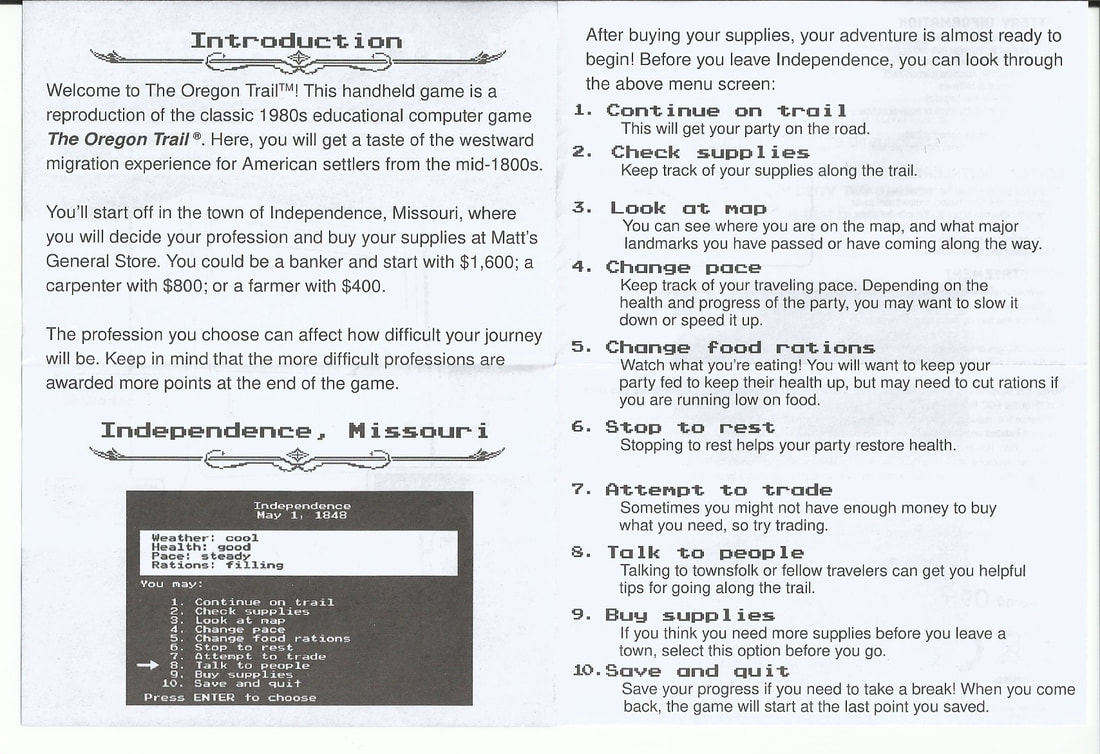
Quick Review:
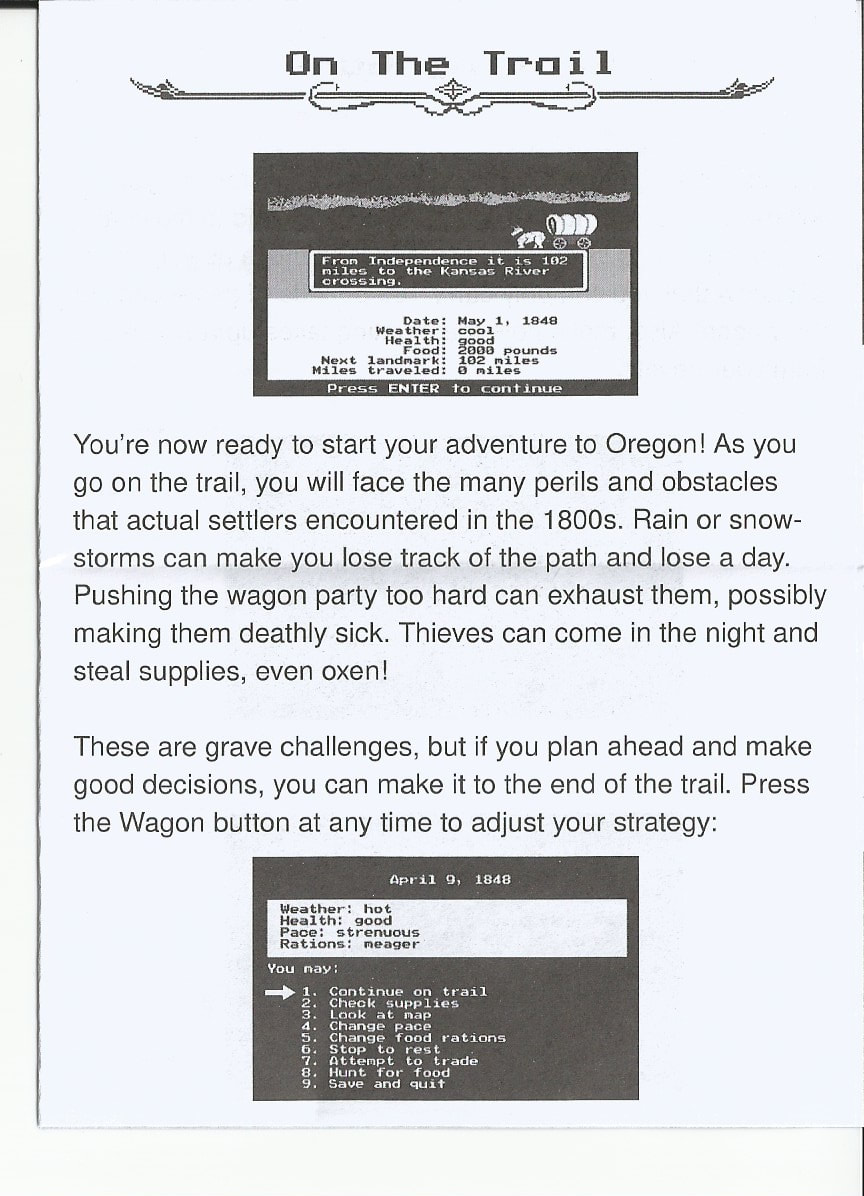
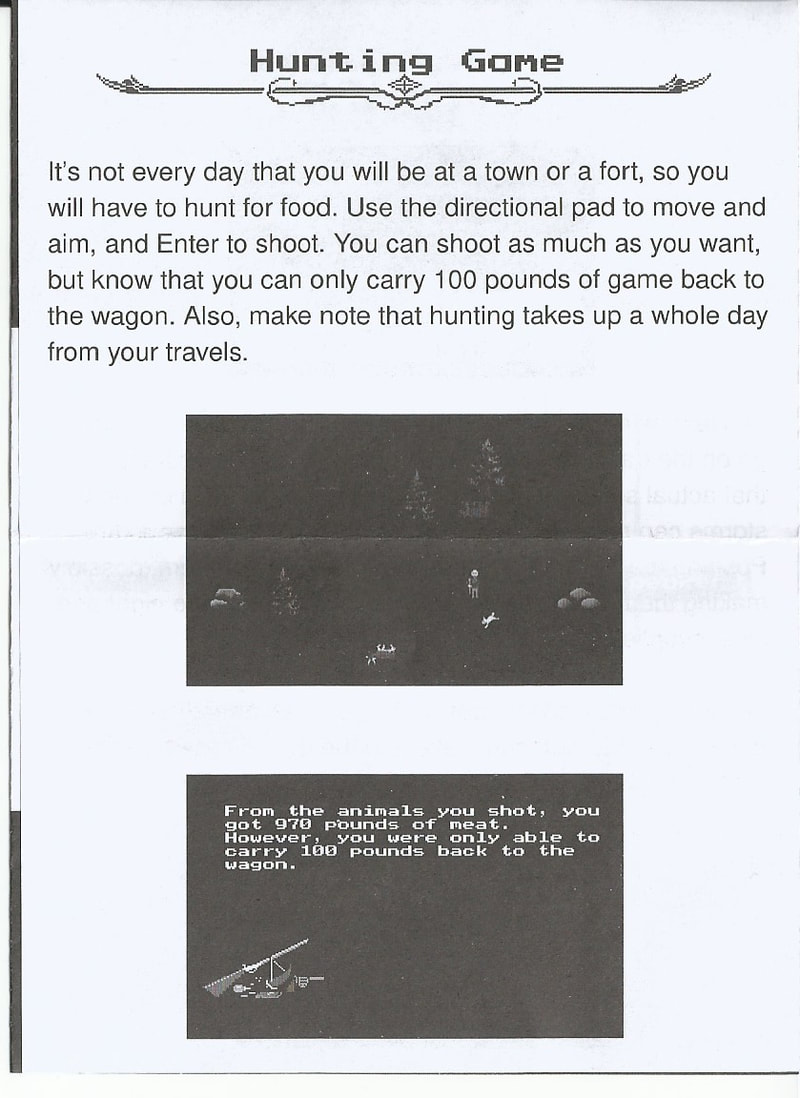
Overall this little piece of nostalgia is what it claims to be, the DOS version (I think) of the complete game. Yeah, yeah you can play it on emulators and in browsers now a days. A physical stand alone product like this is appealing to people of a certain generation. Packaging: Well done, mimics the game perfectly. Makes a nice shelf sitter. Design: Retro look that fits nice in the hand Gameplay: All the elements are there, and I mean just like the original. To my eyes nothing is left out, no scenes, options, or sounds. It is Oregon Trail except portable. It is way better than that crappy card game that they put out before (You have seen it on the shelf, DO NOT BUY) Controls: They are functional, but "hunting" is a bit more difficult than I remember even when using the arrow keys. Also navigating the Columbia River (late in the game) is again more difficult than I remember. The "D" pad, if you can call it that, could have been better. Overall: For $24.99, its worth it for entertainment value alone. If you remember playing this in the 3rd grade you will love it. If you didn't well you might not understand.
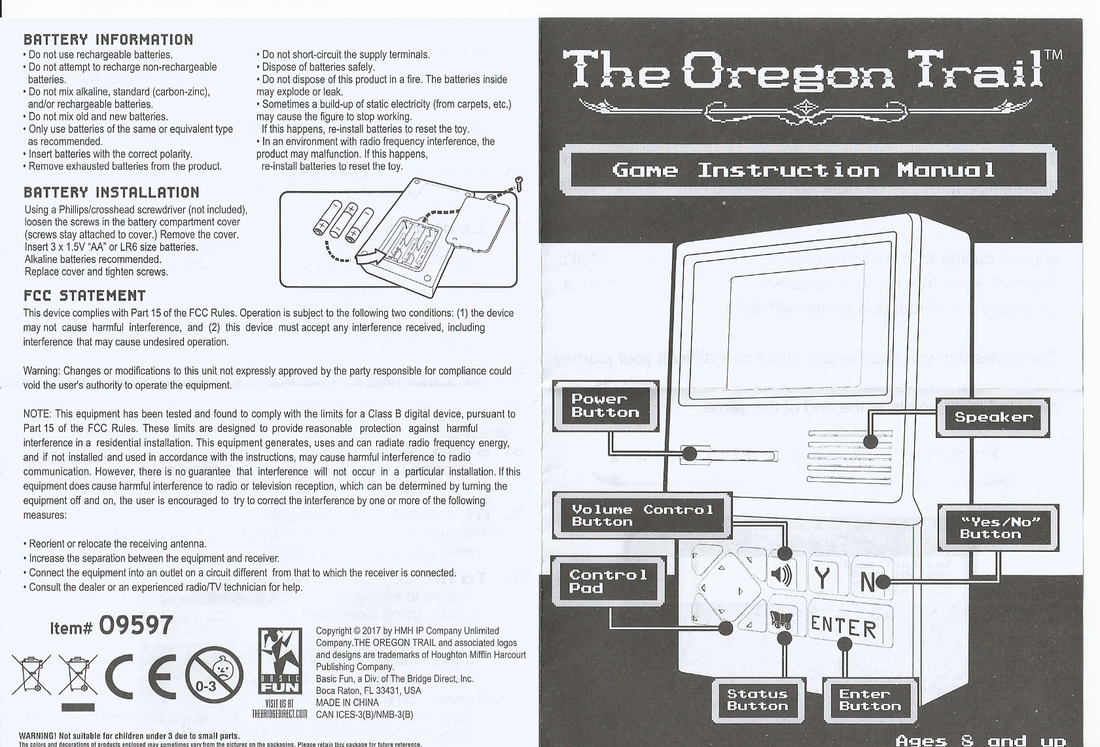
Game Manual
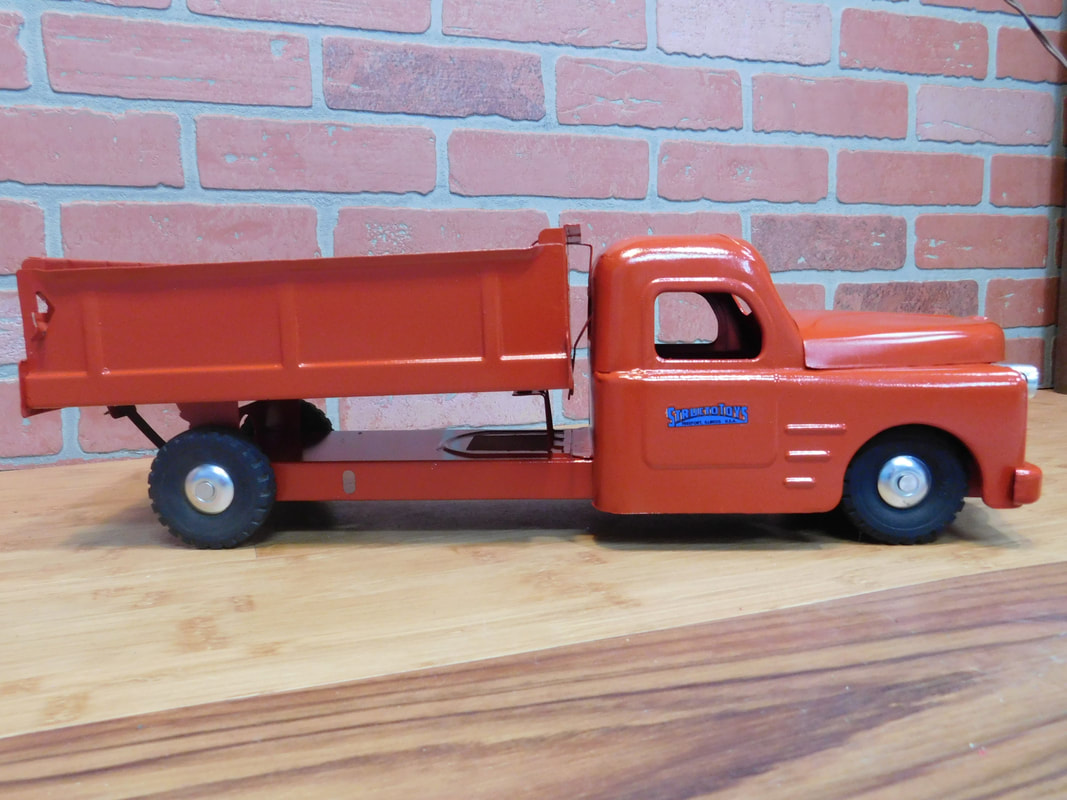
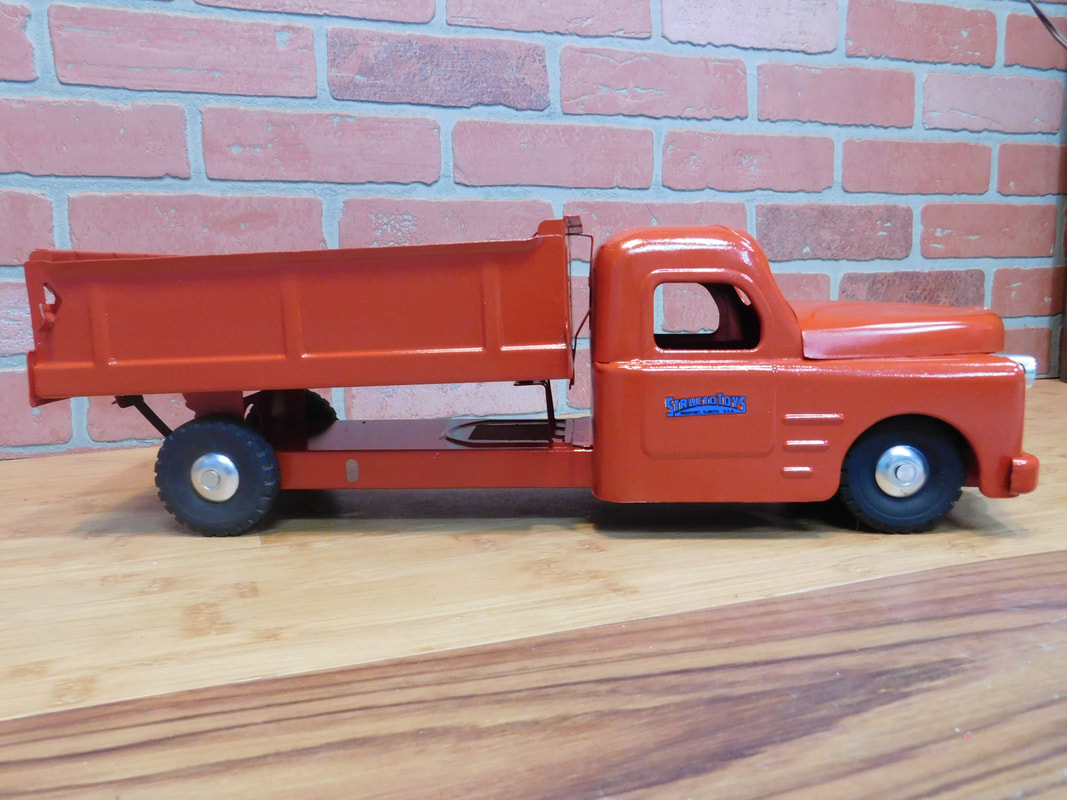
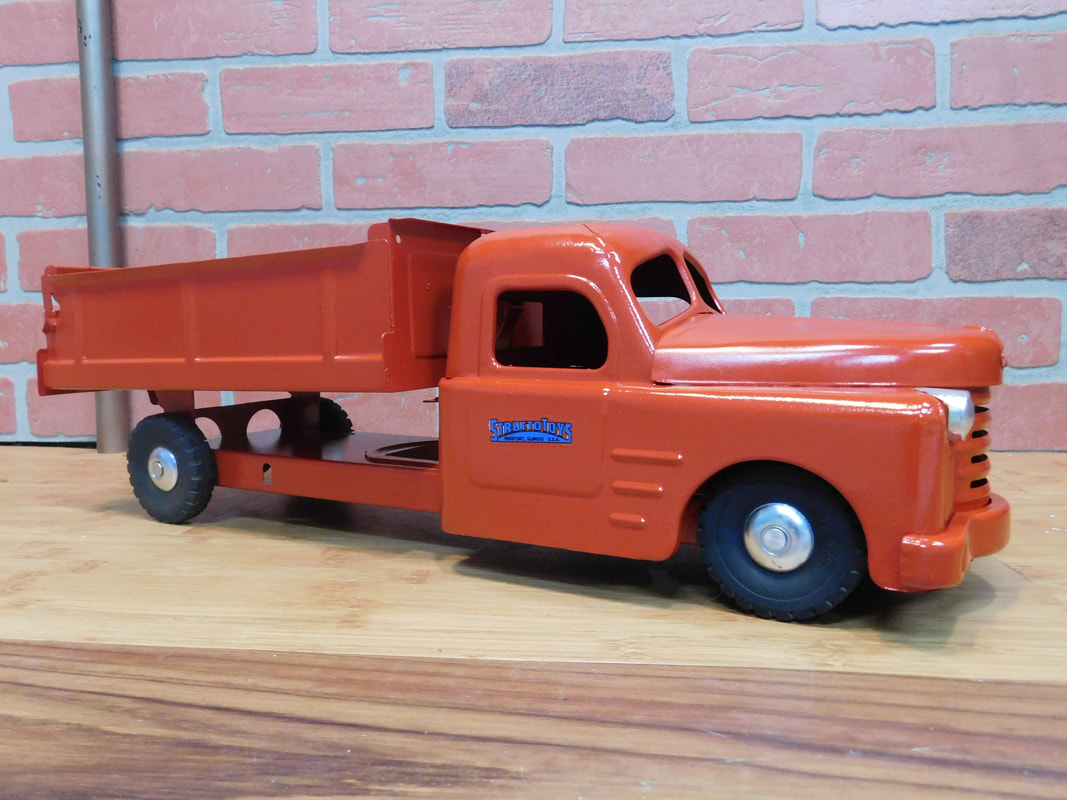
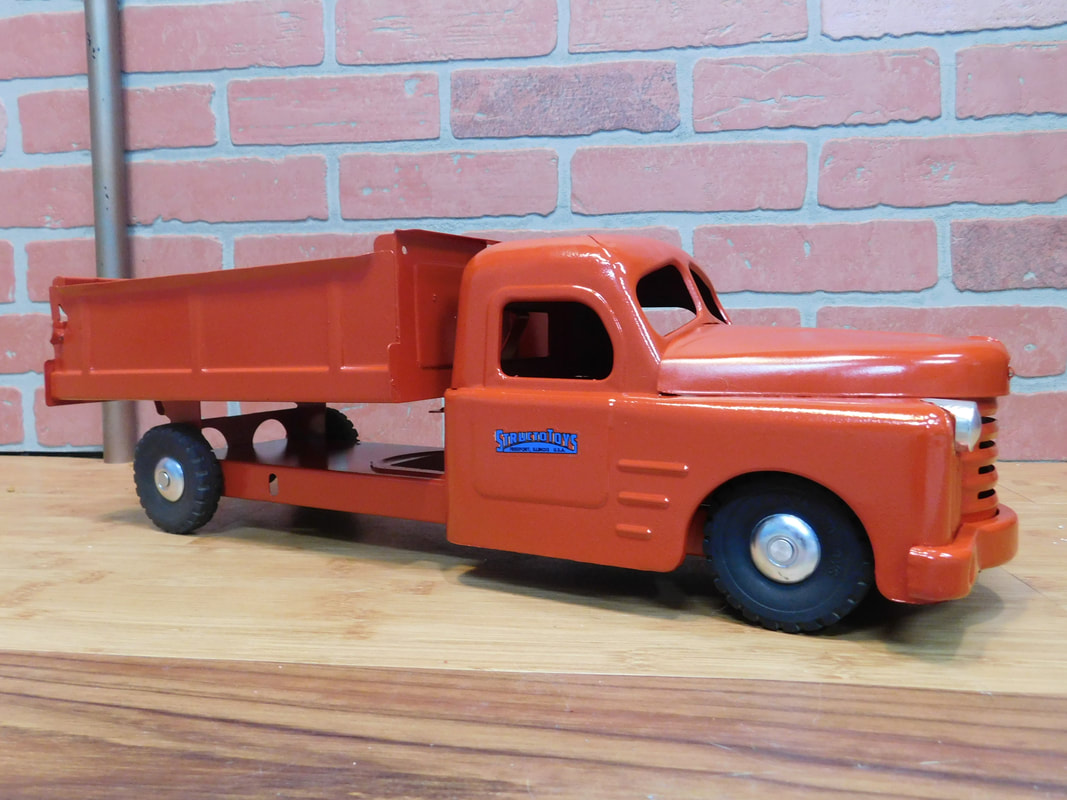
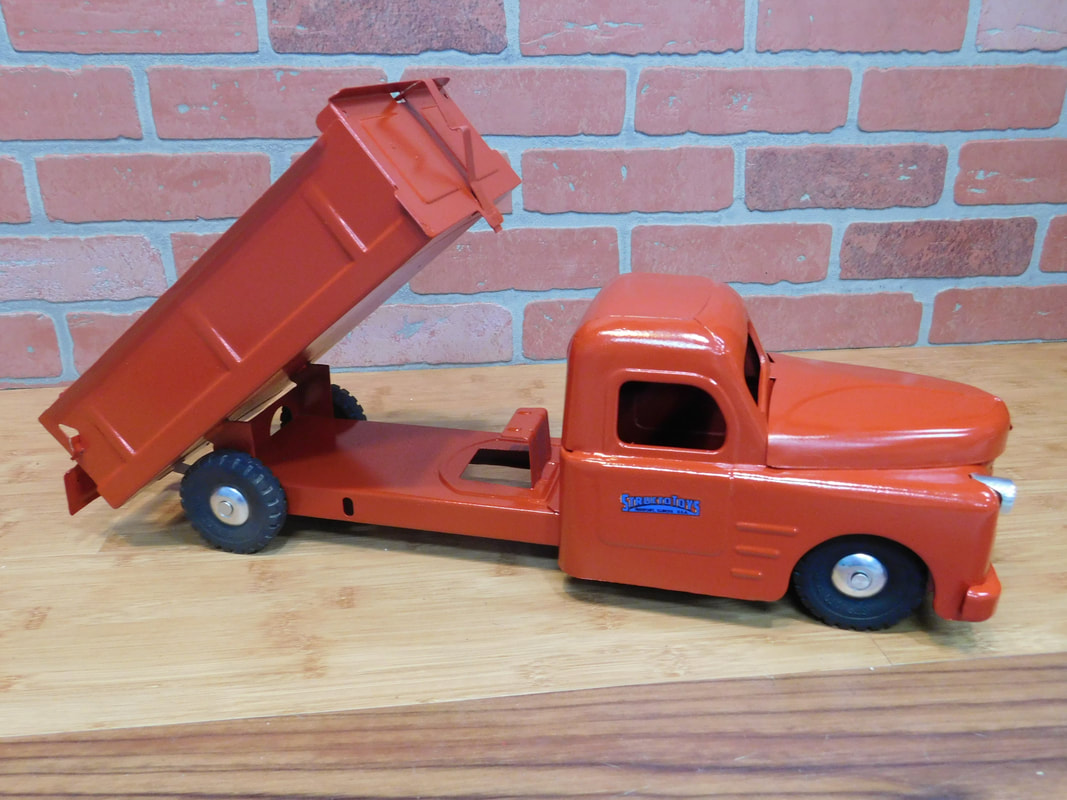
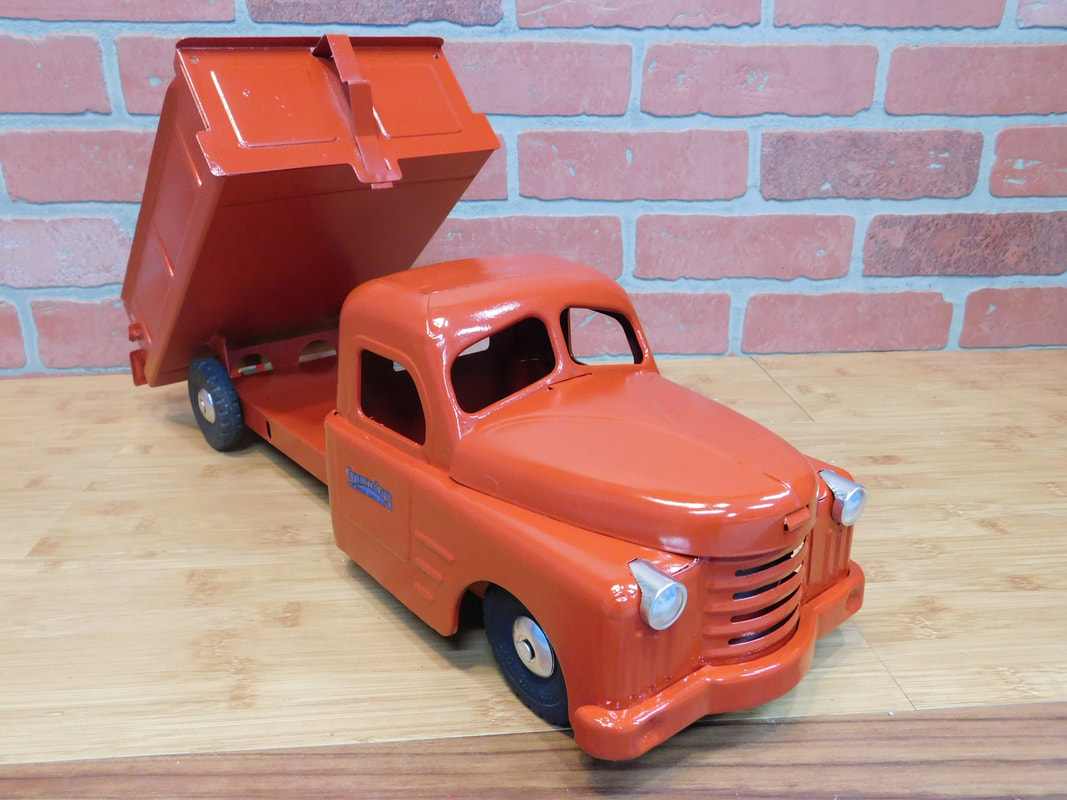
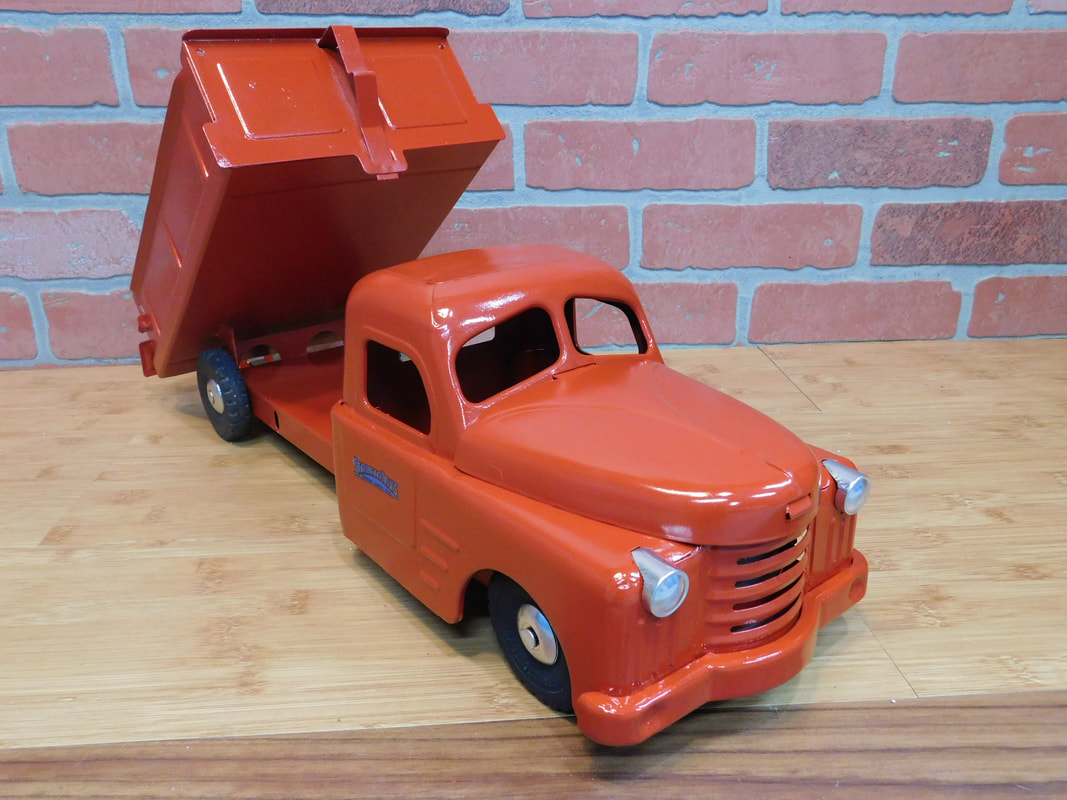
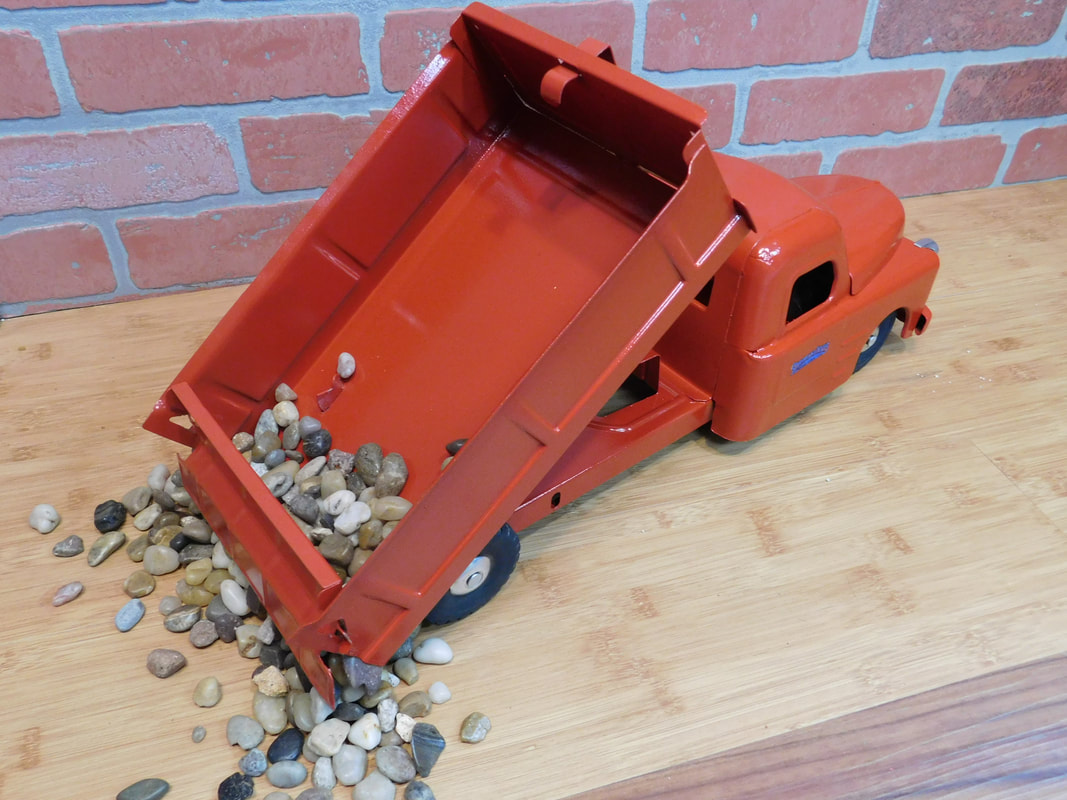
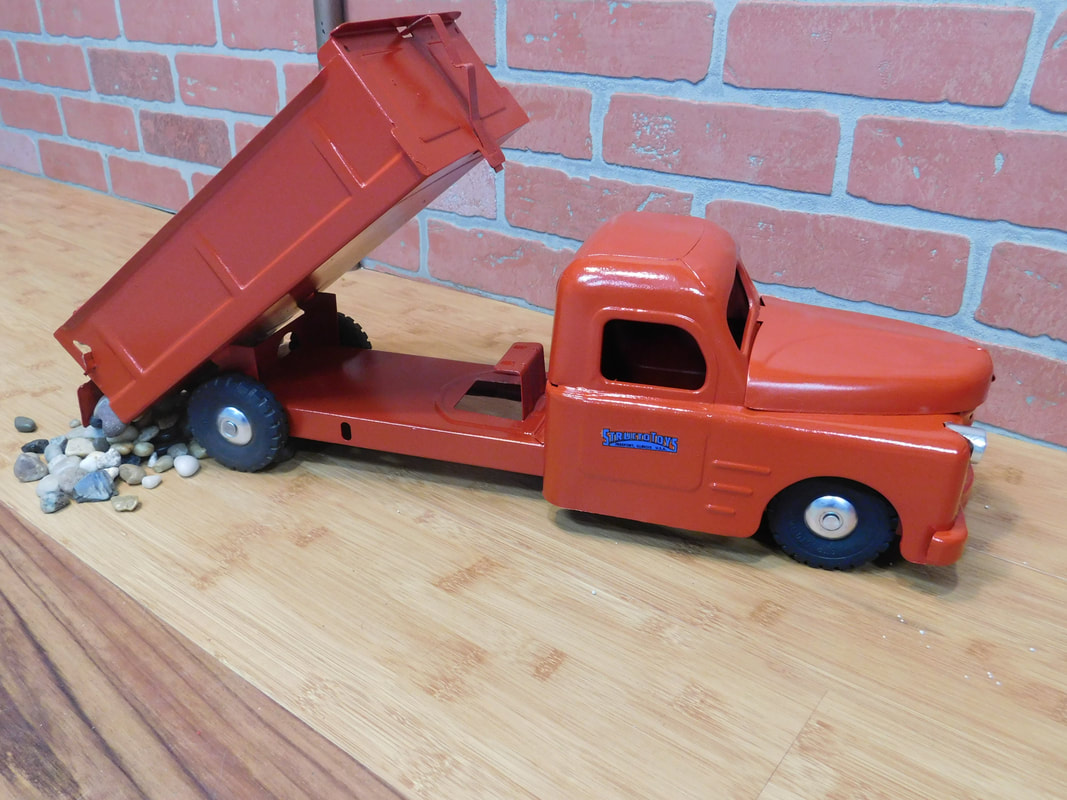
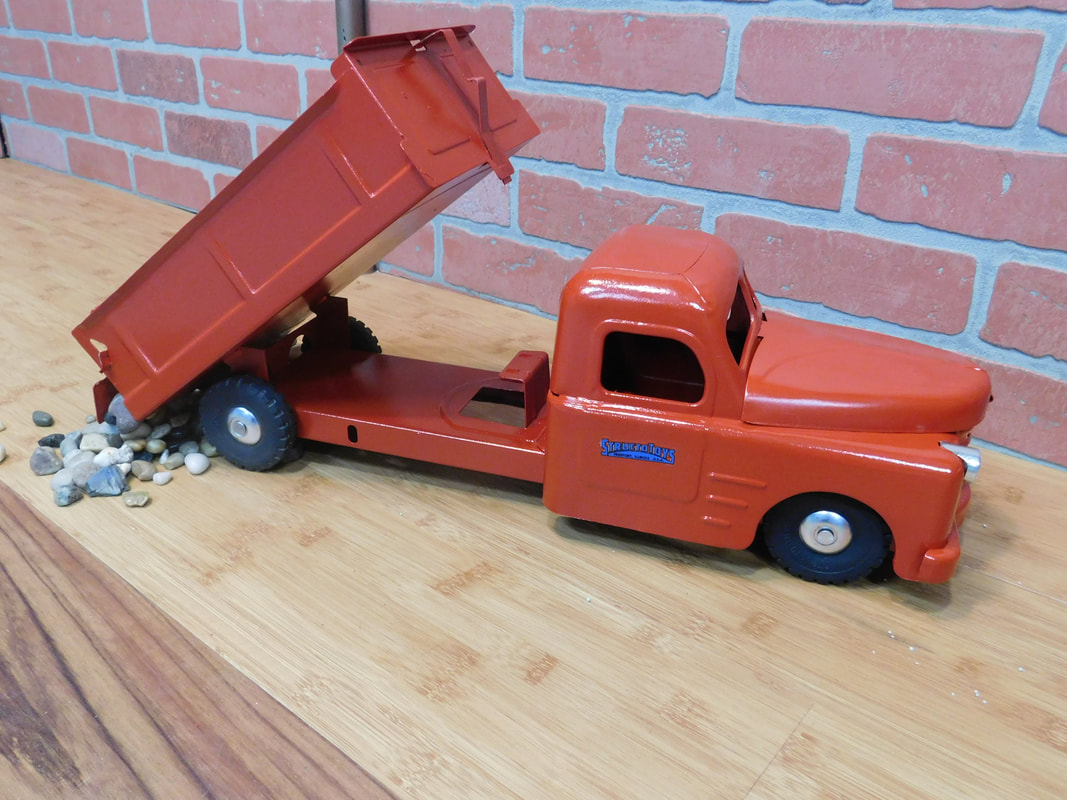
Structo Telephone Company repair truck restoration
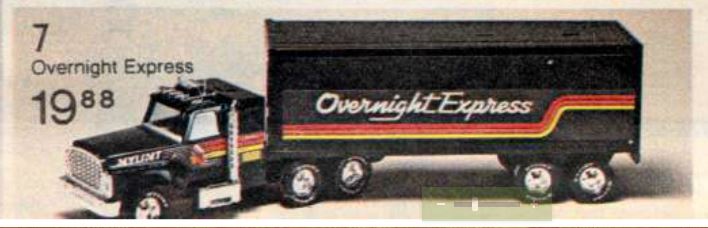
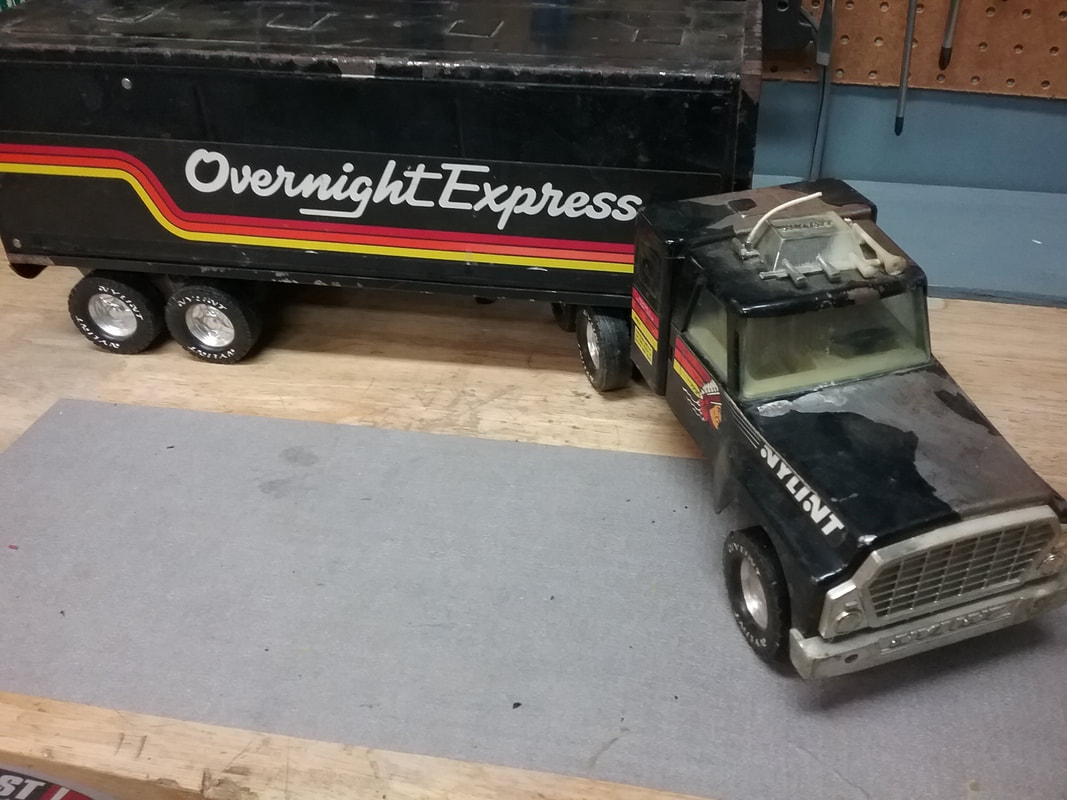
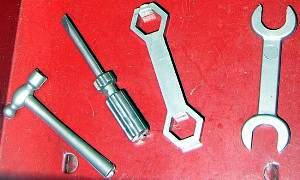
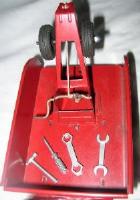
Structo Telephone Company repair truck restoration. Below is an ad for this very truck. $1.98 in 1957 money converted for inflation is about $18 in 2017 money. A not unreasonable amount for a toy even back then. Notice the tools that came with, probably rare and hard to find. Below is some pictures from the internet I found of close ups of the real tools.
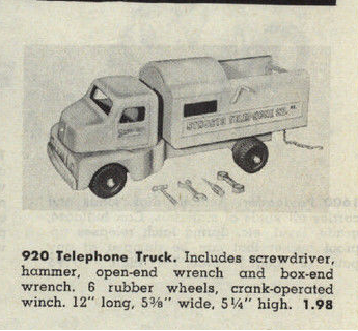
Original ad $1.98
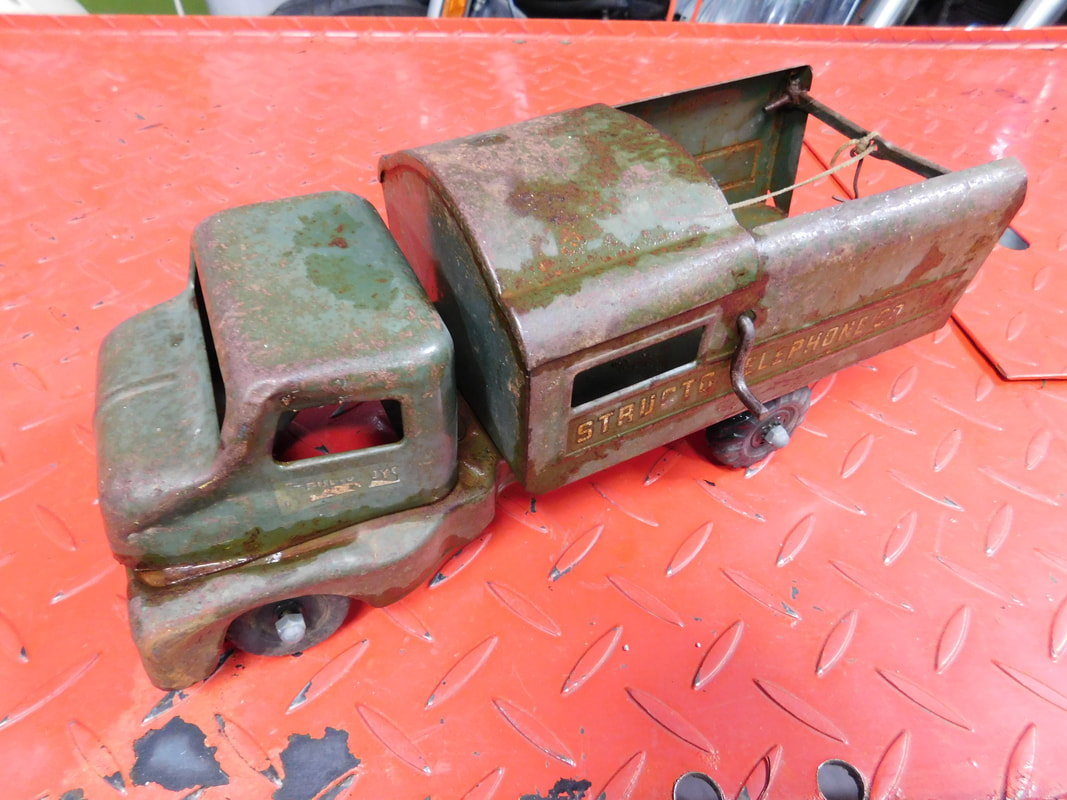
Before
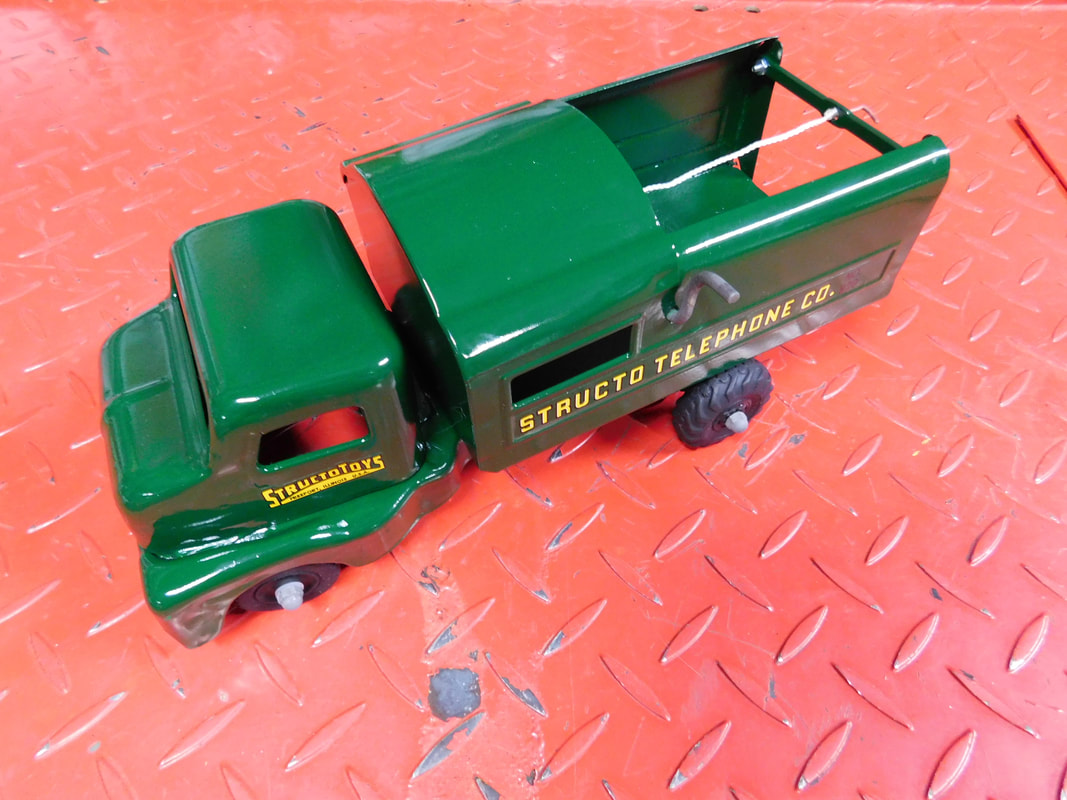
After

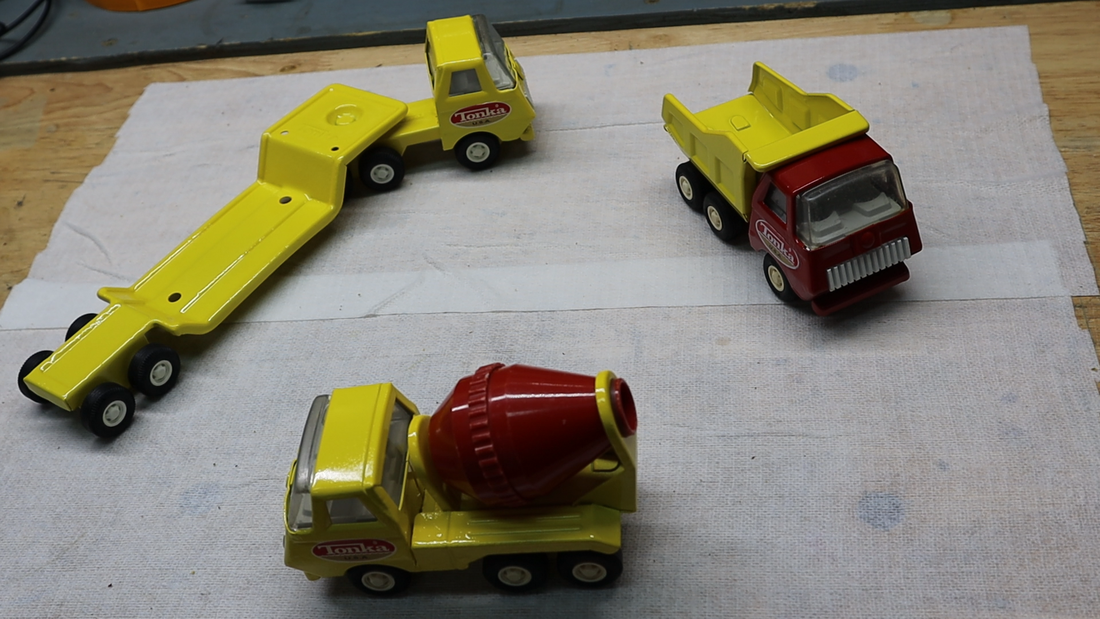
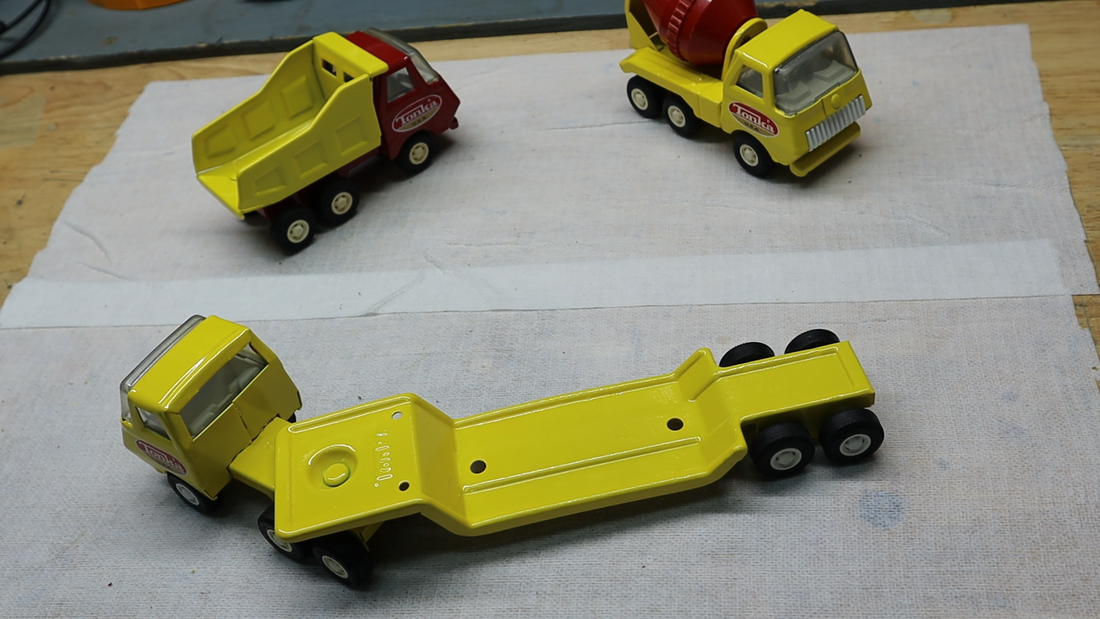
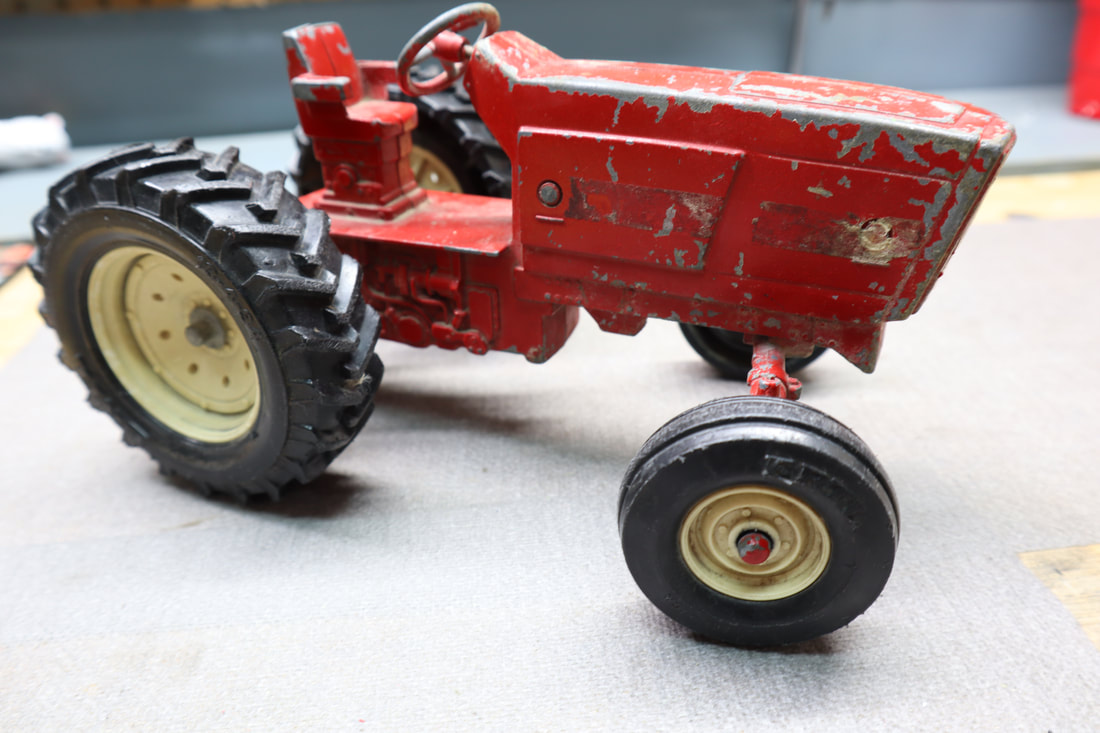
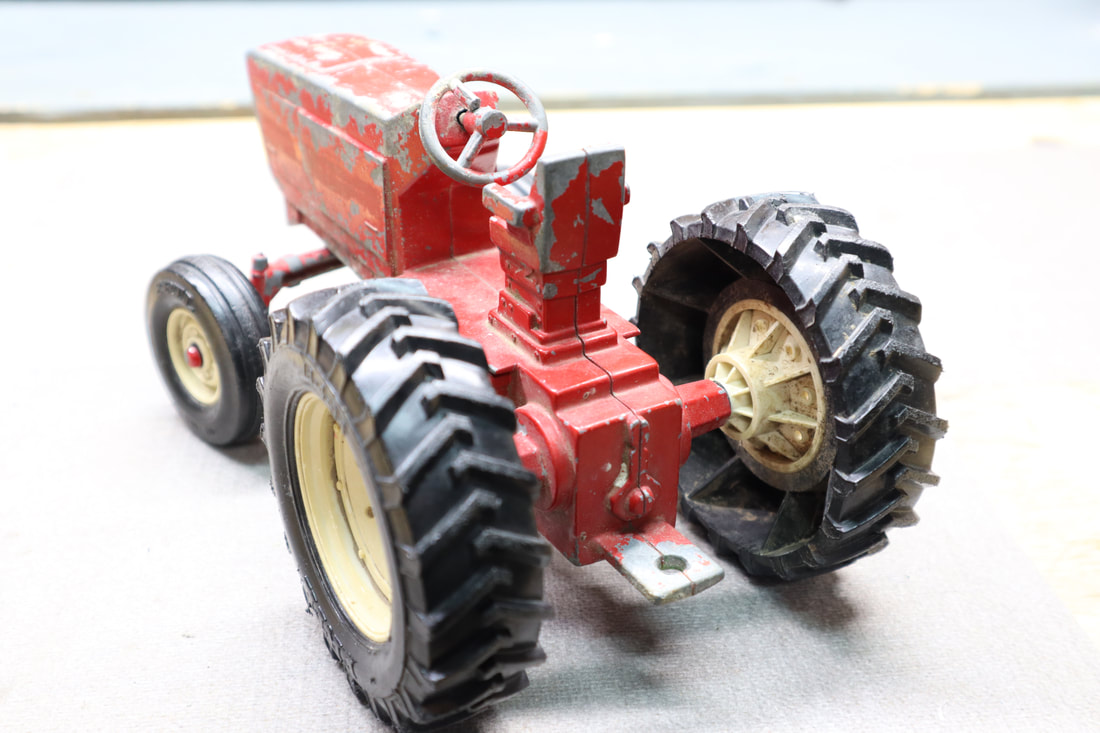
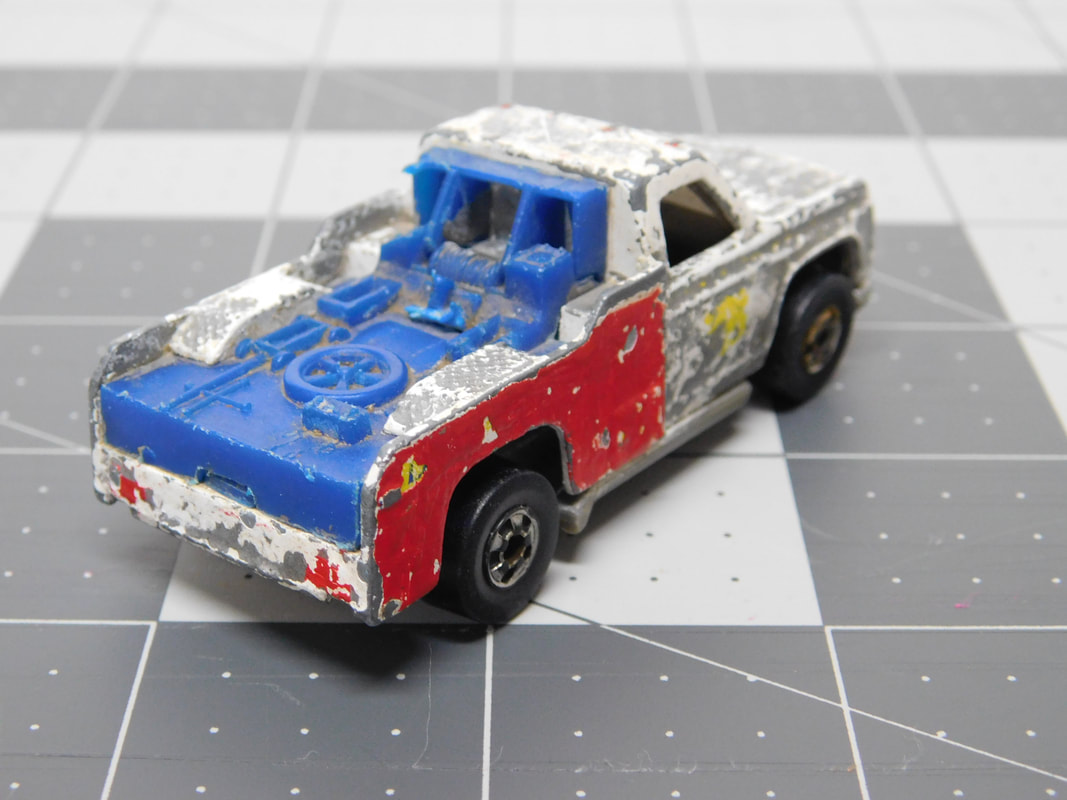
Vote below on which toy I should restore and I will make a full restoration video about it. See the picture below, toys are listed left to right.
SORRY THE VOTING IS NOW CLOSED SEE THE VIDEO BELOW TO SEE WHICH TOY WAS MOST VOTED TO BE RESTORED FIRST.
And if you already restore toys or are thinking about restoring a vintage metal toy and you need to remove that rust. Here is a video below that shows the result of a product I personally use to remove rust from metal parts. Check out the video below.
|
 AuthorJon "the junk man" helping to promote responsible riding and recreation whether it be at the track or at the trail. Your source for motorcycle how to videos and much more! 
Archives
February 2023
 |


 RSS Feed